“`html
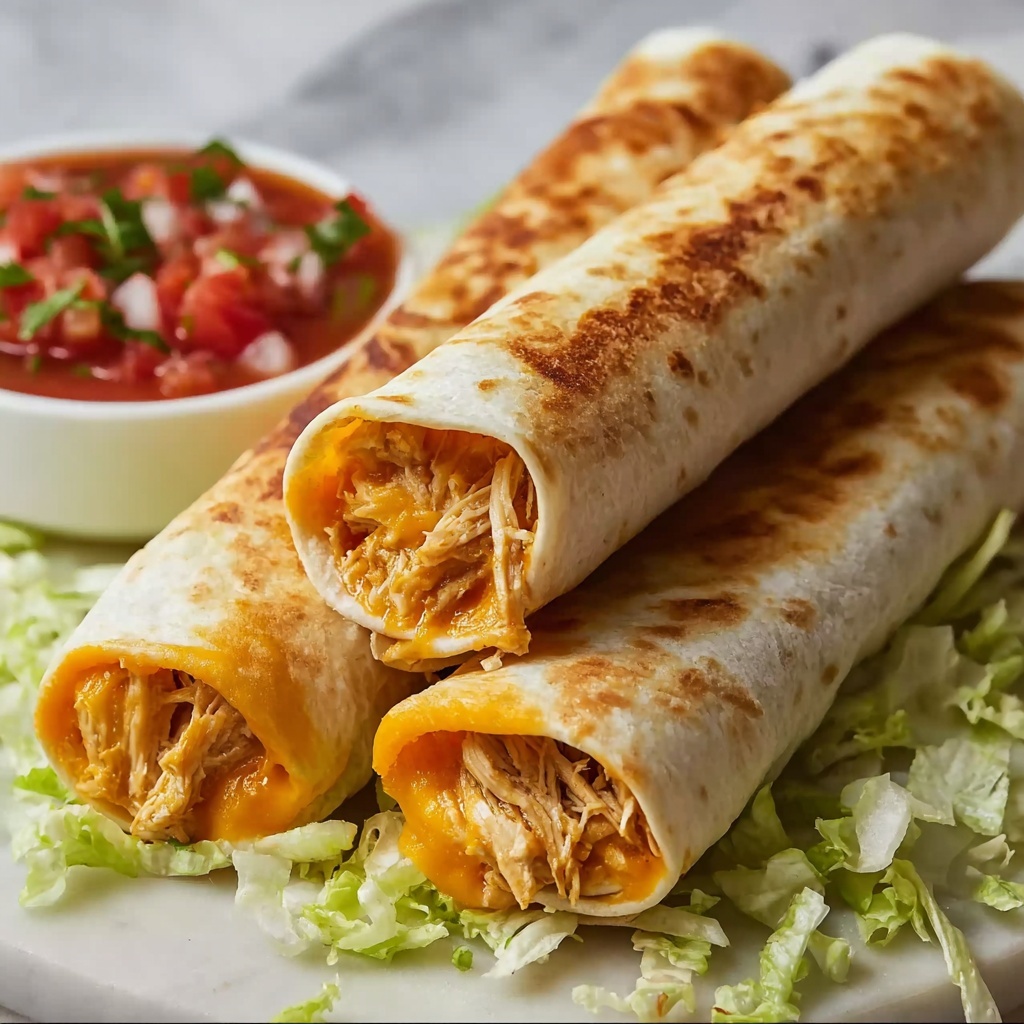
If you’re craving a crunchy, flavorful snack that skips gluten but never sacrifices taste, this Easy Gluten-Free Chicken Taquitos Recipe is your new best friend in the kitchen. Imagine tender shredded chicken mingling with zesty lime, fresh veggies, and just the right hint of spice, all wrapped snugly in crisp, warm cassava flour tortillas that hold their shape without a single crack. It’s the perfect blend of comforting textures and vibrant flavors, and I promise, once you try these taquitos, they’ll become a go-to for quick dinners, game days, or anytime you want a satisfying, gluten-free treat that everyone will adore.
Ingredients You’ll Need
Getting great results comes down to simple, quality ingredients that play their own special part in this Easy Gluten-Free Chicken Taquitos Recipe. Each element adds brightness, creaminess, or crispness, ensuring every bite is full of character and body.
- 8 Cassava Flour Tortillas: Use brands like Siete Foods or Rise & Puff for flexible, gluten-free wraps that crisp beautifully.
- 2 Cups Shredded Chicken: The star protein, for tender, savory filling with plenty of heartiness.
- ½ Cup Diced Bell Pepper: Adds a fresh crunch and a pop of sweet color.
- ⅓ Cup Diced Red Onion: Gives a mild pungency that balances the cream and spice.
- ¼ Cup Mayonnaise: Primal Kitchen avocado oil mayo is recommended for smooth richness and a subtle tang.
- 3 Tablespoons Lime Juice: Fresh squeezed for zesty brightness that lifts the entire filling.
- 2 Tablespoons Chopped Cilantro: A fragrant herbaceous note that makes every bite feel fresh and lively.
- 1 Teaspoon Chili Powder: A gentle kick of smoky heat that warms the palate without overwhelming.
- ½ Teaspoon Garlic Powder: Brings a mellow, aromatic depth to the chicken mix.
- ½ Teaspoon Salt: Enhances every flavor and ties the ingredients together perfectly.
How to Make Easy Gluten-Free Chicken Taquitos Recipe
Step 1: Prepare the filling
Start by combining the shredded chicken with diced bell pepper and red onion in a big bowl. Then, stir in the creamy mayonnaise, fresh lime juice, chopped cilantro, chili powder, garlic powder, and salt. Mixing everything thoroughly ensures the spices and citrus meld into every bit of chicken, creating a balanced, flavorful filling that will shine inside the tortillas.
Step 2: Warm the tortillas
Gently warming the cassava flour tortillas makes them pliable and easier to roll without cracking. Place two tortillas at a time between damp paper towels and microwave on high for about 15 to 20 seconds. This simple trick keeps the wraps soft and flexible, setting you up perfectly for the next step.
Step 3: Assemble the taquitos
Take a warm tortilla and spoon a generous scoop of the chicken mixture onto it. Roll the tortilla tightly around the filling, pressing gently to ensure it stays secure while cooking. The snug roll means every bite will hold together, giving you that wonderful crispy exterior combined with the tender, savory filling inside.
Step 4: Cook the taquitos
Heat a cast iron or nonstick skillet over medium heat and lightly spray it with avocado or olive oil to prevent sticking. Place your rolled taquitos seam-side down to seal them shut. Cook each side for 4 to 5 minutes until the tortillas are golden brown and wonderfully crispy. This step transforms the soft tortillas into crunchy shells that perfectly complement the creamy, flavorful filling.
Step 5: Serve and enjoy
Once cooked, remove your taquitos from the skillet and serve them up while hot. They’re best enjoyed fresh for that unbeatable crisp and burst of flavor with every bite.
How to Serve Easy Gluten-Free Chicken Taquitos Recipe
Garnishes
Topping your taquitos with fresh garnishes takes them from delicious to next-level. Try a dollop of guacamole or sour cream to introduce creamy richness. A sprinkle of chopped cilantro or a squeeze of fresh lime adds vibrant freshness, while a spoonful of your favorite salsa turns each mouthful into a fiesta.
Side Dishes
Keep things simple with sides like a crisp romaine lettuce salad or a refreshing cucumber slaw. For a heartier meal, roasted sweet potatoes or Mexican-style rice bring a wonderful warmth that complements the crispy taquitos beautifully. The key is balancing textures and flavors so the whole meal feels complete and satisfying.
Creative Ways to Present
Want to impress at your next gathering? Arrange the taquitos on a colorful platter lined with lettuce leaves, surrounded by small bowls of guacamole, salsa, and crema. You can also serve them in individual mini cast iron skillets for a rustic, cozy look that’s sure to spark conversation.
Make Ahead and Storage
Storing Leftovers
If you have leftovers, store the cooked taquitos in an airtight container in the refrigerator for up to 3 days. This keeps them fresh and ready for a quick snack or meal the next day without losing too much crispness before reheating.
Freezing
For longer storage, freeze uncooked taquitos by placing them seam-side down on a baking sheet lined with parchment paper. Once frozen solid, transfer them to a freezer-safe bag or container. They can be kept for up to 2 months, letting you enjoy your Easy Gluten-Free Chicken Taquitos Recipe anytime with minimal effort.
Reheating
Reheat refrigerated or frozen taquitos in a preheated oven at 375°F (190°C) for about 10-15 minutes, flipping halfway through. This method restores their crispy shell without drying out the filling, so each bite remains just as delicious as freshly made.
FAQs
Can I use corn tortillas instead of cassava flour tortillas?
Absolutely! Corn tortillas are naturally gluten-free and work well if you prefer a traditional flavor. Just be sure to warm them properly to avoid cracking when rolling.
What type of chicken works best for this recipe?
Shredded cooked chicken from a rotisserie, grilled breast, or even leftover roast chicken all make fantastic options. The key is to have it well-shredded so it mixes evenly with the other ingredients.
Can I bake the taquitos instead of frying them?
Yes! Baking is a great alternative for a lighter version. Place the rolled taquitos on a greased baking sheet and bake at 400°F (200°C) for about 20 minutes, turning halfway through until they are crisp and golden.
Is this recipe spicy? Can I adjust the heat?
This Easy Gluten-Free Chicken Taquitos Recipe has a gentle warmth thanks to the chili powder. You can easily adjust the spice level by adding more chili powder or including diced jalapeños for extra heat if you like things spicy.
Can I prepare the filling in advance?
Definitely! The filling can be made up to 24 hours ahead and stored in the fridge. This actually allows the flavors to meld even better, making your taquitos even tastier when assembled.
Final Thoughts
There’s something truly satisfying about making and sharing this Easy Gluten-Free Chicken Taquitos Recipe that brings warmth and joy to any day. Whether you’re new to gluten-free cooking or just looking for a tasty, quick meal, these taquitos are bound to become a favorite in your kitchen. Give them a try and watch how quickly they disappear from the plate. Happy cooking!
“`
Print
Easy Gluten-Free Chicken Taquitos Recipe
- Prep Time: 10 minutes
- Cook Time: 15 minutes
- Total Time: 25 minutes
- Yield: 8 servings
- Category: Appetizer
- Method: Frying
- Cuisine: Mexican
- Diet: Gluten Free
Description
This easy gluten-free chicken taquitos recipe features tender shredded chicken mixed with fresh veggies and flavorful seasonings, all rolled in cassava flour tortillas and pan-fried to crispy perfection. Ready in just 25 minutes, these taquitos make a perfect party appetizer or a quick weeknight meal.
Ingredients
For the Taquitos
- 8 Cassava Flour Tortillas (Siete Foods or Rise & Puff)
For the Filling
- 2 cups shredded chicken
- ½ cup diced bell pepper
- ⅓ cup diced red onion
- ¼ cup mayonnaise (Primal Kitchen avocado oil mayo recommended)
- 3 tablespoons fresh lime juice
- 2 tablespoons chopped cilantro
- 1 teaspoon chili powder
- ½ teaspoon garlic powder
- ½ teaspoon salt
Instructions
- Prepare the filling: In a large mixing bowl, combine shredded chicken, diced bell pepper, diced red onion, mayonnaise, lime juice, chopped cilantro, chili powder, garlic powder, and salt. Mix thoroughly with a sturdy spatula or spoon until all ingredients are evenly incorporated.
- Warm the tortillas: Place two tortillas at a time between damp paper towels and microwave on high for 15-20 seconds until warm and pliable. This step makes the tortillas easier to roll without cracking.
- Assemble the taquitos: Spread a large spoonful of the chicken mixture onto each warm tortilla. Tightly roll the tortilla around the filling, pressing gently to ensure the filling stays secure inside.
- Cook the taquitos: Preheat a cast iron or nonstick skillet over medium heat and lightly spray it with avocado or olive oil. Place the rolled taquitos seam-side down on the skillet. Cook for about 5 minutes, allowing the bottoms to turn golden brown and crispy. Carefully flip each taquito and cook for an additional 4-5 minutes until the other side is equally golden and crisp.
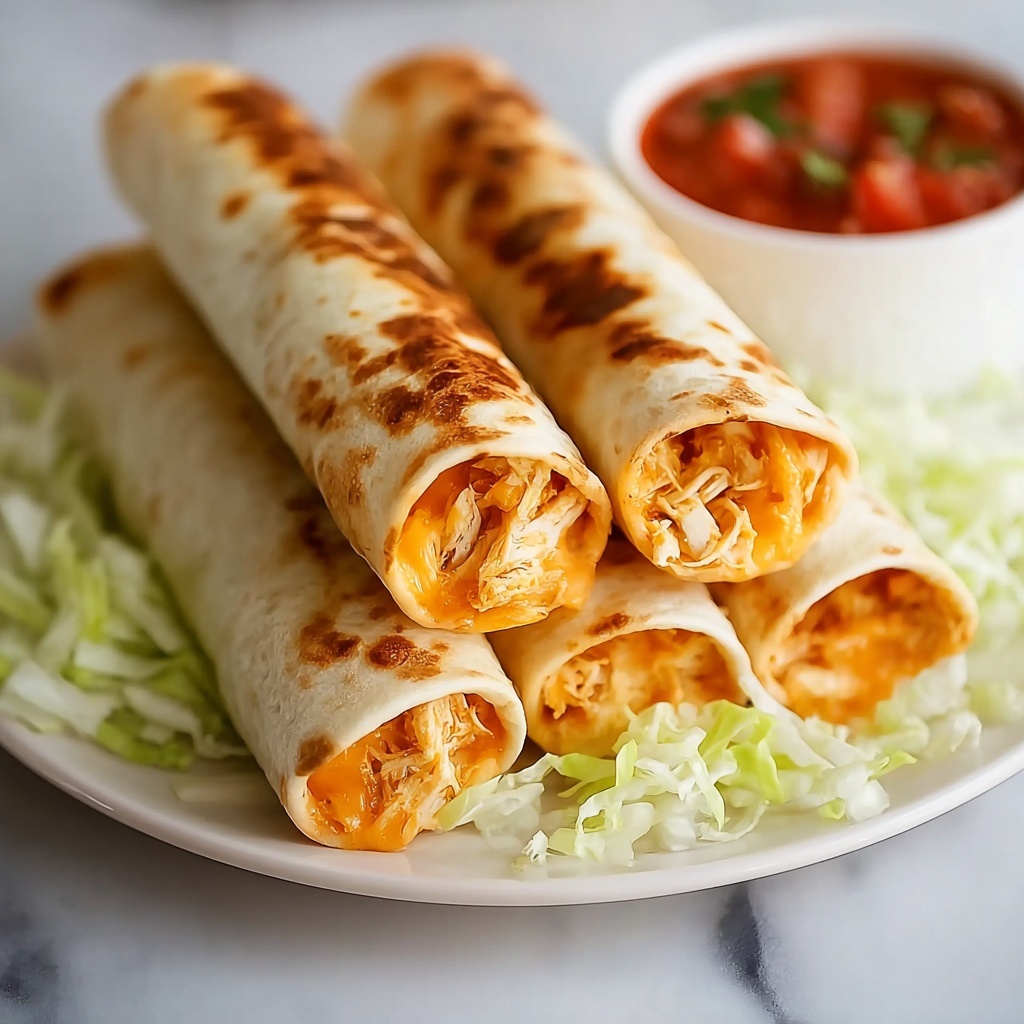
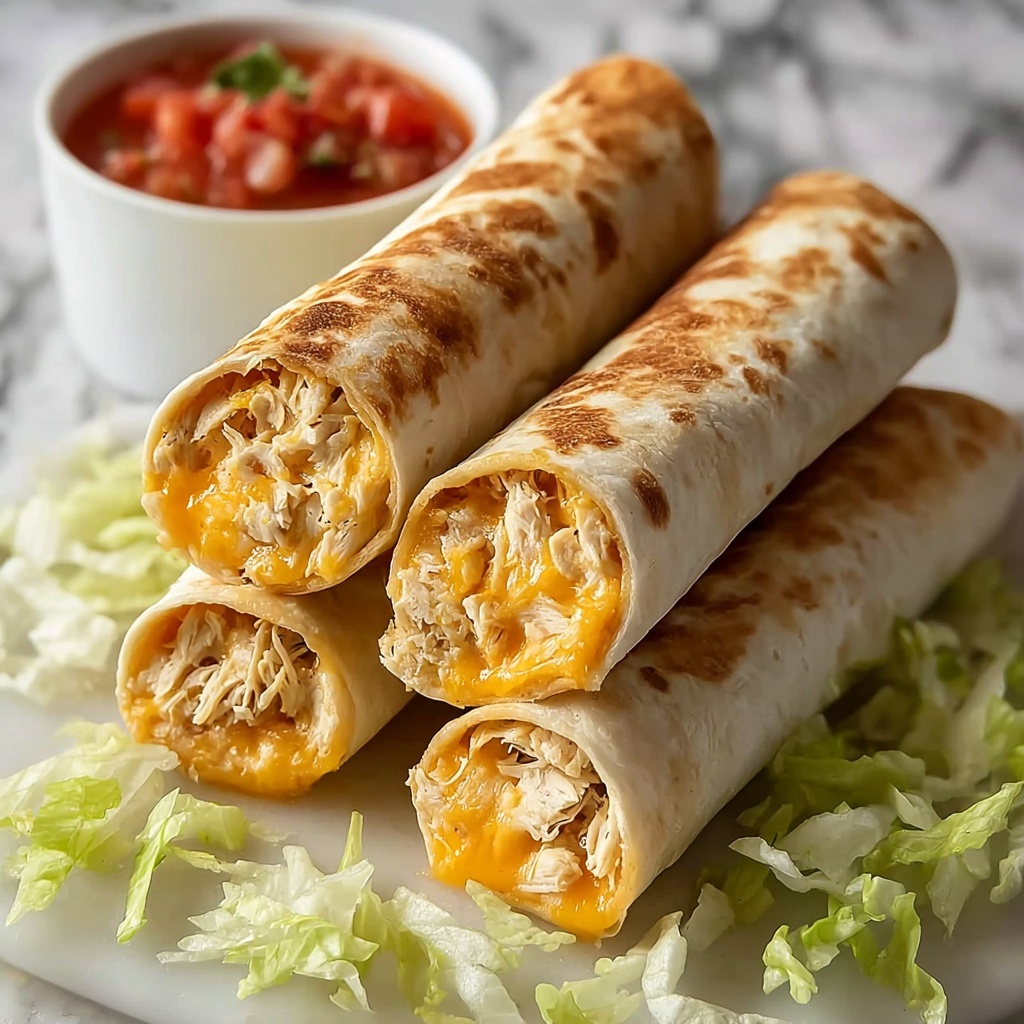
- Serve: Remove the taquitos from the skillet and serve hot. They pair wonderfully over a bed of fresh romaine lettuce with sides of guacamole and salsa for dipping.
Notes
- Warming tortillas makes rolling easier and prevents breakage.
- You can substitute mayo with Greek yogurt for a lighter option.
- Use leftover rotisserie chicken to save time.
- For extra crispiness, press down gently on the taquitos while cooking.
- Store leftovers in an airtight container in the refrigerator for up to 3 days.

