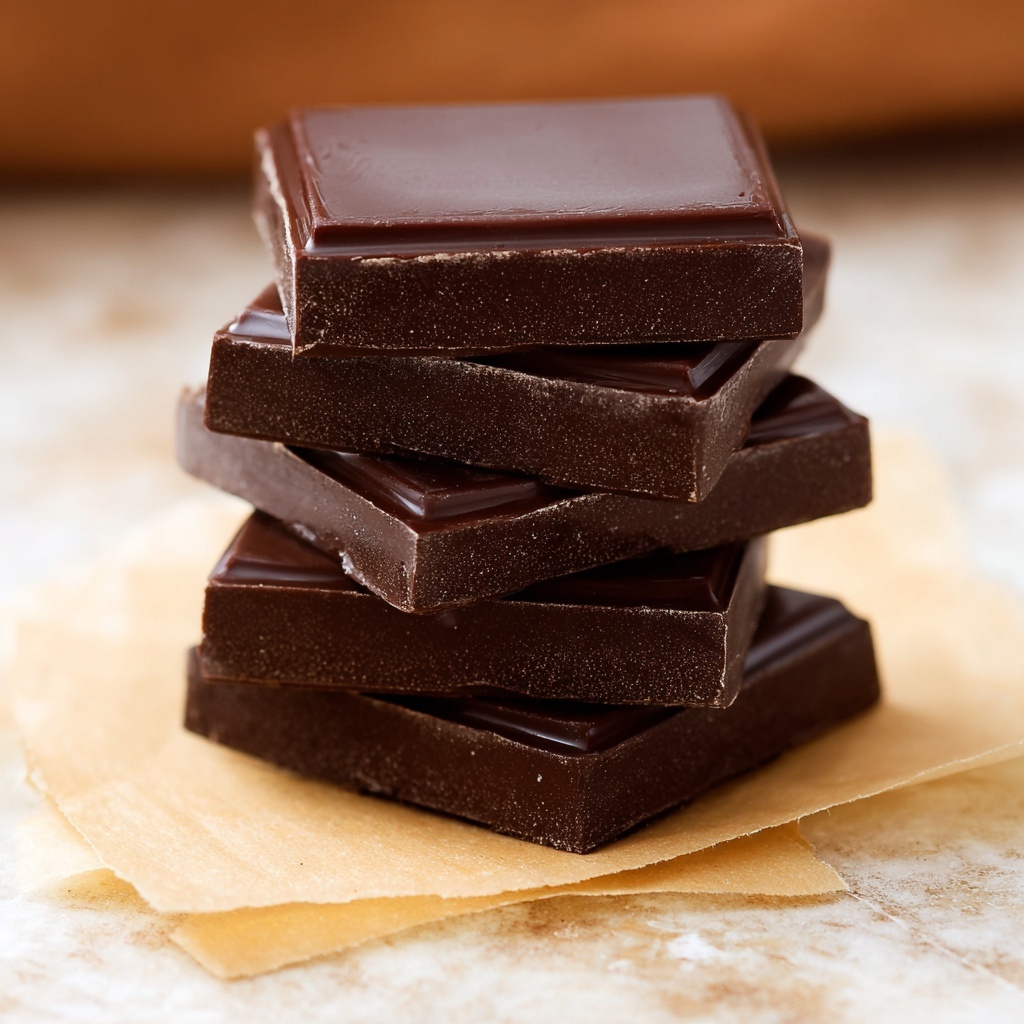
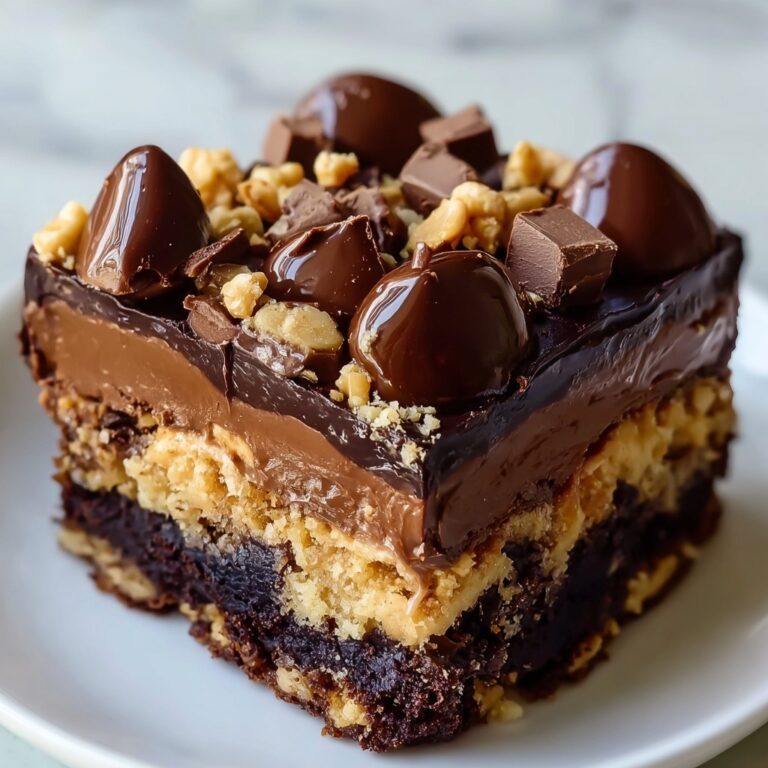
If you’ve been searching for a sweet treat that feels both indulgent and homey, you’ve just found your new favorite with this Irresistible Homemade Chocolate Bars Recipe. Imagine rich, velvety dark chocolate perfectly balanced with a hint of vanilla and sea salt, all coming together in a quick, no-fuss way that will have you reaching for more than one. Whether you’re craving a simple snack or a special handmade gift, these homemade chocolate bars deliver on flavor and comfort every single time.
Ingredients You’ll Need
Creating these chocolate bars is wonderfully straightforward because each ingredient plays a star role, combining to give you a smooth texture, deep flavor, and a hint of natural sweetness. Let’s look at what makes this magic happen.
- Dark chocolate chips (70% cocoa): Choose a quality dark chocolate to ensure a rich, bittersweet base that melts beautifully.
- Coconut oil: Adds silkiness to the melted chocolate and helps the bars set with a glossy finish.
- Pure vanilla extract: Enhances the chocolate’s natural flavors with a warm, aromatic touch.
- Sea salt: Balances sweetness and intensifies the chocolate taste with a subtle savory note.
- Optional nuts or dried fruits: Provides a delightful crunch or chewiness, personalizing your bars to your liking.
How to Make Irresistible Homemade Chocolate Bars Recipe
Step 1: Prepare Your Workspace
Start by clearing off your counter completely and gather all your ingredients so everything is within easy reach. This simple step keeps your workflow smooth and stress-free, which is key for a project as fun and fast as making homemade chocolate bars.
Step 2: Melt the Chocolate and Coconut Oil
Place your dark chocolate chips and coconut oil in a microwave-safe bowl. Microwave in 30-second bursts, stirring after each, until the mixture is completely melted and silky smooth. This gentle melting process prevents the chocolate from burning and ensures an even texture.
Step 3: Add Vanilla and Sea Salt
Once your chocolate blend is smooth, stir in the pure vanilla extract and sea salt. These simple additions turn the chocolate from ordinary to extraordinary by layering in complexity and depth of flavor that will keep you hooked.
Step 4: Pour and Mold
Carefully pour the glossy chocolate mixture into silicone molds or a lined baking tray. Gently tap the molds on the counter to release any trapped air bubbles, giving your bars a flawless finish.
Step 5: Add Nuts or Dried Fruits (Optional)
If you like a little texture, sprinkle your choice of nuts or dried fruits atop the chocolate before it hardens. These toppings add exciting bursts of flavor and make your bars uniquely yours.
Step 6: Refrigerate Until Set
Place the molds in the refrigerator for 1-2 hours until the chocolate bars are completely firm. This chilling step is essential for achieving that perfect snap when you break into your bars.
How to Serve Irresistible Homemade Chocolate Bars Recipe
Garnishes
Sprinkle a pinch of flaky sea salt, a drizzle of melted white chocolate, or even some edible gold dust to elevate your chocolate bars visually and tastefully. These little details make your homemade bars feel even more special and gift-worthy.
Side Dishes
Pair these chocolate bars with a scoop of creamy vanilla ice cream or fresh berries for a quick, delicious dessert. They also work beautifully alongside a warm cup of coffee or tea, enhancing your cozy moments.
Creative Ways to Present
Wrap your chocolate bars in parchment paper tied with twine for a rustic look, or pack them in clear boxes with colorful ribbons for gifts. Getting creative with presentation not only impresses guests but also keeps the excitement alive as you share your homemade treats.
Make Ahead and Storage
Storing Leftovers
Store your homemade chocolate bars in an airtight container in a cool, dry place to keep their texture and flavor intact. Proper storage prevents moisture from dulling the shiny finish and keeps the bars tasting fresh for days.
Freezing
If you want to keep your chocolate bars for longer, freezing is an excellent option. Wrap each bar tightly in plastic wrap and place them in a freezer-safe container. When you’re ready, simply thaw in the refrigerator to avoid condensation forming on the surface.
Reheating
Since these chocolate bars are meant to be enjoyed cold or at room temperature, reheating isn’t necessary. However, if your bars get too firm, allow them to sit at room temperature for a short while before enjoying for the best melt-in-the-mouth experience.
FAQs
Can I use milk chocolate instead of dark chocolate?
Absolutely! Milk chocolate will offer a sweeter and creamier flavor. Just keep in mind it may change the firmness slightly because of its different cocoa content, but it still works wonderfully.
Do I have to use coconut oil?
Coconut oil helps give the bars their smooth texture and snap, but you can substitute with other neutral oils like grapeseed or a small amount of butter if preferred. The texture might vary a bit, though.
How long do homemade chocolate bars last?
Stored properly, these chocolate bars should stay fresh for up to two weeks at room temperature or a month in the refrigerator. Freezing can extend their life even further.
Can I add other flavors or spices?
Yes! Try incorporating cinnamon, chili powder, or even espresso powder into the melted chocolate for a unique twist that complements the richness beautifully.
What kind of molds should I use?
Silicone molds work best because they make removing the bars a breeze, but lined baking trays or even parchment-lined loaf pans will do the job if you don’t have molds handy.
Final Thoughts
Nothing beats the joy of making your own chocolate bars at home, especially when they turn out as delicious and satisfying as this Irresistible Homemade Chocolate Bars Recipe. It’s a simple process that yields rich rewards, perfect for treating yourself or anyone lucky enough to receive a batch. So grab your ingredients, gather your friends or family, and dive into the delightful world of homemade chocolate magic!
Print
Irresistible Homemade Chocolate Bars Recipe
- Prep Time: 5 minutes
- Cook Time: 7 minutes
- Total Time: 12 minutes plus 1-2 hours chilling
- Yield: 8 servings
- Category: Dessert
- Method: No-Cook
- Cuisine: International
- Diet: Gluten Free
Description
Create delicious and customizable homemade chocolate bars using simple ingredients like dark chocolate, coconut oil, and vanilla extract. This easy no-cook recipe allows you to craft perfect chocolate treats with optional nuts or dried fruits for added texture and flavor.
Ingredients
Chocolate Base
- 1 cup dark chocolate chips (70% cocoa)
- 2 tbsp coconut oil
- 1 tsp pure vanilla extract
- 1/2 tsp sea salt
Optional Add-ins
- 1/4 cup nuts or dried fruits (e.g., almonds, cranberries)
Instructions
- Prepare Workspace: Clear your countertop and gather all ingredients to ensure a smooth and efficient chocolate making process.
- Melt Chocolate and Coconut Oil: In a microwave-safe bowl, combine dark chocolate chips and coconut oil. Microwave in 30-second intervals, stirring well between each, until the mixture is completely melted and smooth.
- Add Flavorings: Stir in the vanilla extract and sea salt to the melted chocolate mixture to enhance the taste and depth of flavor.
- Pour Mixture into Molds: Transfer the chocolate mixture into silicone molds or a lined baking tray, tapping gently to eliminate any air bubbles for a smooth finish.
- Add Optional Toppings: Sprinkle your choice of nuts or dried fruits on top of the chocolate before it sets to add texture and complementary flavors.
- Chill to Set: Place the molds or tray in the refrigerator and chill for 1-2 hours until the chocolate bars are firm and fully set.
Notes
- Ensure stirring between microwaving intervals to prevent burning and achieve a smooth melt.
- Use silicone molds for easy removal or line baking trays with parchment paper as an alternative.
- Feel free to customize with your favorite nuts, seeds, or dried fruits for varying textures and tastes.
- Store finished chocolate bars in an airtight container in the refrigerator for up to two weeks.
- Let chocolates sit at room temperature for a few minutes before eating for improved flavor and texture.


