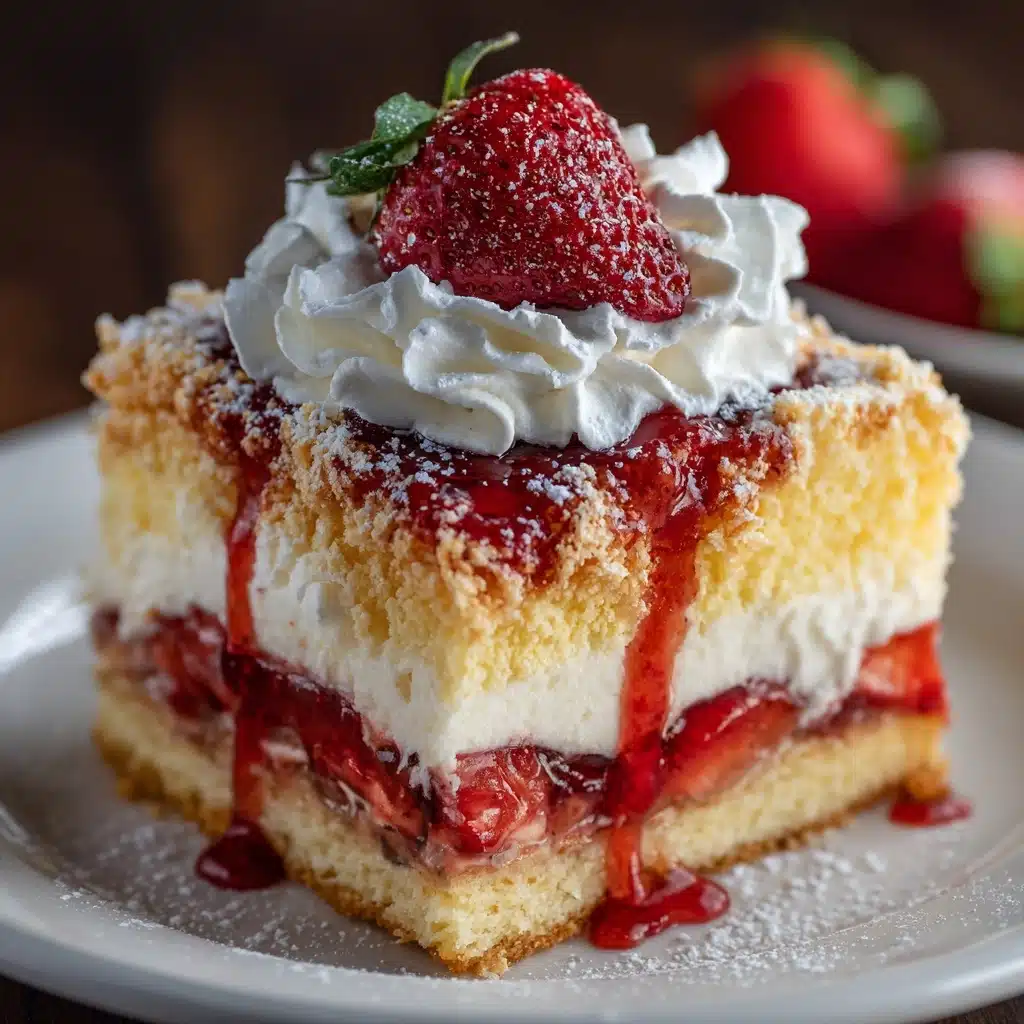
No-Fuss Strawberry Cheesecake Dump Cake Recipe
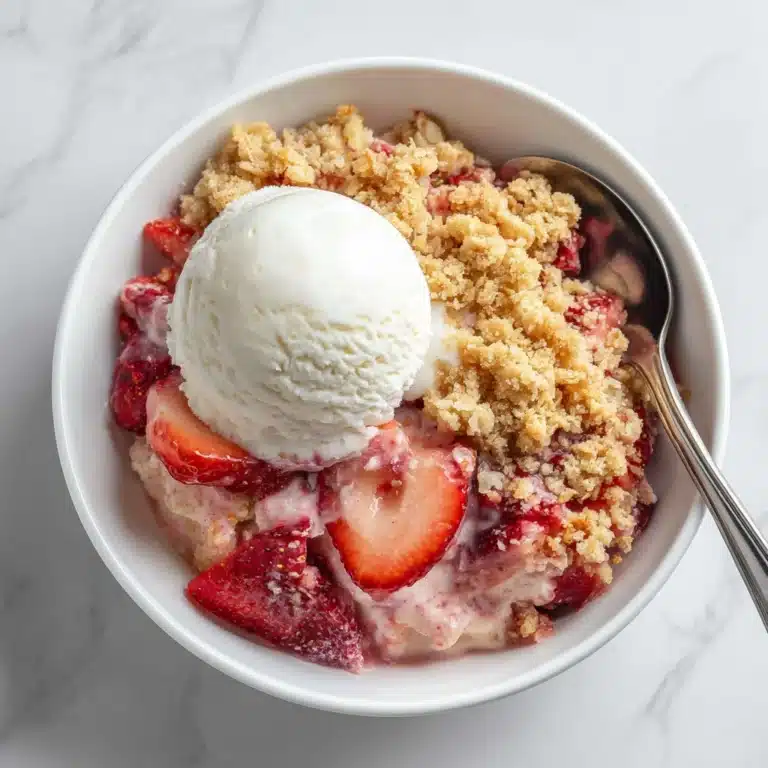
If you’re searching for a true “set it and forget it” dessert that dazzles with minimal effort, look no further than the No-Fuss Strawberry Cheesecake Dump Cake. Every bite combines the bright, jammy flavor of strawberries with a decadently creamy cheesecake layer and a buttery, crisp topping. Whether you’re feeding a crowd or just craving something sweet and cheerful on a weeknight, this cake’s magic comes together in under an hour with pantry staples and zero stress. Trust me, this dessert will charm strawberry lovers and cheesecake enthusiasts alike!
Ingredients You’ll Need
This recipe is a perfect showcase of how simple, humble ingredients can work together for a show-stopping result. Each component adds its own flavor and texture for a balanced, bursting-with-berry dessert you’ll want to make again and again.
- Strawberry Pie Filling (1 21-ounce can): Sweet, syrupy strawberries are the vibrant, juicy bottom layer and the secret shortcut to amazing flavor with absolutely no chopping or prepping.
- Cream Cheese (1 8-ounce package, softened): This creamy, tangy addition swirls throughout for a cheesecake taste that feels homemade and special.
- Granulated Sugar (1/3 cup): Just enough to sweeten the cream cheese filling, balancing tartness and highlighting the strawberry flavor.
- Vanilla Extract (1 teaspoon): Adds a subtle, warm note that brings the cream cheese layer to life and complements the fruit.
- Yellow Cake Mix (1 15.25-ounce box): Provides the fluffy, buttery “cake” top that’s perfectly golden and crisp once baked.
- Unsalted Butter (1/2 cup, melted): Melted butter seeps into the cake mix, creating a rich and satisfying finish with those golden-brown edges everyone fights over.
- Fresh Strawberries & Whipped Cream (optional, for topping): These classic garnishes add a fresh, elegant touch to each serving and make every plate look irresistible.
How to Make No-Fuss Strawberry Cheesecake Dump Cake
Step 1: Prep Your Pan and Preheat
Start by preheating your oven to 350°F and giving a 9×13-inch baking dish a quick mist of nonstick spray or a light swipe of butter. This step ensures every delicious scoop slides out perfectly—and makes cleanup a dream later on.
Step 2: Layer in the Strawberry Filling
Grab your can of strawberry pie filling and spread it evenly across the bottom of the baking dish. This layer will bubble up as it bakes, infusing every bite with juicy strawberry flavor right from the start.
Step 3: Make the Cheesecake Swirl
In a medium bowl, beat together the softened cream cheese, granulated sugar, and vanilla extract until super smooth. This creamy mixture is what gives our No-Fuss Strawberry Cheesecake Dump Cake its signature richness. Drop generous spoonfuls over the strawberry layer, then gently swirl with a knife—the goal is to create tasty ribbons, but no need for perfection!
Step 4: Add the Cake Mix
Next up: evenly sprinkle the dry yellow cake mix right over your swirled layers. Don’t stir! Leaving it dry on top lets the butter soak in and form that crisp, sunny crust.
Step 5: Drizzle the Melted Butter
Slowly drizzle the melted butter across the entire cake mix topping, aiming to moisten as much surface area as possible. This is the “magic touch” that bakes up into buttery golden pockets atop your cake—trust me, you don’t want to skimp here!
Step 6: Bake Until Golden and Bubbling
Pop the pan into the oven for 40–45 minutes. You’ll know it’s done when the edges are bubbly, the top is beautifully crisp and golden, and your kitchen smells like pure happiness. A little cooling time helps everything set, so exercise some patience—if you can!
How to Serve No-Fuss Strawberry Cheesecake Dump Cake
Garnishes
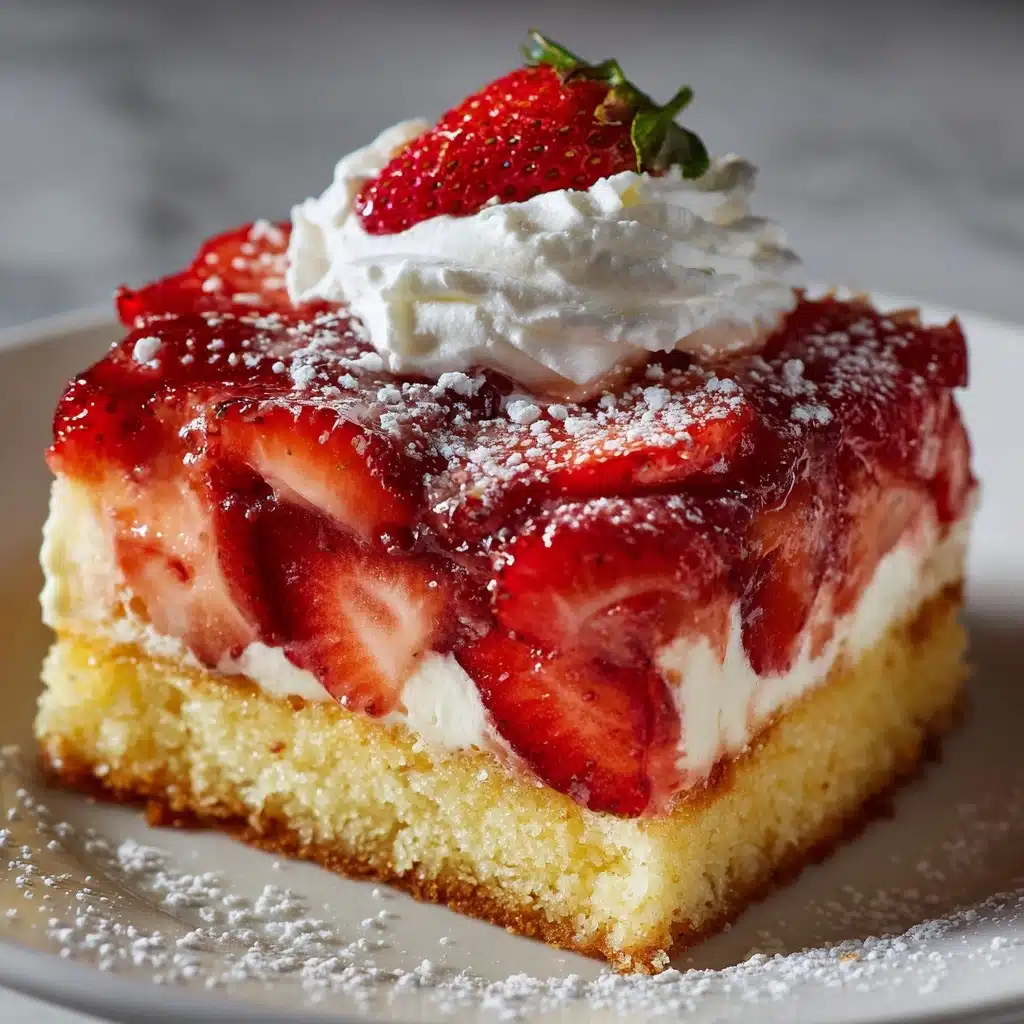
A fluffy cloud of whipped cream and a scatter of fresh strawberries take each serving of No-Fuss Strawberry Cheesecake Dump Cake from everyday comfort to celebration-worthy. For a sprightly pop of color, add a sprinkling of lemon zest or some finely chopped mint.
Side Dishes
Since this dessert is unapologetically rich, pair it with something light and refreshing on the side. I love serving it with a crisp glass of iced tea or a bowl of tangy Greek yogurt. Vanilla ice cream is always a classic, but even a bowl of fresh berries keeps things bright and seasonal.
Creative Ways to Present
Turn No-Fuss Strawberry Cheesecake Dump Cake into a party-ready parfait by layering scoops into pretty glasses with extra whipped cream. Or, cut the cake into neat squares, dust with powdered sugar, and serve on a platter for a high-tea vibe. If you want a rustic look, just scoop straight from the pan into bowls and let those luscious layers shine!
Make Ahead and Storage
Storing Leftovers
Leftovers of No-Fuss Strawberry Cheesecake Dump Cake keep beautifully in the fridge. Cover the baking dish tightly with foil or transfer slices to an airtight container. It’ll be delicious for up to 4 days—though good luck making it last that long!
Freezing
You can absolutely freeze this cake. For best results, let it cool fully, then wrap portions tightly in plastic and foil, or use freezer-safe containers. The texture stays creamy and delicious for up to three months—just remember to label and date your treat.
Reheating
To reheat, simply pop your slice into the microwave for about 20–30 seconds, or warm it in a 300°F oven until just heated through. If serving from frozen, let it thaw overnight in the fridge before gently reheating so every layer stays luscious and smooth.
FAQs
Can I use fresh strawberries instead of pie filling?
You can, but for best results (and that signature saucy consistency), stick with the canned pie filling. Fresh berries lack the syrupy goodness that binds the base and keeps everything perfectly moist.
Is it possible to use a different flavor of pie filling?
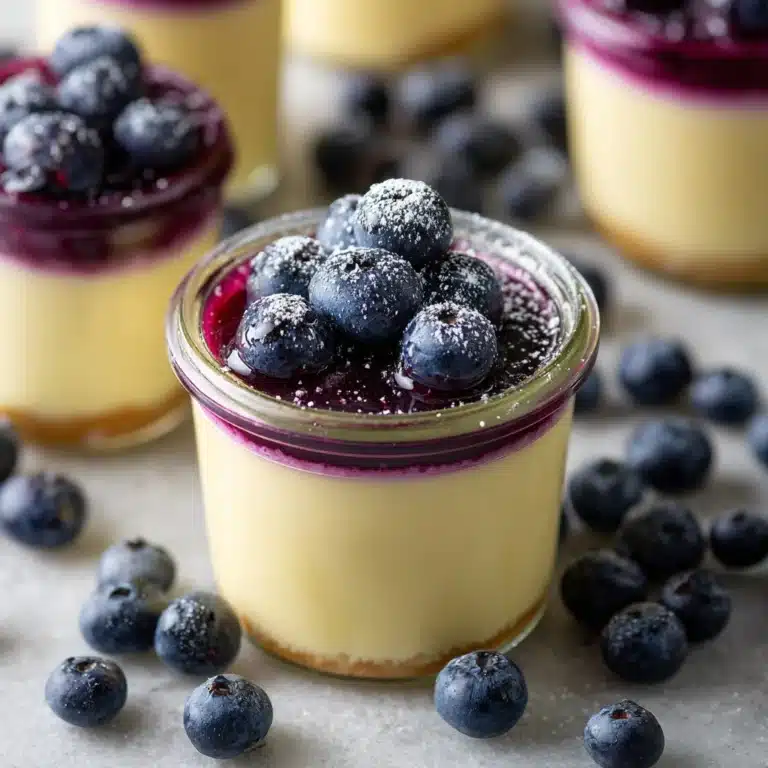
Absolutely! Try blueberry, cherry, or even peach pie filling for fun variations—the dump cake method is wonderfully flexible, so play with your favorite flavors and see which you love most.
Can I make No-Fuss Strawberry Cheesecake Dump Cake gluten-free?
Yes! Substitute your favorite gluten-free yellow cake mix to make this dessert gluten-free. All other ingredients are naturally free of gluten, so it’s an easy swap.
Do I have to soften the cream cheese?
Softening the cream cheese is essential—otherwise, it won’t combine smoothly with the sugar and vanilla. Just set it out at room temperature for 30–60 minutes before you start, or microwave it in 10-second bursts until soft.
Why shouldn’t I stir after adding the cake mix and butter?
Resist the urge to mix! Keeping the layers separate lets the butter soak into the cake mix and form that signature crispy top, while the cheesecake and fruit layers gently bubble below. Trust the process for the best texture.
Final Thoughts
If you want a dessert that brings smiles with ridiculously little effort, this No-Fuss Strawberry Cheesecake Dump Cake is your new secret weapon. It’s fun, speedy, and virtually guaranteed to impress—so go ahead, treat your friends (and yourself) to a slice of sunshine soon!
Print
No-Fuss Strawberry Cheesecake Dump Cake Recipe
- Total Time: 55 minutes
- Yield: 12 servings 1x
- Diet: Vegetarian
Description
Indulge in the delightful simplicity of this No-Fuss Strawberry Cheesecake Dump Cake. A luscious blend of strawberry pie filling, creamy cheesecake, and buttery cake mix, this easy dessert is a perfect treat for any occasion.
Ingredients
For the Cake:
- 1 (21-ounce) can strawberry pie filling
- 1 (8-ounce) package cream cheese (softened)
- 1/3 cup granulated sugar
- 1 teaspoon vanilla extract
- 1 (15.25-ounce) box yellow cake mix
- 1/2 cup unsalted butter (melted)
- Fresh strawberries and whipped cream for topping (optional)
Instructions
- Preheat the Oven: Preheat the oven to 350°F and lightly grease a 9×13-inch baking dish.
- Prepare the Base: Spread the strawberry pie filling evenly in the bottom of the dish.
- Make the Cheesecake Mixture: In a bowl, beat together the cream cheese, sugar, and vanilla extract until smooth. Drop spoonfuls over the pie filling and swirl gently.
- Add the Cake Mix: Sprinkle the dry cake mix evenly over the top.
- Drizzle with Butter: Pour the melted butter over the cake mix.
- Bake: Bake for 40–45 minutes until golden and bubbly. Cool slightly before serving.
- Serve: Top with whipped cream and fresh strawberries if desired.
Notes
- For extra richness, add dollops of strawberry jam before baking.
- Best served warm but also delicious chilled.
- Prep Time: 10 minutes
- Cook Time: 45 minutes
- Category: Dessert
- Method: Baking
- Cuisine: American
Nutrition
- Serving Size: 1 slice
- Calories: 310
- Sugar: 25g
- Sodium: 270mg
- Fat: 15g
- Saturated Fat: 9g
- Unsaturated Fat: 5g
- Trans Fat: 0g
- Carbohydrates: 40g
- Fiber: 1g
- Protein: 3g
- Cholesterol: 40mg

