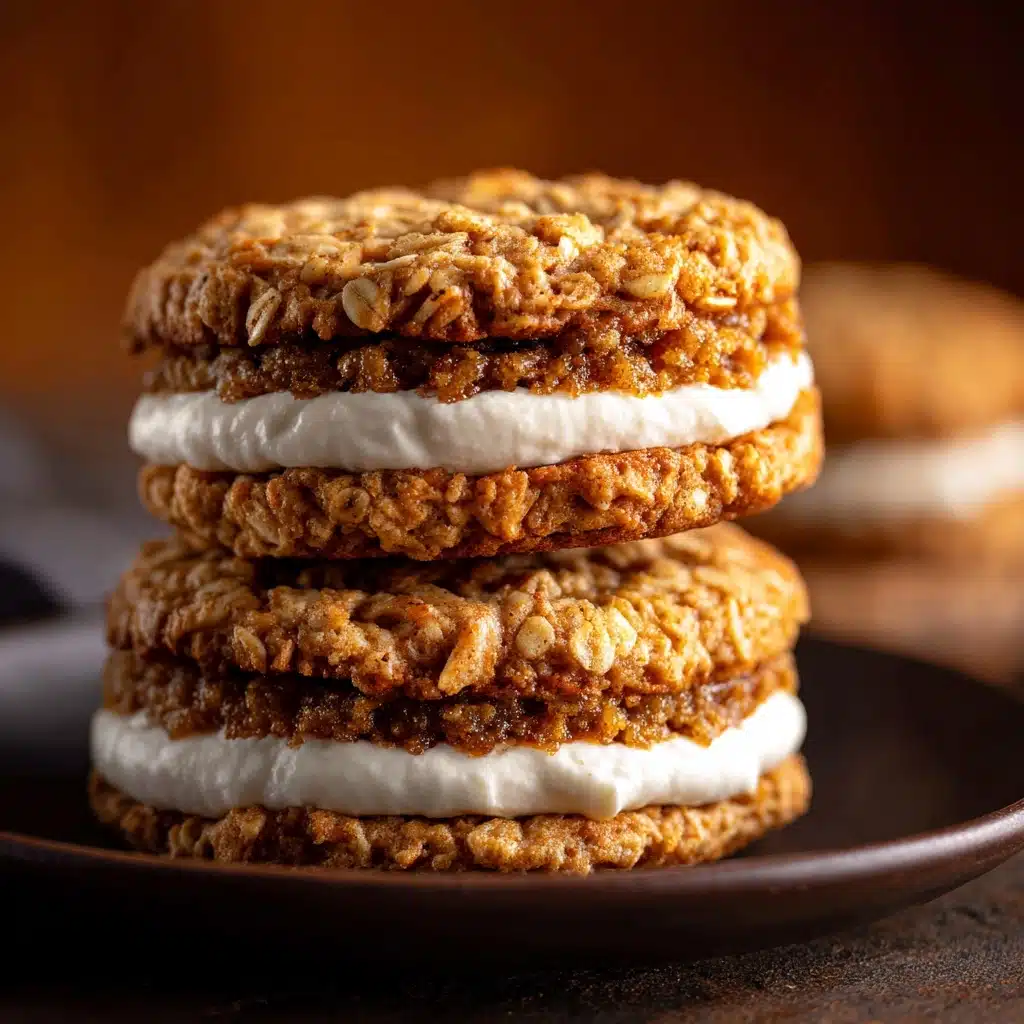
Little Debbie Oatmeal Cream Pies Recipe
If you’ve ever had a soft spot for nostalgic treats, you’re going to fall head-over-heels for these homemade Little Debbie Oatmeal Cream Pies. This recipe delivers all the tender chew, buttery oatmeal sweetness, and dreamy vanilla filling of the original, but with the extra bonus of fresh-from-the-oven, real ingredients you can pronounce. Whether you’re baking them for a special after-school snack, a potluck, or just to relive your favorite childhood memory, these Little Debbie Oatmeal Cream Pies are sure to delight on every level.
Ingredients You’ll Need
One of the best things about these Little Debbie Oatmeal Cream Pies is how straightforward the ingredients are. Each one plays an important role in creating that signature flavor, texture, and the irresistible cream filling.
- Unsalted butter: Ensures a rich, irresistible flavor and softness in both the cookies and the cream filling.
- Brown sugar: Adds a deep, caramel-like sweetness and keeps the cookies moist and chewy.
- Granulated sugar: Lends sweetness and helps the cookies develop a soft bite.
- Molasses: Key for that classic oatmeal cream pie taste; don’t skip it!
- Large eggs: Bind the dough and give the cookies just the right structure.
- Vanilla extract: A touch of warmth that elevates both the cookies and the filling.
- All-purpose flour: The backbone of the cookie, providing needed structure.
- Baking soda: Ensures the cookies bake up soft and puffy, not flat.
- Salt: Balances the sweetness and brings out all the flavors.
- Ground cinnamon: Adds warmth and a kiss of spice to the oatmeal cookies.
- Quick oats: Adds heartiness and that classic chewy texture.
- Vegetable shortening: Makes the filling extra fluffy and stable, just like the original.
- Powdered sugar: Sweetens and gives body to the cream filling.
- Milk or heavy cream: Adjusts the filling to a perfectly spreadable consistency.
How to Make Little Debbie Oatmeal Cream Pies
Step 1: Cream Butter and Sugars
Start by preheating your oven to 350°F and lining two baking sheets with parchment. In a large mixing bowl, use an electric mixer to cream together the softened butter, brown sugar, and granulated sugar. Mix until it’s pale, fluffy, and irresistible to steal a taste! This step ensures a soft, tender cookie base, so don’t rush it.
Step 2: Add Wet Ingredients
Now, mix in the molasses, eggs, and vanilla extract. This trio is the flavor powerhouse, creating that classic oatmeal cream pie aroma as soon as it hits the bowl. Blend until your mixture is smooth and well combined.
Step 3: Combine Dry Ingredients
In a separate bowl, whisk together the flour, baking soda, salt, and ground cinnamon. These dry ingredients work together to create the soft and slightly spiced character of the cookies, so be sure to distribute everything evenly before adding to the wet mix.
Step 4: Mix the Dough
Slowly add the flour mixture into your wet ingredients, stirring gently as you go. Once combined, fold in the quick oats until they’re evenly distributed. This is what gives your Little Debbie Oatmeal Cream Pies that signature chew and rustic look.
Step 5: Scoop and Bake
Use a tablespoon to scoop dough onto your prepared baking sheets, keeping each scoop about two inches apart so they have room to spread. Bake for 9 to 11 minutes, until the edges are just golden and the centers look barely set. Don’t be tempted to overbake; the soft texture is key!
Step 6: Cool the Cookies
Let the cookies cool on the baking sheet for about five minutes before transferring them to a wire rack. This lets them finish setting up without drying out. Fully cooled cookies make assembly easier and keep the filling from melting into gooey puddles.
Step 7: Make the Cream Filling
While your cookies cool, whip up the dreamy filling by beating the butter, vegetable shortening, and vanilla extract until creamy and smooth. Gradually add powdered sugar, mixing well. Thin out the mixture with a tablespoon or two of milk or heavy cream until it’s fluffy and spreadable—just like the iconic filling in the original Little Debbie Oatmeal Cream Pies.
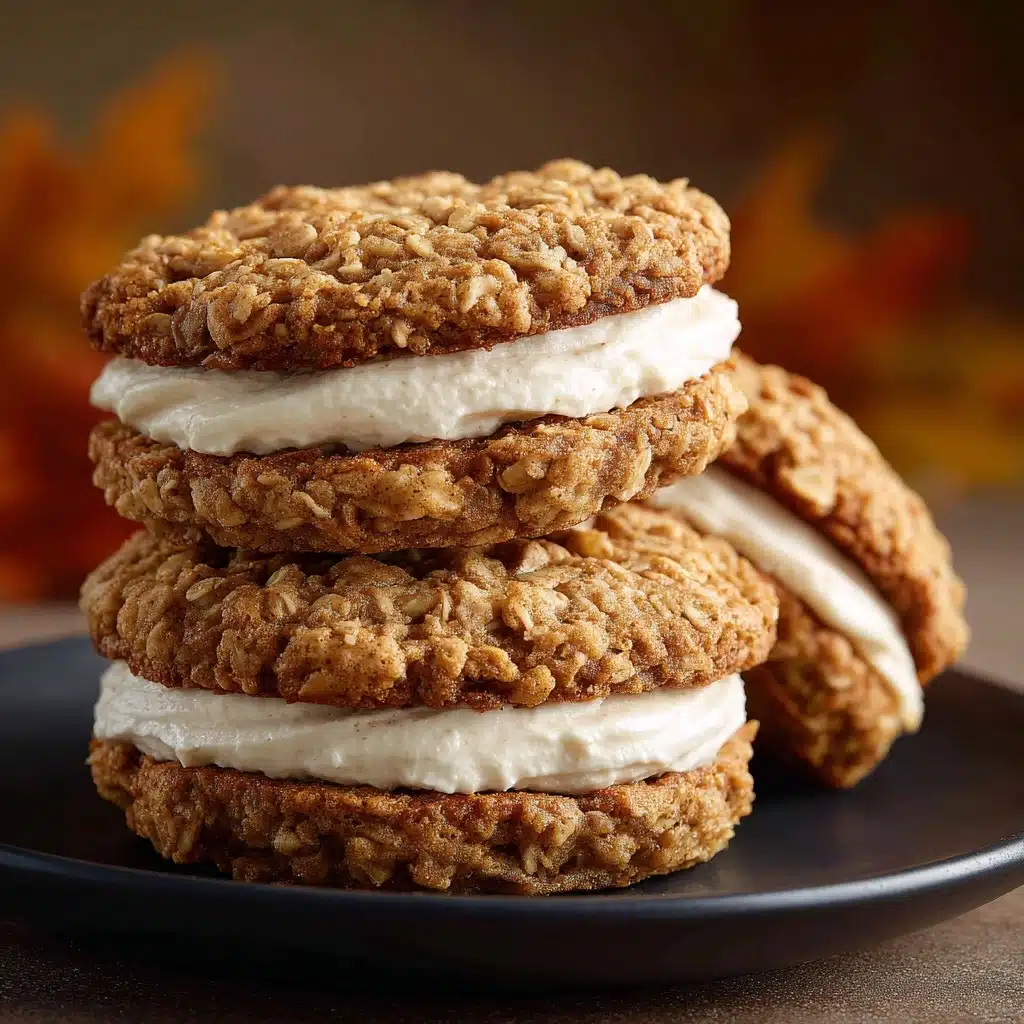
Step 8: Assemble Your Pies
Turn half of your cookies upside down, and either pipe or spread a generous dollop of the cream filling on each. Top with another cookie to make a sandwich, gently pressing so the filling spreads to the edges. Now, marvel at your homemade Little Debbie Oatmeal Cream Pies!
How to Serve Little Debbie Oatmeal Cream Pies
Garnishes
For a finishing touch, you can dust your Little Debbie Oatmeal Cream Pies with a touch of powdered sugar, or drizzle with a light vanilla glaze if you’re feeling fancy. Even a sprinkle of cinnamon on top can add a warm, inviting look and aroma.
Side Dishes
Serve your oatmeal cream pies alongside a tall glass of cold milk for ultimate nostalgia. They also pair beautifully with hot coffee, spiced chai, or even a scoop of vanilla ice cream for a decadent dessert plate.
Creative Ways to Present
Wrap each pie individually in parchment and twine for a lunchbox surprise or picnic treat. Stack them on a tiered cake stand for a show-stopping dessert display, or pop a pie into a cellophane bag as part of a homemade gift basket. Wherever you share them, these Little Debbie Oatmeal Cream Pies are sure to be the star!
Make Ahead and Storage
Storing Leftovers
Keep your assembled Little Debbie Oatmeal Cream Pies fresh by storing them in an airtight container at room temperature for up to three days. Make sure the container is well-sealed, so the cookies stay soft and the filling stays silky.
Freezing
If you’d like to save some for later, freeze the finished pies in a single layer on a baking sheet until solid, then transfer to a freezer-safe bag or container. They’ll keep well for up to two months and defrost perfectly at room temperature.
Reheating
While these pies taste fantastic at room temperature, if you want to soften them slightly, a few seconds in the microwave will bring back their just-baked texture. Be careful not to overheat so the filling doesn’t melt completely.
FAQs
Can I make these Little Debbie Oatmeal Cream Pies gluten free?
Absolutely! Substitute your favorite 1-to-1 gluten-free flour blend for the all-purpose flour, and double-check that your oats are certified gluten free. The texture might be slightly different, but the flavor will still be delicious.
Is it okay to use old-fashioned oats instead of quick oats?
Quick oats are best for the soft, classic texture, but you can use old-fashioned oats in a pinch. Give them a quick pulse in the blender or food processor, so your pies aren’t too chunky or dense.
Can I substitute marshmallow creme for the cream filling?
Yes, for a shortcut, feel free to swap marshmallow creme for the homemade filling. It’s not quite as rich or buttery, but it’ll still create that soft, fluffy center reminiscent of store-bought Little Debbie Oatmeal Cream Pies.
What’s the best way to get evenly sized cookies?
Using a cookie scoop ensures even portions, which means every sandwich lines up perfectly. If you don’t have a scoop, use a heaping tablespoon and try to keep each mound the same size and shape for the most uniform pies.
Can I make the dough or filling ahead of time?
Definitely! Both the cookie dough and the cream filling can be made a day ahead. Store the dough tightly wrapped in the fridge, and keep the filling covered. Bring both to room temperature before baking and assembling for best results.
Final Thoughts
There’s just something magical about recreating childhood favorites, and these Little Debbie Oatmeal Cream Pies do not disappoint. Whether you’re sharing with family, packing them up for a sweet surprise, or simply treating yourself, you’re in for a real treat. Don’t wait to bake a batch and experience just how joyful homemade can be!
Print
Little Debbie Oatmeal Cream Pies Recipe
- Total Time: 30 minutes
- Yield: 10–12 sandwich cookies 1x
- Diet: Vegetarian
Description
Learn how to make homemade Little Debbie oatmeal cream pies with this delicious recipe. These nostalgic sandwich cookies are a perfect sweet treat for any occasion.
Ingredients
For the cookies:
- 1 cup unsalted butter, softened
- ¾ cup packed brown sugar
- ½ cup granulated sugar
- 1 tablespoon molasses
- 2 large eggs
- 1 teaspoon vanilla extract
- 1½ cups all-purpose flour
- ½ teaspoon baking soda
- ½ teaspoon salt
- 1 teaspoon ground cinnamon
- 1½ cups quick oats
For the cream filling:
- ½ cup unsalted butter, softened
- ½ cup vegetable shortening
- 1 teaspoon vanilla extract
- 2 cups powdered sugar
- 1–2 tablespoons milk or heavy cream
Instructions
- Preheat the oven and prepare baking sheets: Preheat the oven to 350°F and line two baking sheets with parchment paper.
- Mix cookie dough: Cream together the butter and sugars, add molasses, eggs, vanilla, then mix in dry ingredients and oats.
- Bake the cookies: Scoop dough onto baking sheets, bake for 9–11 minutes until edges are golden.
- Make the cream filling: Beat butter, shortening, vanilla, and powdered sugar until fluffy, adding milk for consistency.
- Assemble the cookies: Spread or pipe filling on one cookie and sandwich with another.
Notes
- For a more authentic texture, avoid overbaking the cookies—soft centers are key.
- You can substitute marshmallow creme for the filling if desired.
- Prep Time: 20 minutes
- Cook Time: 10 minutes
- Category: Dessert
- Method: Baking
- Cuisine: American
Nutrition
- Serving Size: 1 sandwich cookie
- Calories: 370
- Sugar: 27g
- Sodium: 180mg
- Fat: 20g
- Saturated Fat: 9g
- Unsaturated Fat: 9g
- Trans Fat: 1g
- Carbohydrates: 45g
- Fiber: 1g
- Protein: 3g
- Cholesterol: 35mg


