Banana Pudding Cheesecake Cones Recipe
If you’re looking for an irresistible treat that combines classic Southern comfort with creamy decadence, look no further than Banana Pudding Cheesecake Cones. These delightful no-bake cones feature layers of silky cheesecake filling, sweet banana pudding, crunchy vanilla wafers, and fresh banana slices—all nestled inside a crispy waffle cone. They’re the ultimate mash-up dessert that’s perfect for summer parties, family gatherings, or whenever you want a fun, crowd-pleasing sweet. Every bite is a celebration of texture and flavor that’s guaranteed to bring smiles to everyone at the table.
Ingredients You’ll Need
What makes Banana Pudding Cheesecake Cones so special is how simple yet essential each ingredient is. Every component brings something unique—whether it’s creaminess, crunch, or a burst of banana flavor—to create a dessert that’s as fun to make as it is to eat.
- Waffle cones: These are the perfect edible vessel, providing a sweet crunch and holding all the delicious layers together.
- Instant banana pudding mix: A quick shortcut to that classic banana pudding flavor without any stovetop fuss.
- Cold milk: Helps the pudding set up thick and creamy, making it the perfect partner for the cheesecake base.
- Cream cheese (softened): Gives the cones their signature rich, tangy cheesecake taste and ultra-creamy texture.
- Powdered sugar: Adds smooth sweetness that melts seamlessly into the filling.
- Vanilla extract: Just a splash enhances all the flavors and makes everything taste homemade.
- Whipped topping: Lightens up the filling and adds a fluffy finish, plus it’s great for garnishing.
- Crushed vanilla wafer cookies: Brings that essential banana pudding crunch and a nostalgic touch.
- Ripe bananas (sliced): The star of the show! Fresh bananas add natural sweetness and a pop of color.
- Extra wafers & banana slices: For that final flourish on top—because presentation is everything!
How to Make Banana Pudding Cheesecake Cones
Step 1: Prepare the Banana Pudding
Start by grabbing a medium bowl and whisking together the instant banana pudding mix with cold milk for about two minutes, until it thickens up. You’ll notice the aroma is already incredible. Let it sit while you move on to the next step—this gives the pudding time to set up perfectly.
Step 2: Make the Cheesecake Base
In a large mixing bowl, beat the softened cream cheese until it’s completely smooth and free of any lumps. Add the powdered sugar and vanilla extract, then mix again until everything is fully incorporated. This creates that signature creamy, tangy cheesecake layer that makes these cones so irresistible.
Step 3: Combine and Fold
Now, gently fold the prepared banana pudding into the cream cheese mixture, along with the whipped topping. Be careful not to overmix—you want a light, fluffy filling. This is when all the dreamy flavors start to mingle, creating the magic of Banana Pudding Cheesecake Cones.
Step 4: Add Crunch and Bananas
If you’re planning to serve the cones right away, fold in half of the crushed vanilla wafers and a few banana slices. This ensures every bite is bursting with creamy, crunchy, and fruity goodness. If you’re prepping ahead, you can skip this step and simply layer the toppings later to keep everything fresh.
Step 5: Fill the Cones
Spoon or pipe the cheesecake-banana pudding mixture into each waffle cone, filling them right to the top. It’s easiest (and tidiest) to use a piping bag or a zip-top bag with the corner snipped off. Don’t forget to gently press the filling down so you get cheesecake goodness all the way to the tip!
Step 6: Garnish and Serve
Top each cone with a swirl of whipped topping, extra crushed vanilla wafers, and a few slices of banana. If you’d like, you can also tuck in a whole vanilla wafer for a little extra flair. Serve your Banana Pudding Cheesecake Cones immediately for the perfect mix of creamy filling and crunchy cone, or chill them upright for 30 to 60 minutes so the flavors can blend together even more.
How to Serve Banana Pudding Cheesecake Cones

Garnishes
The right garnish can make your cones look absolutely stunning. Try a dollop of whipped topping, a sprinkle of extra crushed vanilla wafers, and a slice or two of fresh banana perched on top. For a playful touch, add a whole vanilla wafer or even a drizzle of caramel sauce. These little extras turn Banana Pudding Cheesecake Cones into a true showstopper.
Side Dishes
Since these cones are rich and sweet, they pair beautifully with lighter sides like fresh berries, a fruit salad, or even a crisp glass of iced tea. If you’re serving them at a party, set out a platter of assorted cookies or a bowl of mixed nuts for a complete dessert spread.
Creative Ways to Present
Banana Pudding Cheesecake Cones look fabulous served upright in a tall glass, mini cone holder, or even nestled in a bowl of crushed wafers. For parties, try using mini cones for bite-sized treats. You can also wrap the bottoms in colorful paper or ribbon for an extra festive touch that makes them easy to hold and enjoy.
Make Ahead and Storage
Storing Leftovers
If you have leftovers, store the filled cones in the refrigerator, standing upright in a tall glass or container so they don’t tip over. They’ll stay fresh for about a day, but keep in mind that the cones may soften over time. For best results, fill the cones just before serving and keep the filling and garnishes separate until you’re ready to enjoy.
Freezing
Believe it or not, Banana Pudding Cheesecake Cones freeze beautifully! Just wrap each filled cone tightly in plastic wrap, place them in a freezer-safe container, and freeze for up to one month. When you’re ready to serve, let them thaw for about 20 minutes at room temperature for a firmer, ice cream-like treat.
Reheating
Since these cones are a no-bake dessert, there’s no need to reheat them. If you’ve frozen the cones, let them thaw slightly before serving to soften the filling and bring back that creamy texture everyone loves.
FAQs
Can I make Banana Pudding Cheesecake Cones ahead of time?
Absolutely! You can prepare the cheesecake filling and pudding up to a day in advance and store them in the fridge. Wait to fill the cones until just before serving so they stay crisp.
What if I can’t find banana pudding mix?
If banana pudding mix isn’t available, you can use vanilla pudding mix and add a teaspoon of banana extract for a similar flavor. Or, mash a ripe banana into the pudding for extra banana goodness.
How do I keep the cones from getting soggy?
The trick is to fill the cones right before serving. If you’re prepping ahead, store the filling and cones separately, and assemble just before your guests arrive.
Can I use homemade whipped cream instead of whipped topping?
Yes, homemade whipped cream works wonderfully! Just whip heavy cream with a little powdered sugar until stiff peaks form, then use it in place of the whipped topping for a richer, fresher taste.
Are there any nut-free or gluten-free modifications?
Of course! Use gluten-free cones and wafer cookies if needed, and always check the labels on your pudding mix and whipped topping. The recipe itself is naturally nut-free, so you’re good to go for most allergies.
Final Thoughts
If you’re searching for a sweet treat that’s quick, fun, and absolutely bursting with flavor, you can’t go wrong with Banana Pudding Cheesecake Cones. Whether you’re hosting a summer get-together or just want to brighten an ordinary day, these cones are guaranteed to impress. Give them a try and watch them disappear—there won’t be a crumb left!
Print
Banana Pudding Cheesecake Cones Recipe
- Total Time: 20 minutes
- Yield: 6 cones 1x
- Diet: Vegetarian
Description
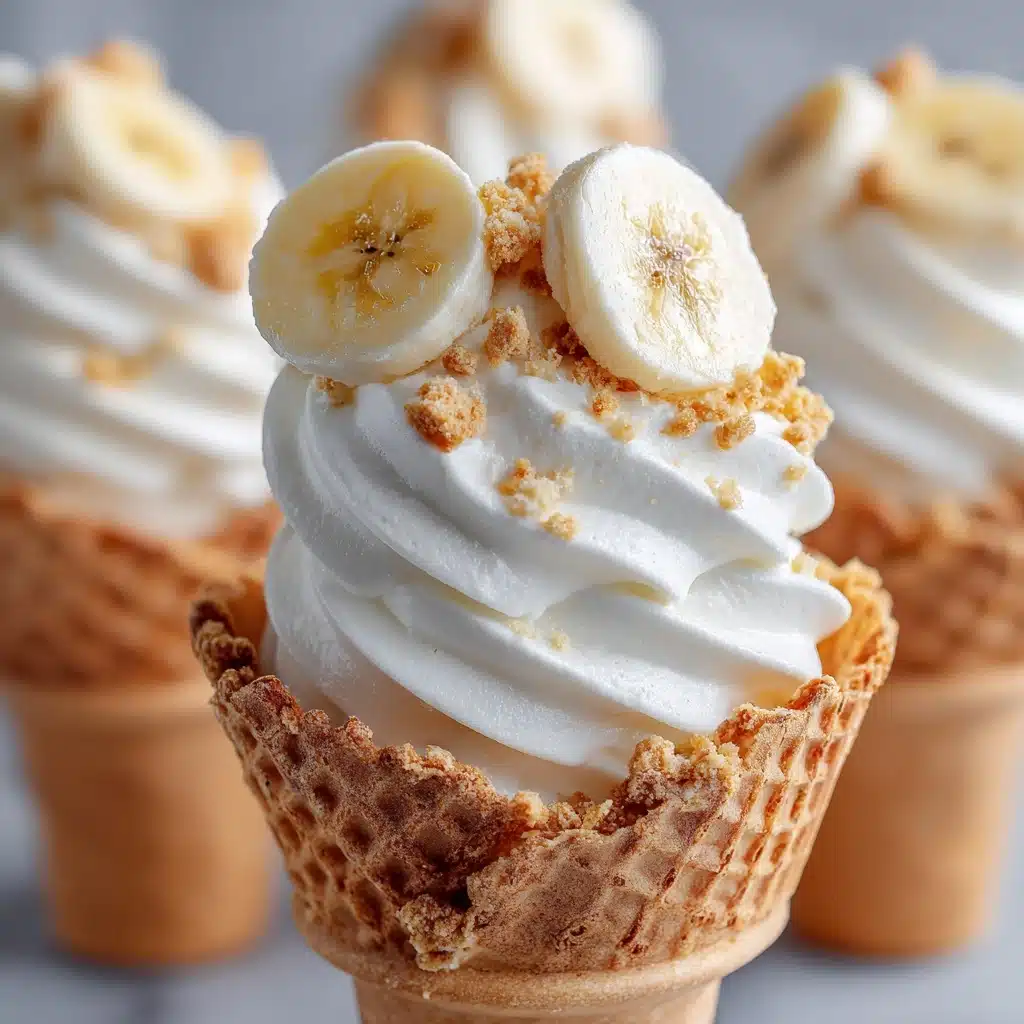
Delight in these Banana Pudding Cheesecake Cones, a no-bake dessert that combines creamy banana pudding, smooth cheesecake filling, and crunchy waffle cones. Perfect for a quick and easy summer treat, these cones are loaded with banana flavor and garnished with whipped topping, vanilla wafers, and fresh banana slices for an irresistible combination of textures and tastes.
Ingredients
Filling
- 1 (3.4 oz) box instant banana pudding mix
- 1 1/2 cups cold milk
- 8 oz cream cheese, softened
- 1/2 cup powdered sugar
- 1/2 teaspoon vanilla extract
- 1 cup whipped topping, plus more for garnish
Additional Ingredients
- 6 waffle cones
- 1 cup crushed vanilla wafer cookies, plus extra for topping
- 2 ripe bananas, sliced, plus extra slices for garnish
Instructions
- Prepare the Banana Pudding: In a medium bowl, whisk together the instant banana pudding mix and cold milk for 2 minutes until the mixture thickens. Set aside.
- Make the Cheesecake Filling: In a separate large bowl, beat the softened cream cheese until smooth and creamy. Add the powdered sugar and vanilla extract, mixing until fully combined.
- Combine Pudding and Whipped Topping: Fold the prepared banana pudding and whipped topping into the cream cheese mixture gently until smooth and creamy, avoiding overmixing to maintain airiness.
- Add Wafers and Bananas: Gently mix in half of the crushed vanilla wafers and a few banana slices, especially if you plan to serve immediately, to add texture and flavor.
- Fill the Cones: Spoon or pipe the banana pudding cheesecake mixture into each waffle cone, filling to the top for a generous portion.
- Garnish and Serve: Top each filled cone with a dollop of whipped topping, extra crushed vanilla wafers, and banana slices to enhance presentation and flavor.
- Chill or Serve Immediately: For a creamy texture with crunch, serve the cones immediately. Alternatively, chill them upright in the refrigerator for 30 to 60 minutes to allow flavors to meld and firm up slightly.
Notes
- Fill cones just before serving to prevent sogginess and maintain crispiness.
- Use mini waffle cones for smaller, party-friendly portions or kid-sized treats.
- For a firmer, ice cream-like dessert, freeze the filled cones before serving.
- Prep Time: 20 minutes
- Cook Time: 0 minutes
- Category: Dessert
- Method: No-Bake
- Cuisine: American
Nutrition
- Serving Size: 1 cone
- Calories: 340
- Sugar: 24g
- Sodium: 220mg
- Fat: 18g
- Saturated Fat: 10g
- Unsaturated Fat: 7g
- Trans Fat: 0g
- Carbohydrates: 38g
- Fiber: 1g
- Protein: 4g
- Cholesterol: 45mg


