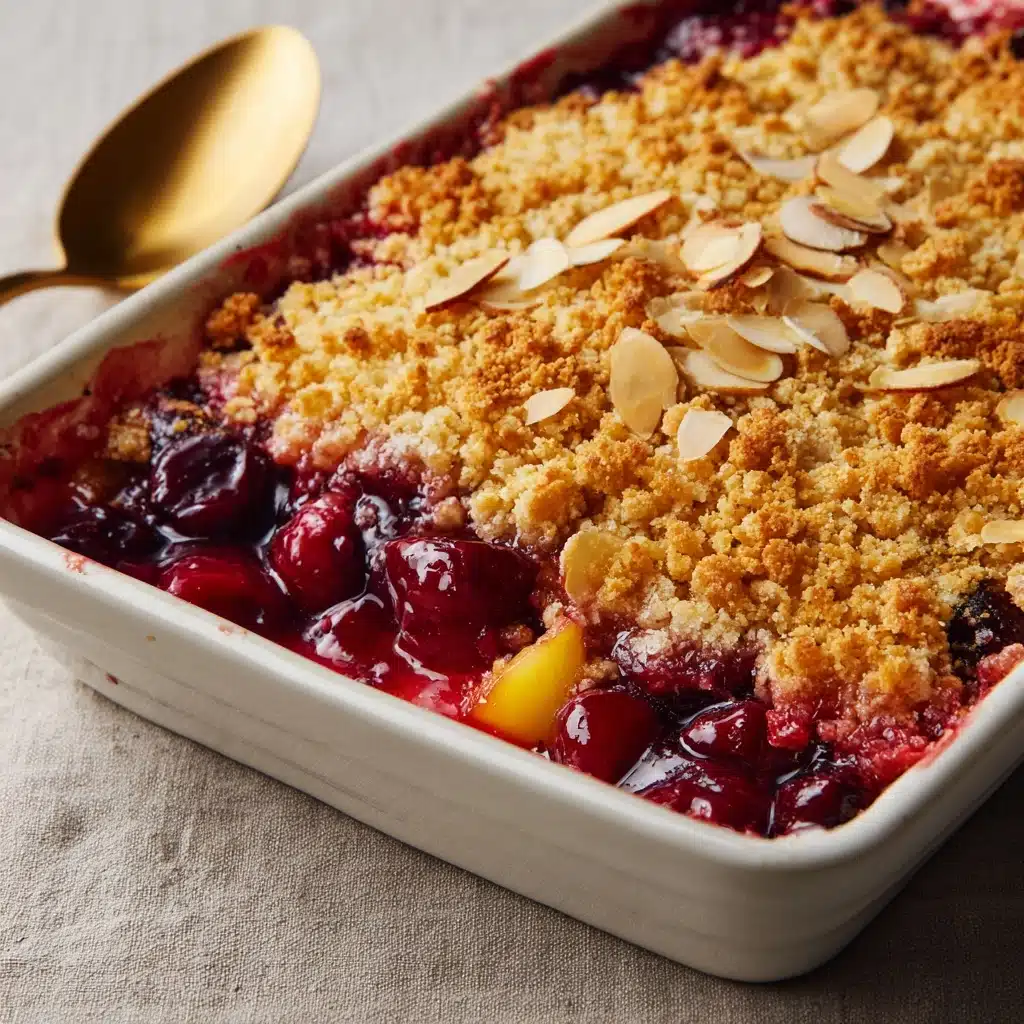
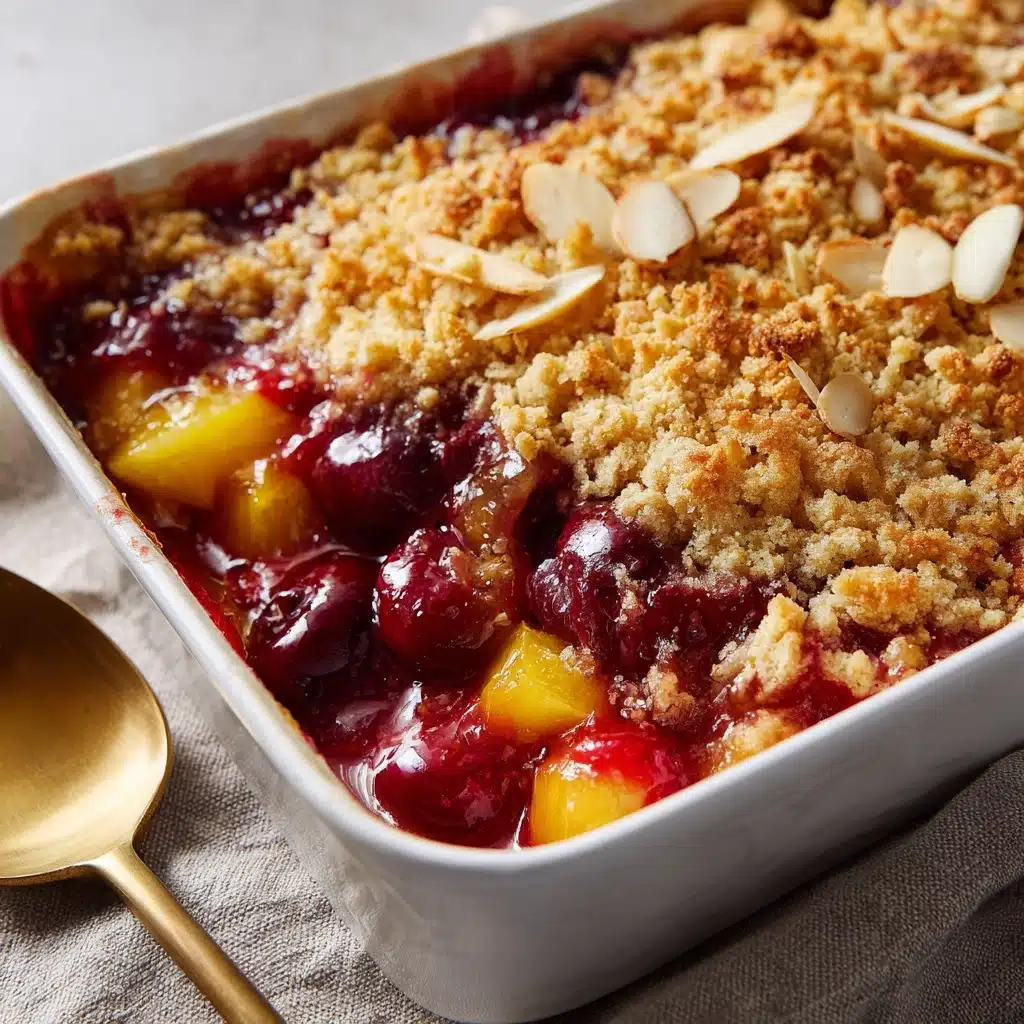
Easy Pineapple Cherry Dump Cake Recipe
If you’re searching for the ultimate crowd-pleasing dessert that comes together in minutes, look no further than this Easy Pineapple Cherry Dump Cake. With just a handful of pantry staples and no mixing bowls required, it’s the kind of sweet treat you can whip up at a moment’s notice for potlucks, family dinners, or lazy weekend cravings. Each bite bursts with the tangy sweetness of cherries, the tropical brightness of pineapple, and a golden, buttery crumb on top. Trust me, this is one of those recipes that’ll have everyone asking for seconds — and for the recipe!
Ingredients You’ll Need
The beauty of Easy Pineapple Cherry Dump Cake is in its simplicity. Every ingredient plays a starring role, working together to create a dessert that’s as flavorful as it is effortless. Here’s what you’ll need, along with a few tips for getting the most out of each component.
- Crushed Pineapple (1 can, 20 ounces, in juice, undrained): The juice adds moisture and a bright, tropical tang that pairs perfectly with cherries.
- Cherry Pie Filling (1 can, 21 ounces): For a sweet-tart burst of fruit and that gorgeous ruby color — no need to make your own from scratch!
- Yellow Cake Mix (1 box, 15.25 ounces): This is your shortcut to a buttery, golden topping that forms a magical crust as it bakes.
- Unsalted Butter (1/2 cup, melted): Drizzling melted butter over the cake mix ensures every bite is rich, moist, and deliciously decadent.
- Chopped Pecans or Walnuts (1/2 cup, optional): For extra crunch and a toasty, nutty note — totally optional, but highly recommended!
How to Make Easy Pineapple Cherry Dump Cake
Step 1: Prep Your Baking Dish
Start by preheating your oven to 350°F and lightly greasing a 9×13-inch baking dish. This prevents sticking and makes serving a breeze later on. If you’re using a glass or ceramic dish, you’ll also get a nice even bake.
Step 2: Layer the Pineapple
Pour the entire can of crushed pineapple (juice and all!) evenly into the bottom of your prepared dish. The juice helps keep everything moist and infuses the cake with bright, tropical flavor — don’t drain it!
Step 3: Add the Cherry Pie Filling
Spoon the cherry pie filling right over the pineapple layer. Gently spread it out so the fruit is evenly distributed. No need to stir — you want those vibrant layers to shine in your Easy Pineapple Cherry Dump Cake.
Step 4: Sprinkle the Cake Mix
Take your dry yellow cake mix and sprinkle it evenly over the fruit layers. The secret here is not to mix — just let the magic happen as it bakes. This is what gives the cake its signature crumbly, cobbler-like topping.
Step 5: Drizzle with Butter
Drizzle the melted butter as evenly as possible over the surface of the cake mix. Try to cover as much of the dry mix as you can — this is key for that golden, buttery crust. For extra richness, you can use a little more butter if you like!
Step 6: Add Nuts (Optional)
If you’re a fan of a little crunch, sprinkle the chopped pecans or walnuts over the top. They’ll toast up beautifully while the cake bakes, adding both texture and flavor.
Step 7: Bake and Cool
Slide your dish into the oven and bake for 45 to 50 minutes, or until the top is golden and bubbly. Let the cake cool for at least 15 minutes before serving — it’ll be easier to scoop and the flavors will meld together perfectly.
How to Serve Easy Pineapple Cherry Dump Cake
Garnishes
A warm slice of Easy Pineapple Cherry Dump Cake is pure comfort on its own, but it gets even better with a dollop of whipped cream or a scoop of vanilla ice cream melting over the top. For a pop of color, try a sprinkle of toasted coconut flakes or a few fresh cherries.
Side Dishes
Since this dessert is rich and fruity, pair it with something light and refreshing. A simple fruit salad or a crisp green salad can round out your meal beautifully, keeping everything balanced and not too heavy.
Creative Ways to Present
Try serving individual portions in mason jars or ramekins for a fun, picnic-ready dessert. If you’re feeling festive, layer cubes of dump cake in parfait glasses with extra whipped cream and a cherry on top for a whimsical trifle effect.
Make Ahead and Storage
Storing Leftovers
Leftover Easy Pineapple Cherry Dump Cake keeps well in the refrigerator. Just cover the baking dish tightly with plastic wrap or transfer the cake to an airtight container. It will stay fresh for up to four days, and the flavors actually deepen over time.
Freezing
You can absolutely freeze this dump cake! Let it cool completely, then wrap portions tightly or use a freezer-safe container. It will keep for up to three months. Thaw overnight in the fridge before reheating.
Reheating
To reheat, simply scoop individual portions into a microwave-safe bowl and warm in 30-second increments until heated through. For a crispier top, pop the cake back into the oven at 350°F for about 10 minutes.
FAQs
Can I use fresh pineapple or cherries instead of canned?
You can! Just be sure to add a bit of extra juice or syrup to mimic the moisture content of the canned versions, or your cake may turn out dry.
What other cake mix flavors work for this recipe?
White or butter-flavored cake mixes are delicious alternatives to yellow cake mix. Spice cake mix adds a warm, cozy twist, especially if you add a dash of cinnamon.
Is it necessary to add nuts?
Not at all — the nuts are completely optional. They do add a lovely crunch and toasty flavor, but the Easy Pineapple Cherry Dump Cake is still irresistible without them.
Can I make this recipe gluten-free?
Yes! Use your favorite gluten-free yellow or white cake mix, and double-check that your pie filling and canned fruit are gluten-free as well.
How do I know when the cake is done?
Look for a golden-brown, bubbly top. The fruit should be hot and bubbling around the edges, and the cake mix should be set and crisp, not powdery.
Final Thoughts
If you’ve never tried making an Easy Pineapple Cherry Dump Cake, there’s no better time to start. It’s the kind of recipe you’ll keep coming back to, perfect for busy days and special occasions alike. Give it a try and watch it disappear — your friends and family will thank you!
Print
Easy Pineapple Cherry Dump Cake Recipe
- Total Time: 55 minutes
- Yield: 12 servings 1x
- Diet: Vegetarian
Description
This Easy Pineapple Cherry Dump Cake is a simple, delightful dessert perfect for any occasion. Combining the tropical sweetness of crushed pineapple with the rich flavor of cherry pie filling and a buttery yellow cake topping, this dump cake requires minimal effort but delivers maximum flavor. It’s baked into a golden, bubbly treat that can be served warm with ice cream or whipped cream for a comforting finish.
Ingredients
Fruits
- 1 can (20 ounces) crushed pineapple in juice, undrained
- 1 can (21 ounces) cherry pie filling
Cake and Toppings
- 1 box (15.25 ounces) yellow cake mix
- 1/2 cup unsalted butter, melted
- 1/2 cup chopped pecans or walnuts (optional)
Instructions
- Preheat and Prepare: Preheat your oven to 350°F (175°C) and lightly grease a 9×13-inch baking dish to prevent sticking.
- Add Pineapple: Pour the undrained crushed pineapple evenly into the bottom of the prepared baking dish, laying the flavorful base.
- Layer Cherry Filling: Spoon the cherry pie filling over the pineapple, spreading it out gently to cover the fruit layer without mixing.
- Sprinkle Cake Mix: Evenly sprinkle the dry yellow cake mix across the fruit layers carefully without stirring, ensuring a consistent top layer.
- Drizzle Butter: Pour the melted butter evenly over the dry cake mix, aiming to cover as much surface as possible so the topping bakes golden and rich.
- Add Nuts (Optional): If using, sprinkle the chopped pecans or walnuts evenly on top for added texture and flavor.
- Bake: Bake in the preheated oven for 45 to 50 minutes or until the top is golden brown and the filling is bubbly around the edges.
- Cool and Serve: Remove from the oven and let it cool slightly before serving. Enjoy warm with a scoop of vanilla ice cream or whipped cream if desired.
Notes
- Serve warm with vanilla ice cream or whipped cream for extra indulgence.
- You can swap the yellow cake mix for white or butter-flavored cake mix depending on preference.
- For additional flavor, add a dash of cinnamon or a splash of vanilla extract mixed into the fruit layers before topping.
- Prep Time: 5 minutes
- Cook Time: 50 minutes
- Category: Dessert
- Method: Baking
- Cuisine: American
Nutrition
- Serving Size: 1 slice
- Calories: 280
- Sugar: 24 g
- Sodium: 280 mg
- Fat: 12 g
- Saturated Fat: 6 g
- Unsaturated Fat: 5 g
- Trans Fat: 0 g
- Carbohydrates: 42 g
- Fiber: 1 g
- Protein: 2 g
- Cholesterol: 20 mg


