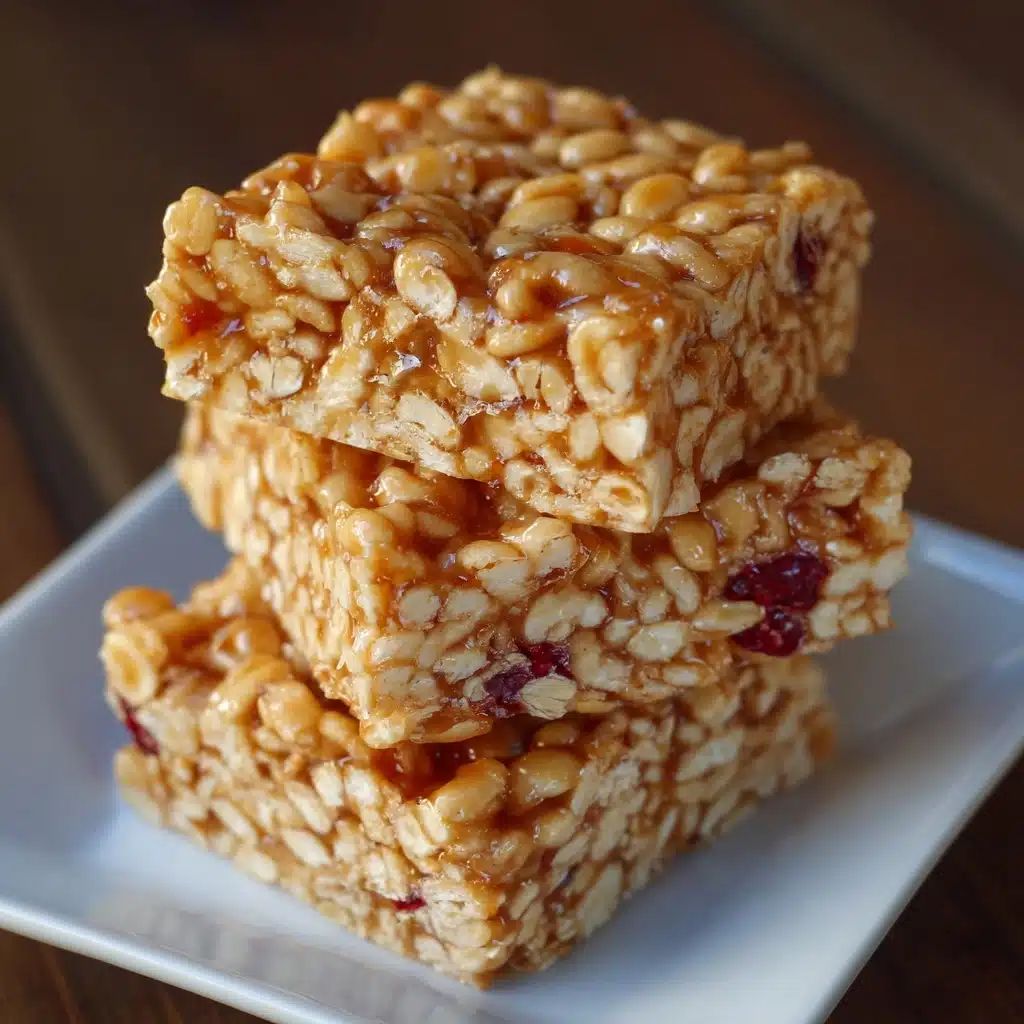
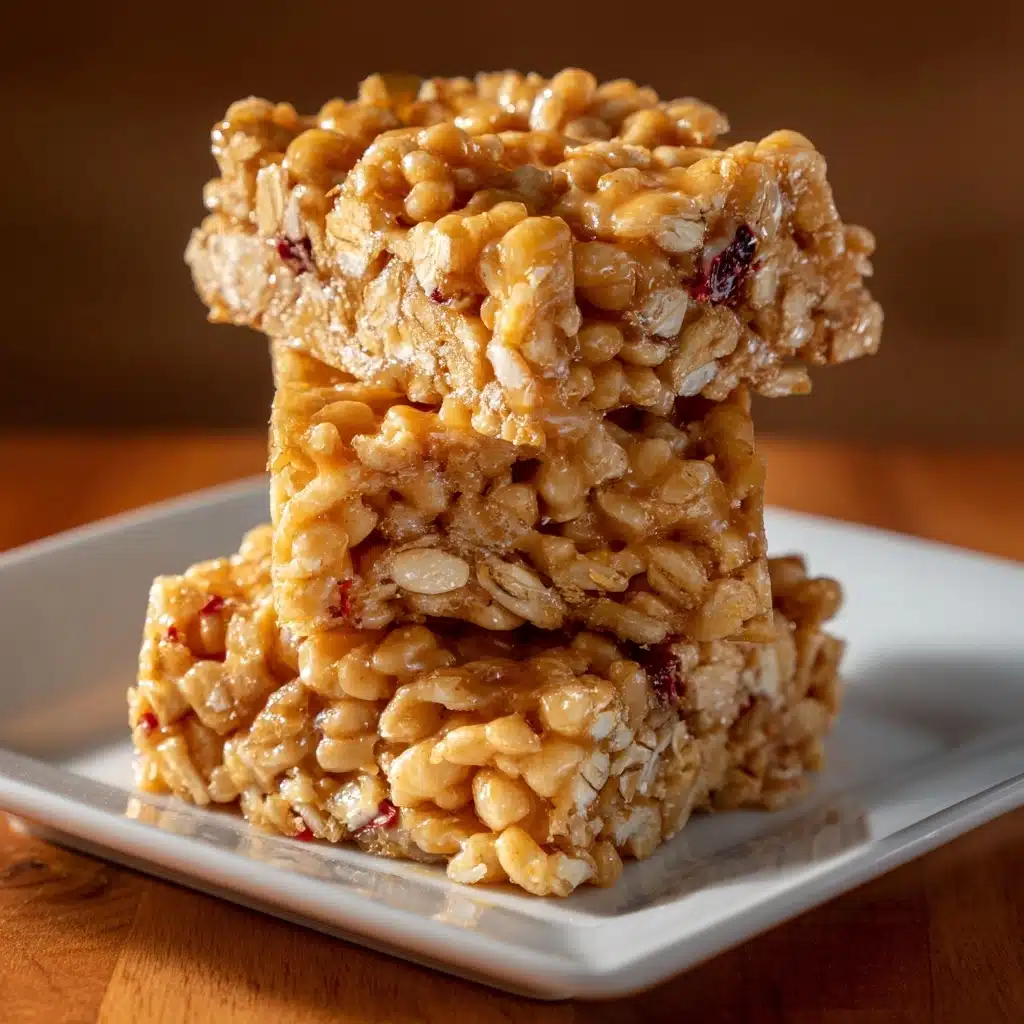
Cereal Bars Recipe
If you’re searching for the ultimate grab-and-go snack that’s equal parts nostalgic, satisfying, and fun, look no further than these Cereal Bars. Each bite delivers a chewy, buttery embrace of crispy cereal and gooey marshmallow, with endless possibilities for creative mix-ins. Whether you want a lunchbox treat, a quick after-school snack, or a sweet bite after dinner, these bars are a guaranteed crowd-pleaser that come together in just minutes—no oven required!
Ingredients You’ll Need
The beauty of Cereal Bars is all in their simplicity! Every ingredient has a purpose, contributing its own unique texture, flavor, or pop of color to make these bars irresistible. Here’s what you’ll need for foolproof deliciousness:
- Crispy rice cereal: The classic base, offering that signature airy crunch and lightness. Try your favorite breakfast cereal for a twist!
- Unsalted butter: Adds rich, creamy flavor and helps the bars hold together beautifully.
- Mini marshmallows: The magical glue that binds everything with chewy, sweet goodness.
- Salt: Just a pinch brings out all the flavors and balances the sweetness.
- Vanilla extract: For a warm, aromatic note that elevates every bite.
- Optional mix-ins (chocolate chips, dried fruit, chopped nuts): Stir in up to ½ cup for extra bursts of flavor, texture, or color—get creative!
How to Make Cereal Bars
Step 1: Prep Your Pan
Start by thoroughly greasing a 9×13-inch baking dish with butter or nonstick spray. This ensures your Cereal Bars pop out easily and stay intact when you cut them. Set the dish aside within arm’s reach—things move quickly once you get going!
Step 2: Melt the Butter and Marshmallows
In a large saucepan over medium heat, melt the butter until it’s fully liquid and starting to bubble gently. Add the mini marshmallows and salt, stirring constantly. Watch as the marshmallows slowly melt, transforming into a glossy, smooth mixture—this is the heart of that classic Cereal Bars texture!
Step 3: Add Vanilla and Cereal
Remove the pan from the heat, then quickly stir in the vanilla extract. Immediately add the cereal and fold everything together until every piece is evenly coated in marshmallowy goodness. If you’re using mix-ins like chocolate chips, let the mixture cool for a minute first so they don’t melt completely.
Step 4: Press and Cool
Transfer the sticky cereal mixture into your prepared pan. Use a buttered spatula or a piece of wax paper to press it down firmly and evenly—this step ensures your Cereal Bars come out neat and compact. Let the bars cool at room temperature for about 30 minutes, so they set up perfectly and are easy to cut.
Step 5: Slice and Serve
Once cooled, grab a sharp knife and slice the slab into 12 bars (or smaller bites if you prefer!). Serve and watch them disappear—these homemade Cereal Bars have a way of bringing smiles to every face around the table.
How to Serve Cereal Bars
Garnishes
Dress up your Cereal Bars by drizzling them with melted chocolate, white chocolate, or even a ribbon of peanut butter. A sprinkle of flaky sea salt or colorful sprinkles adds an extra bit of flair for special occasions or parties.
Side Dishes
Pair your Cereal Bars with a tall glass of cold milk, a creamy yogurt parfait, or fresh fruit slices for a balanced snack plate. They also make a delightful addition to a brunch spread or dessert board when you want something sweet and playful.
Creative Ways to Present
Cut your Cereal Bars into fun shapes using cookie cutters for holidays or parties. Wrap individual bars in parchment paper and tie with twine for adorable lunchbox treats or edible gifts. For a DIY snack bar, set out bowls of mix-ins and let guests customize their own creations!
Make Ahead and Storage
Storing Leftovers
Keep your Cereal Bars fresh by storing them in an airtight container at room temperature. They’ll stay soft and chewy for up to three days—just layer them with a little parchment or wax paper to prevent sticking.
Freezing
Want to make a batch ahead? Freeze your Cereal Bars by wrapping each bar individually in plastic wrap, then placing them in a freezer-safe bag. They’ll keep well for up to two months! Just thaw at room temperature for about 30 minutes before enjoying.
Reheating
Although Cereal Bars are best enjoyed at room temp, if you like them a bit gooey, pop one in the microwave for 5–10 seconds. This softens the marshmallow and brings back that fresh, just-made feel.
FAQs
Can I use a different type Snack
Absolutely! While crispy rice cereal is classic, you can swap in cornflakes, Cheerios, or even a mix of cereals for a fun twist. Just stick to about 4 cups total to keep the texture balanced.
How do I keep my Cereal Bars from sticking to the pan?
A good coat of butter or nonstick spray does the trick. You can also line your pan with parchment paper, leaving an overhang so you can lift the bars out easily before slicing.
Can I make these Cereal Bars gluten-free?
Yes! Just choose a certified gluten-free crispy rice cereal (or other gluten-free cereal) and double-check your mix-ins. The rest of the ingredients are naturally gluten-free.
What’s the best way to press the mixture into the pan?
Butter your spatula or press with a piece of wax paper to keep things from sticking to your hands or utensils. Press gently but firmly, making sure the mixture is even from corner to corner.
Can I cut these into shapes instead of bars?
Definitely! Use cookie cutters to create hearts, stars, or any shape you like—just press the mixture a bit thicker if you want the shapes to hold up well.
Final Thoughts
There’s just something joyful about making and sharing a batch of homemade Cereal Bars. They’re simple, endlessly customizable, and guaranteed to spark delight in kids and adults alike. Give this easy recipe a try—you’ll be amazed at how quickly these delicious bars disappear!
Print
Cereal Bars Recipe
- Total Time: 15 minutes
- Yield: 12 bars 1x
- Diet: Vegetarian
Description
This easy and delicious no-bake Cereal Bars recipe combines crispy rice cereal with melted marshmallows and butter to create a sweet, crunchy treat perfect for snacks or lunchboxes. Customize with mix-ins like chocolate chips, dried fruit, or nuts for extra flavor and texture. Ready in just 15 minutes, these bars are a nostalgic favorite that’s kid-friendly and versatile.
Ingredients
Main Ingredients
- 4 cups crispy rice cereal or your favorite breakfast cereal
- ½ cup unsalted butter
- 1 (10 oz) bag mini marshmallows
- ¼ teaspoon salt
- 1 teaspoon vanilla extract
Optional Mix-ins
- ½ cup chocolate chips
- ½ cup dried fruit
- ½ cup chopped nuts
Instructions
- Prepare the Pan: Grease a 9×13-inch baking dish with butter or nonstick spray to prevent sticking, then set it aside while you make the marshmallow mixture.
- Melt Butter and Marshmallows: In a large saucepan over medium heat, melt the unsalted butter. Once melted, add the mini marshmallows and salt. Stir constantly until the marshmallows have completely melted and the mixture is smooth.
- Add Vanilla Extract: Remove the saucepan from heat and stir in the vanilla extract to infuse the mixture with a rich, aromatic flavor.
- Combine with Cereal: Quickly add the crispy rice cereal to the marshmallow mixture and stir until every piece is fully coated for an even texture and sweetness.
- Fold in Optional Mix-ins: If you choose to add chocolate chips, dried fruit, or nuts, let the mixture cool for about a minute first. This prevents the chocolate chips from melting and keeps texture intact. Then gently fold them in.
- Press into Pan: Transfer the cereal mixture into your prepared baking dish. Use a buttered spatula or a piece of wax paper to press and spread the mixture evenly and firmly into the pan.
- Cool and Cut: Let the bars cool at room temperature for about 30 minutes until set. Once firm, cut into 12 bars and serve. Store leftovers in an airtight container for up to 3 days to keep them fresh.
Notes
- For a more indulgent twist, drizzle the bars with melted chocolate or peanut butter before serving.
- Use gluten-free cereal to make this recipe safe for gluten-sensitive diets.
- Store cereal bars in an airtight container at room temperature for optimal freshness, best consumed within 3 days.
- Prep Time: 10 minutes
- Cook Time: 5 minutes
- Category: Snack
- Method: No-Bake
- Cuisine: American
Nutrition
- Serving Size: 1 bar
- Calories: 140
- Sugar: 10g
- Sodium: 85mg
- Fat: 5g
- Saturated Fat: 3g
- Unsaturated Fat: 2g
- Trans Fat: 0g
- Carbohydrates: 23g
- Fiber: 0g
- Protein: 1g
- Cholesterol: 10mg


