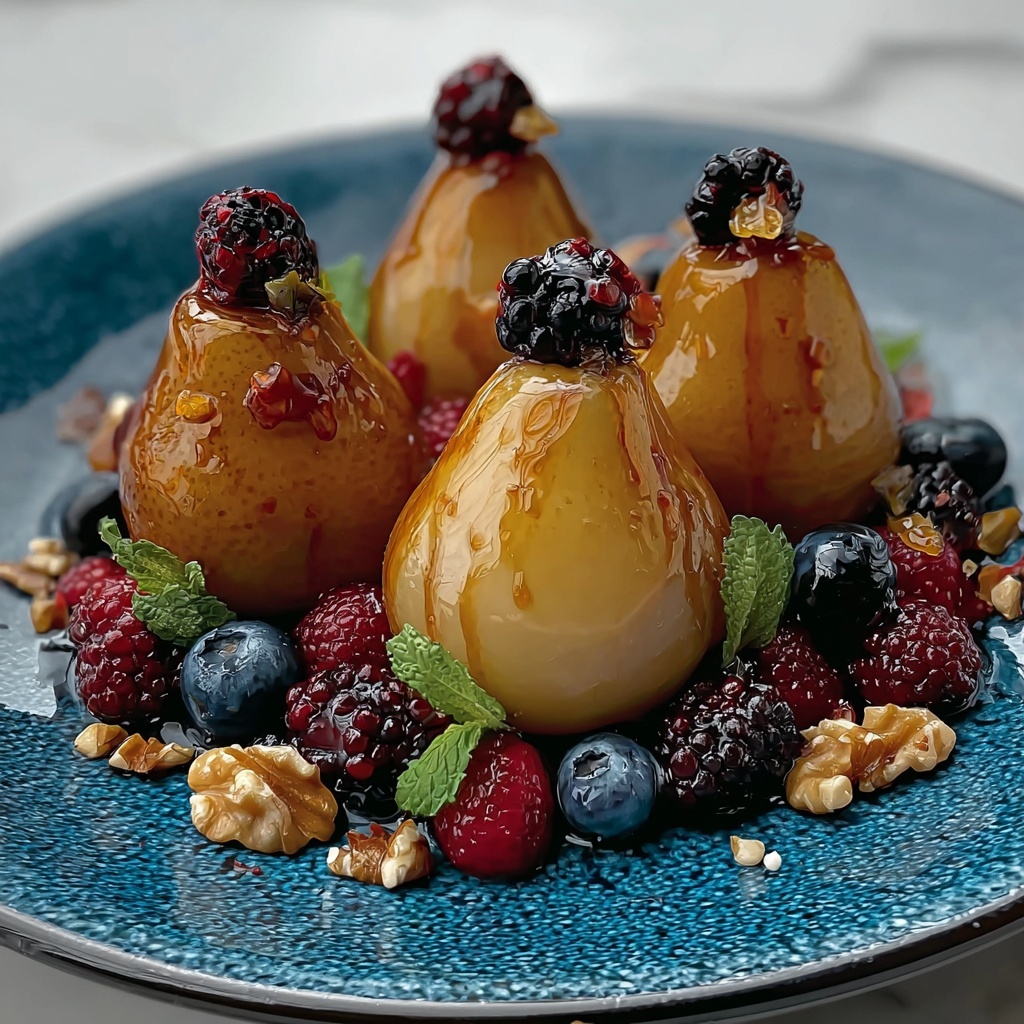
If you are looking for a dish that beautifully marries sweet, savory, crunchy, and creamy flavors, you are in for a treat with this Baked Pears with Berries, Honey, Walnuts & Blue Cheese Recipe. It is one of those magical combinations that feels both elegant and comfortingly simple, turning humble pears into a stunning dessert or a sophisticated snack. Each bite bursts with juicy warmth, a touch of tangy blue cheese, the earthiness of toasted walnuts, and a honeyed glaze that makes your taste buds dance. This recipe is a celebration of texture and taste that will easily become one of your treasured favorites.
Ingredients You’ll Need
Everything about this recipe shines because of its simple, wholesome ingredients. Each component plays a crucial role in layering flavors, adding textures, and infusing color to make the dish as eye-catching as it is delicious.
- Ripe pears: Choose firm yet ripe pears for the best texture after baking, ensuring they soften but hold shape beautifully.
- Butter: Melted butter helps achieve a golden, caramelized finish on the pears, adding richness.
- Mixed fresh berries: Use your favorite berries to add bursts of juiciness and vibrant color.
- Walnuts: Toasted walnuts introduce a delightful crunch and a toasty depth of flavor.
- Crumbled blue cheese: This distinctive, tangy cheese perfectly balances the pears’ sweetness.
- Honey: Drizzled over the finished dish, honey lends natural sweetness and a glossy sheen.
- Fresh thyme sprigs (optional): Adds a fresh, herbal aroma and an elegant finishing touch.
How to Make Baked Pears with Berries, Honey, Walnuts & Blue Cheese Recipe
Step 1: Preparing the Pears
Start by preheating your oven to 350°F (175°C). Prepare a baking sheet by lining it with parchment paper or lightly greasing it. Then, halve the pears and carefully core them, creating a hollow center that will be perfect for holding the toppings later. Place the pears cut-side up on the baking sheet and generously brush each with melted butter to promote that delicious golden caramelization as they bake.
Step 2: Baking to Perfection
Pop the pears into the oven and bake for about 15 to 20 minutes. The goal here is for them to become tender while still retaining their shape, with edges that are slightly golden and caramelized. This step is where the pears develop their luscious, soft texture and deepened flavors, setting the stage for the toppings that follow.
Step 3: Adding the Berries and Blue Cheese
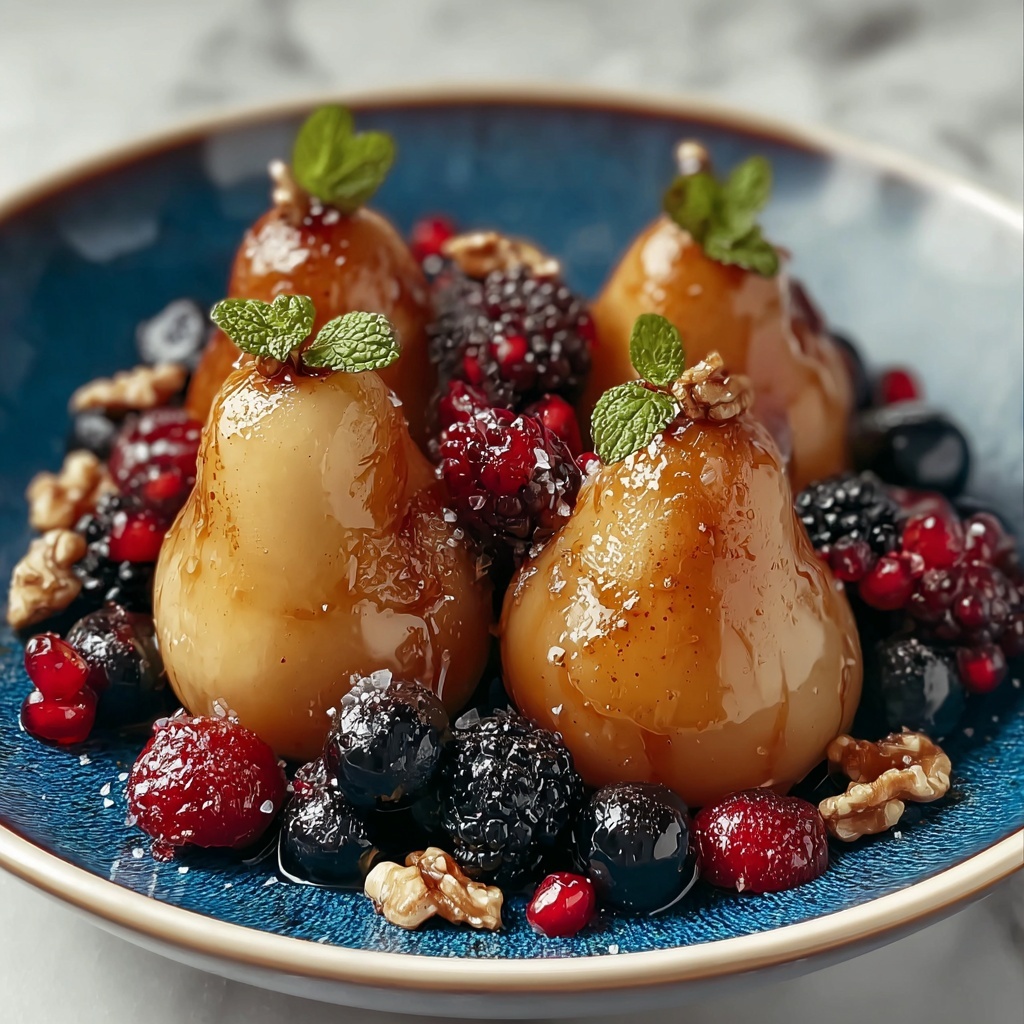
Once the pears are cooled slightly but still warm, sprinkle mixed fresh berries evenly over each half. This adds juicy pops of color and freshness. Next, crumble the blue cheese on top. Its creamy, tangy notes develop a sensational contrast with the sweet pears, making every bite wonderfully complex.
Step 4: The Crunch and Sweet Drizzle
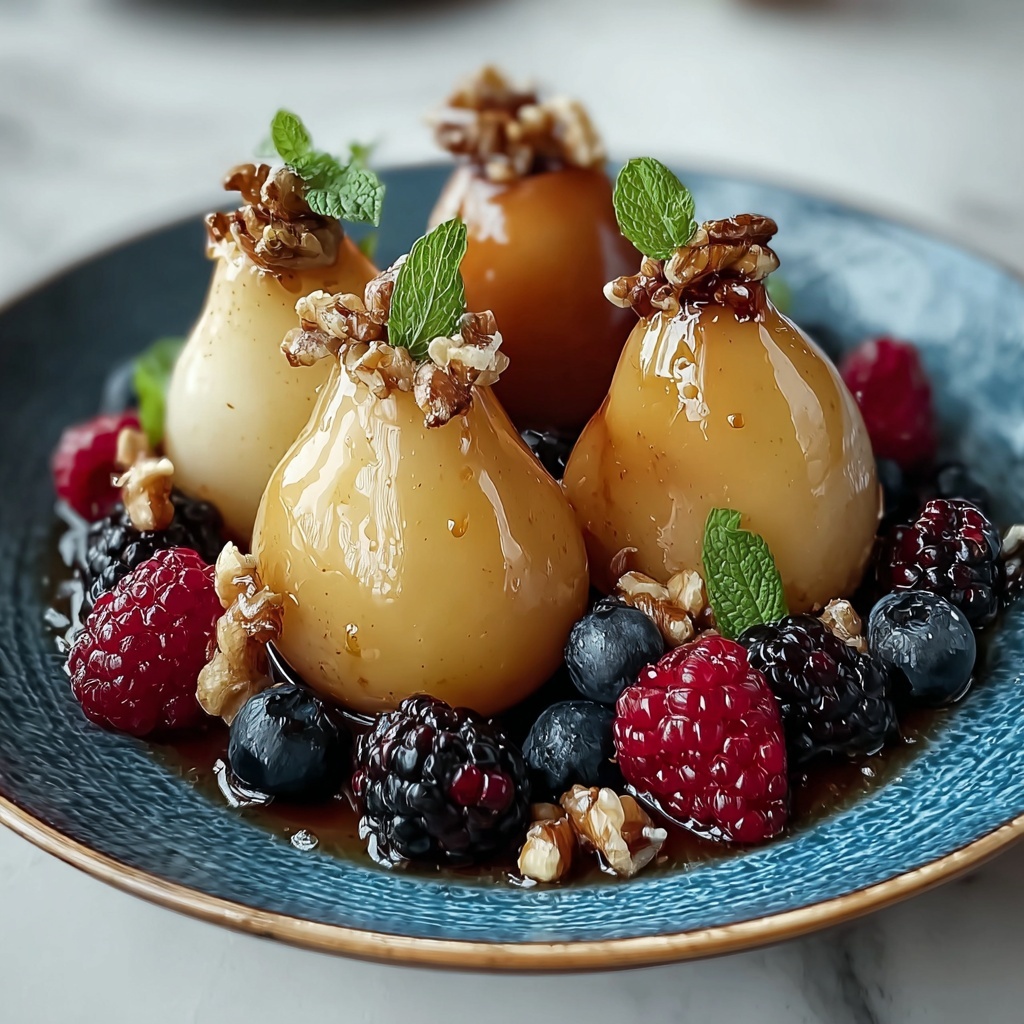
Finish by topping each pear half with chopped toasted walnuts. The nuts bring a satisfying crunch and a bit of earthiness that pairs beautifully with the softness of the fruit and creaminess of the cheese. Then, drizzle honey generously over everything to tie all the flavors together with a touch of golden sweetness.
Step 5: Garnishing and Serving
If you have fresh thyme sprigs, this is the perfect moment to garnish your creation. The herbal fragrance adds a lovely aroma and a pop of green that looks breathtaking against the warm hues of the dish. Serve these baked pears warm or at room temperature to fully enjoy the fusion of flavors and textures.
How to Serve Baked Pears with Berries, Honey, Walnuts & Blue Cheese Recipe
Garnishes
Beyond fresh thyme, try adding a light sprinkle of finely chopped fresh mint or a few edible flowers for a colorful, fresh garnish. A tiny pinch of cracked black pepper can also bring an unexpected but delightful warmth that complements the blue cheese.
Side Dishes
This recipe pairs beautifully with a simple green salad dressed with a lemon vinaigrette to refresh the palate. For a heartier option, serve alongside roasted chicken or a creamy risotto, where the sweetness and earthiness of the pears can echo and elevate the main flavors.
Creative Ways to Present
For a stunning presentation, arrange the pears on a rustic wooden board with clusters of fresh berries around them. Alternatively, place each pear half in a shallow white dish to let the colors pop, perfect for an intimate dinner or a festive gathering. For a brunch or light dessert, serve with a dollop of whipped mascarpone or Greek yogurt on the side to add creaminess without overpowering the dish.
Make Ahead and Storage
Storing Leftovers
If you have any leftovers, store the baked pears in an airtight container in the refrigerator. The dish is best enjoyed within 2 days to preserve the freshness of the berries and the texture of the pears. The blue cheese flavor can intensify over time, which some may find even more appealing.
Freezing
Freezing is not ideal for this recipe as the pears and berries tend to become watery upon thawing, and the blue cheese loses its texture. For the best experience, enjoy this dish fresh or refrigerated as mentioned.
Reheating
To reheat, simply warm your pears in the oven at 300°F (150°C) for about 10 minutes to maintain their shape and texture without drying them out. Avoid microwaving to prevent the berries from becoming mushy and the cheese from melting unevenly.
FAQs
Can I use other types of cheese?
Absolutely! While blue cheese brings a unique tang, you can substitute with goat cheese or feta for a milder flavor that still complements the sweetness of the pears.
What if I don’t have fresh berries?
Frozen berries can work well too. Just make sure to thaw and drain any excess moisture before adding them to avoid making the pears soggy.
Can I make this dessert vegan?
Yes, by swapping butter for a plant-based alternative and choosing a vegan cheese or skipping the cheese altogether, you can make a delicious vegan-friendly version.
How do I pick pears suitable for baking?
Look for pears that are firm but yield slightly when gently pressed near the stem. This balance ensures they will soften beautifully in the oven without turning mushy.
Is this recipe suitable for a fancy dinner party?
Definitely! This Baked Pears with Berries, Honey, Walnuts & Blue Cheese Recipe makes an elegant dessert or starter that will impress guests with its gourmet flavors and gorgeous presentation.
Final Thoughts
There is something undeniably magical about the melding of sweetness, creaminess, and crunch in this Baked Pears with Berries, Honey, Walnuts & Blue Cheese Recipe. It’s a dish that invites sharing, conversation, and savoring every bite. Whether you are looking to impress dinner guests or simply indulge in a treat for yourself, this recipe is guaranteed to deliver both in flavor and soul. So, gather your ingredients, and let this wonderful dish become one of your cherished kitchen favorites.
Print
Baked Pears with Berries, Honey, Walnuts & Blue Cheese Recipe
- Prep Time: 10 minutes
- Cook Time: 15-20 minutes
- Total Time: 30 minutes
- Yield: 4 servings
- Category: Dessert
- Method: Baking
- Cuisine: American
Description
These Delicious Baked Pears with Berries, Honey, Walnuts, and Blue Cheese are a perfect blend of sweet, tangy, and nutty flavors. This easy, elegant dessert features tender baked pears topped with fresh mixed berries, crunchy toasted walnuts, creamy blue cheese, and a drizzle of golden honey, finished with an optional garnish of fresh thyme. Ideal for a special occasion or a simple but sophisticated treat.
Ingredients
Pears
- 4 ripe pears (firm yet ripe for the best texture after baking)
- 1 tablespoon butter (melted for brushing)
Toppings
- 0.5 cup mixed fresh berries (use favorite berries)
- 0.5 cup walnuts (toasted for added crunch)
- 0.25 cup crumbled blue cheese
- 2 tablespoons honey (for drizzling)
- Fresh thyme sprigs (optional for garnish)
Instructions
- Preheat the oven: Set your oven to 350°F (175°C) and prepare a baking sheet by lining it with parchment paper or lightly greasing it to prevent sticking.
- Prepare the pears: Halve each pear and carefully core them to remove seeds. Place the pear halves cut-side up on the prepared baking sheet. Brush each pear generously with the melted butter to promote caramelization during baking.
- Bake the pears: Place the baking sheet in the oven and bake the pears for 15-20 minutes, until they become tender but still hold their shape. Look for a golden color forming around the edges as an indicator.
- Cool slightly: Once baked, remove the pears from the oven and allow them to cool slightly, which helps the toppings adhere better.
- Add toppings: Evenly sprinkle the mixed fresh berries over each warm pear half, then top with the crumbled blue cheese, adding a creamy, tangy contrast to the sweetness.
- Finish with walnuts and honey: Chop the toasted walnuts and scatter them on top of the pears. Drizzle each with honey to enhance the natural sweetness and add a glossy finish.
- Garnish and serve: Optionally, garnish with fresh thyme sprigs for an herbal aroma and a decorative touch. Serve the baked pears warm or at room temperature as a delightful dessert.
Notes
- Choose pears that are firm but ripe for the best texture after baking, such as Bosc or Anjou varieties.
- Toast walnuts lightly before chopping to bring out their flavor and add crunch.
- Blue cheese adds a distinct tangy flavor, but can be substituted with goat cheese or feta if preferred.
- Use fresh, ripe berries for the best taste; frozen can be used but should be thawed and drained first.
- Honey drizzle can be warmed slightly for easier pouring.
- Fresh thyme is optional but adds a lovely aroma complementing the fruit and cheese.

