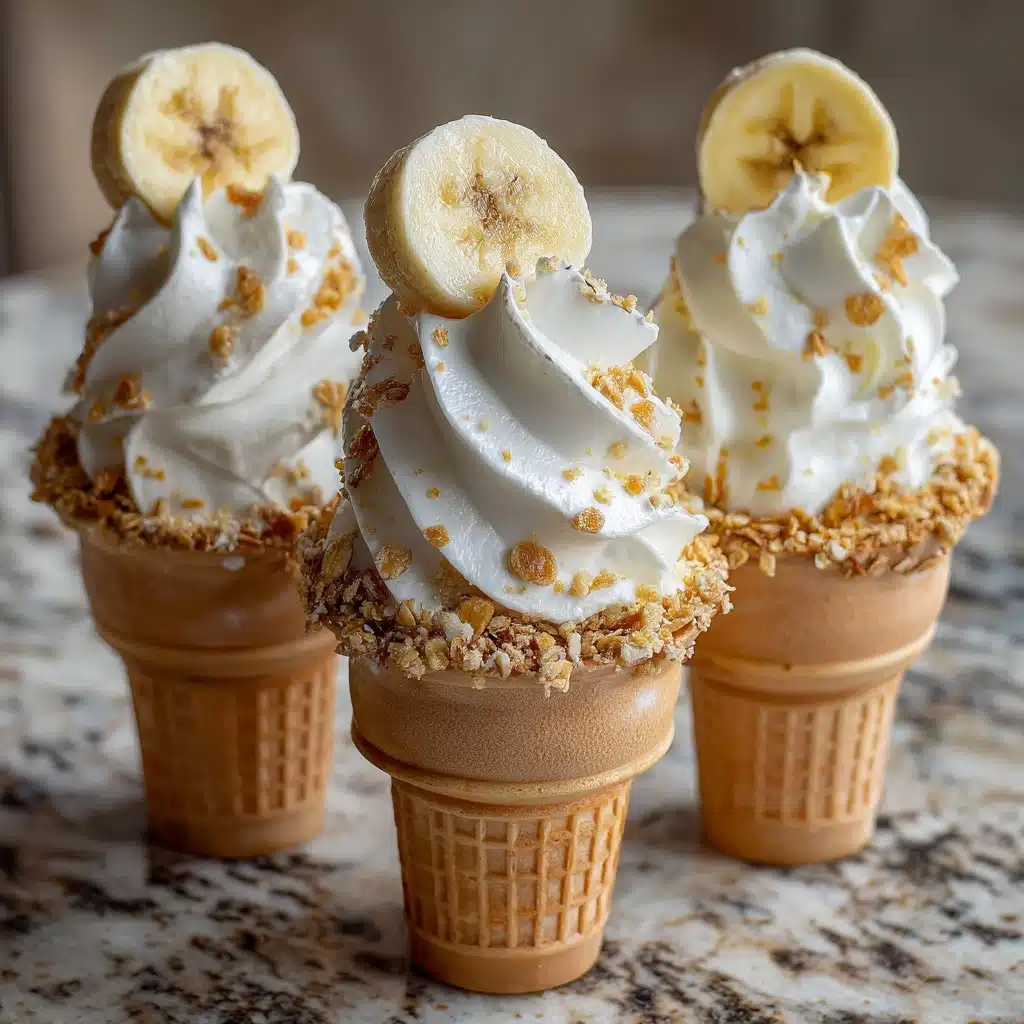
Banana Pudding Cheesecake Cones Recipe
Get ready for a dessert that is outrageously fun, almost too adorable to eat, and absolutely irresistible: Banana Pudding Cheesecake Cones. These are cheesecake and banana pudding all wrapped up in a crunchy, portable cone that features layers of silky, tangy filling, fresh banana slices, and vanilla wafer crumbles. It’s an epic no-bake treat that comes together in just minutes but tastes like you spent hours. If you’re looking for a way to blow your friends and family away at your next get-together, this is the show-stopper you’ve been searching for!
Ingredients You’ll Need
Every ingredient in these Banana Pudding Cheesecake Cones serves a delicious purpose, from the creamy base to the crunchy finish. Simple, familiar ingredients come together for a magical blend of textures and flavors that make these cones truly unforgettable.
- Waffle cones: Crunchy, sweet, and the perfect edible vessel for our cheesecake filling.
- Cream cheese (softened): The key to that rich, tangy cheesecake flavor and luxuriously smooth texture.
- Instant banana pudding mix: Delivers the unmistakable banana flavor we all love without any fuss.
- Cold milk: Helps activate the pudding mix and gives our filling a silky consistency.
- Sweetened condensed milk: Adds luscious sweetness and makes every bite velvety.
- Vanilla extract: Rounds out the flavors with cozy, fragrant notes.
- Whipped topping (or homemade whipped cream): Gently folded in, it lightens up the filling for that classic banana pudding airiness.
- Crushed vanilla wafers: Brings crunch, a nostalgic flavor, and fun layers throughout each cone.
- Ripe banana, thinly sliced: Fresh bananas layered in for bursts of real fruit flavor!
- Extra whipped topping & crushed wafers (for garnish): Top it all off with a flourish of cream and extra crunch—it’s the finishing touch that makes your cones pop!
How to Make Banana Pudding Cheesecake Cones
Step 1: Whip Up the Cheesecake Base
Start by beating the softened cream cheese in a large bowl until completely smooth and creamy—this step is essential for avoiding any lumps. In a separate bowl, quickly whisk together the instant banana pudding mix and cold milk for about 2 minutes, until the mixture thickens and looks gloriously yellow and creamy.
Step 2: Blend the Filling
Now, combine the thickened pudding mixture with your creamy, whipped cream cheese. Add the sweetened condensed milk and vanilla extract, then beat everything together until the mixture is smooth and dreamy. Make sure all the flavors are blended evenly so you get that perfect cheesecake-meets-banana-pudding taste in every bite.
Step 3: Fold and Chill
Use a spatula or large spoon to gently fold in the whipped topping. Take your time here and be gentle—folding keeps everything fluffy and light, just the way you want your Banana Pudding Cheesecake Cones. Once the mixture is combined, pop it into the refrigerator for at least 30 minutes. This little nap lets the filling set so it holds its shape beautifully in your cones.
Step 4: Layer the Cones
To assemble, start by dropping a spoonful of crushed vanilla wafers into the bottom of each waffle cone—you’ll get that classic banana pudding “crust” in every single bite. Pipe or spoon a generous layer of the cheesecake filling into the cones, then add a few banana slices and some more cookie crumbles if you like. Repeat if your cones are on the larger side!
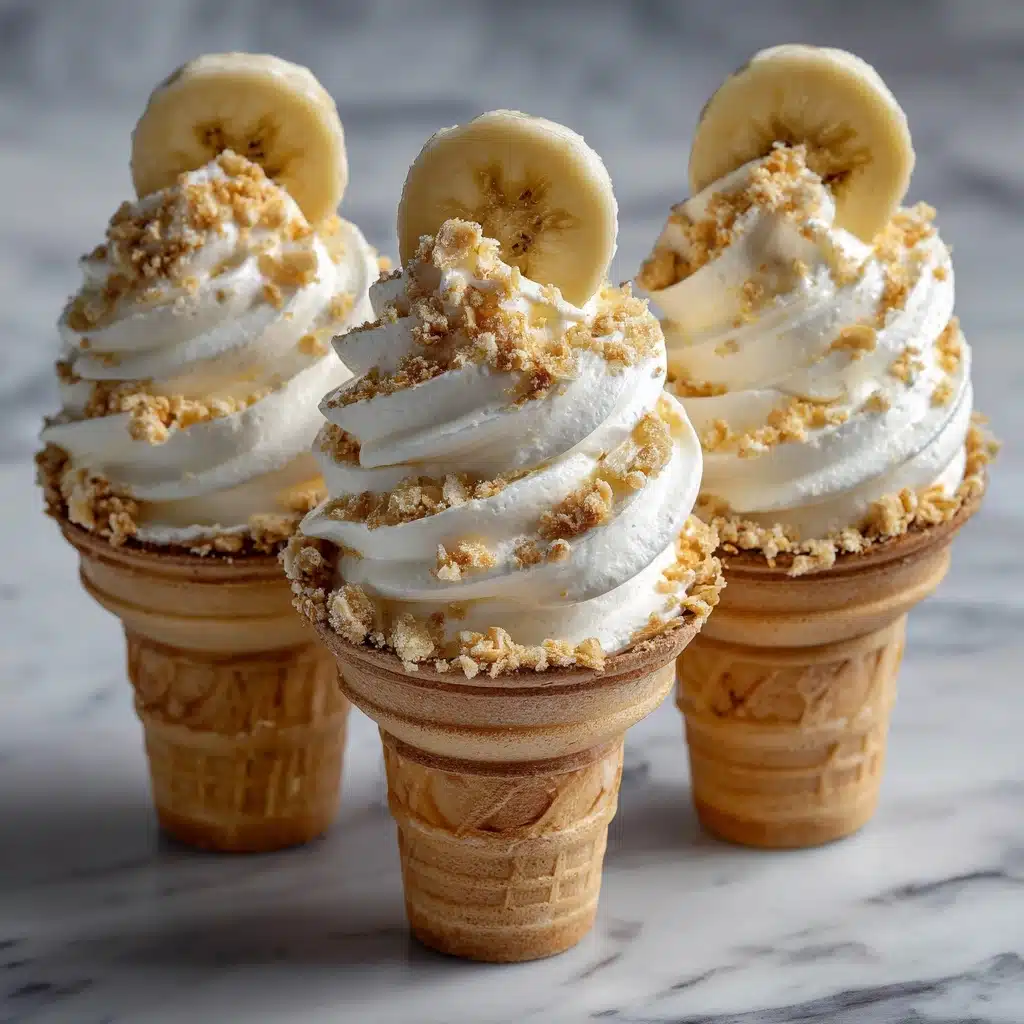
Step 5: Top and Serve
Right before serving, crown each cone with extra whipped topping and a sprinkle of crushed vanilla wafers. Serve them right away for knockout crunch, or let them chill for 15 to 30 minutes if you prefer a slightly softened cone. Either way, you’ll be in dessert heaven!
How to Serve Banana Pudding Cheesecake Cones
Garnishes
Nothing beats the look of an over-the-top garnish for these cones! Add a fluffy swirl of whipped topping, a shower of crushed vanilla wafers, and maybe a drizzle of caramel or shaved white chocolate for pure dessert drama. If you want to get fancy, tuck in an extra banana slice or a mini vanilla wafer right on top for playful flair.
Side Dishes
Since Banana Pudding Cheesecake Cones steal the show, pair them with something light and refreshing: think fresh berries, a tangy fruit salad, or just an icy cold glass of milk. They also shine on a dessert platter alongside bite-sized cookies or chocolate-dipped fruit for an extra-special spread.
Creative Ways to Present
Set up a “build-your-own” cone station at your party—kids and adults alike love to layer their favorites and go wild with toppings. Arrange the cones in a tall glass vase filled with more vanilla wafers, or nestle them upright in a cupcake stand for a fun and festive centerpiece. Personalized cone wrappers or little name flags add a thoughtful (and Instagram-worthy) touch!
Make Ahead and Storage
Storing Leftovers
If you end up with leftovers (which, trust me, is a rare event!), store assembled cones in the fridge for up to 24 hours. The cones will get softer as they sit, but the flavors meld in a dreamy way. For the crispiest cones, keep the cheesecake filling and the cones separate, then assemble just before enjoying.
Freezing
It’s best not to freeze the assembled Banana Pudding Cheesecake Cones, as the cones can become quite soggy once thawed, and the whipped topping may lose its fluffy texture. However, you can freeze the cheesecake filling by itself in an airtight container for up to a month; just thaw overnight in the fridge and rewhip gently before filling your cones.
Reheating
There’s no need to reheat these—they’re best enjoyed chilled straight from the fridge! If you’ve stored the filling separately, just allow it to soften at room temperature for a few minutes so it’s easy to pipe or spoon into the cones.
FAQs
Can I make Banana Pudding Cheesecake Cones ahead of time?
Absolutely! Prep the filling up to 24 hours in advance and keep it refrigerated. Wait to assemble the cones until just before serving to keep that delicious crunch intact.
What kind of whipped topping should I use?
You can use any store-bought whipped topping or make your own homemade whipped cream. Just make sure it’s stabilized if you want your cones to hold up for more than a couple of hours.
How can I keep the cones from getting soggy?
Time is of the essence! Fill and serve the cones as close to serving time as possible. Layering crushed cookies at the bottom helps, and chilling the filling thoroughly gives you a little more time before things soften.
Can I use different cookies or add-ins?
Definitely! Try graham cracker crumbs, chocolate cookie crumbs, or even crushed shortbread. Experiment with mini chocolate chips, caramel bits, or a drizzle of peanut butter if you’re in the mood to customize.
Are Banana Pudding Cheesecake Cones kid-friendly?
Kids adore them! The handheld shape, creamy filling, and banana pudding vibe make these a hit for parties, birthdays, or just a special family treat.
Final Thoughts
If you’ve never tried Banana Pudding Cheesecake Cones, now’s the time: you’re just a handful of easy ingredients and a few minutes away from your new favorite dessert. Gather your cones, invite your favorite people, and watch these treats disappear. They’re pure joy in every bite!
Print
Banana Pudding Cheesecake Cones Recipe
- Total Time: 50 minutes (including chilling)
- Yield: 6 cones 1x
- Diet: Vegetarian
Description
Enjoy the delightful combination of creamy cheesecake and banana pudding in a fun, portable waffle cone form with these Banana Pudding Cheesecake Cones. Perfect for a sweet treat that’s easy to make and even easier to enjoy!
Ingredients
For Cheesecake Filling:
- 6 waffle cones
- 1 (8-ounce) package cream cheese, softened
- 1 (3.4-ounce) package instant banana pudding mix
- 1 cup cold milk
- ½ cup sweetened condensed milk
- 1 teaspoon vanilla extract
- 1½ cups whipped topping (or homemade whipped cream)
- 1 cup crushed vanilla wafers
- 1 ripe banana, thinly sliced
- extra whipped topping and crushed wafers for garnish
Instructions
- In a large bowl, beat the softened cream cheese until smooth. In a separate bowl, whisk together the banana pudding mix and cold milk for 2 minutes until thickened. Add the pudding mixture to the cream cheese along with the sweetened condensed milk and vanilla extract. Beat until fully combined and smooth.
- Gently fold in the whipped topping until light and fluffy. Refrigerate the mixture for at least 30 minutes to set.
- To assemble, place a spoonful of crushed vanilla wafers at the bottom of each cone. Layer the cheesecake filling into each cone, alternating with banana slices and more crushed wafers if desired. Top with extra whipped cream and a sprinkle of crushed wafers.
- Serve immediately for a crunchy cone or refrigerate for 15–30 minutes for a slightly softened texture.
Notes
- For a firmer filling, refrigerate for 1 hour or more before piping into the cones.
- These cones are best assembled shortly before serving to maintain the crunch.
- Add a drizzle of caramel or white chocolate for extra indulgence.
- Prep Time: 20 minutes
- Cook Time: 0 minutes
- Category: Dessert
- Method: No-Bake
- Cuisine: American
Nutrition
- Serving Size: 1 cone
- Calories: 320
- Sugar: 26g
- Sodium: 210mg
- Fat: 16g
- Saturated Fat: 9g
- Unsaturated Fat: 6g
- Trans Fat: 0g
- Carbohydrates: 39g
- Fiber: 1g
- Protein: 4g
- Cholesterol: 35mg


