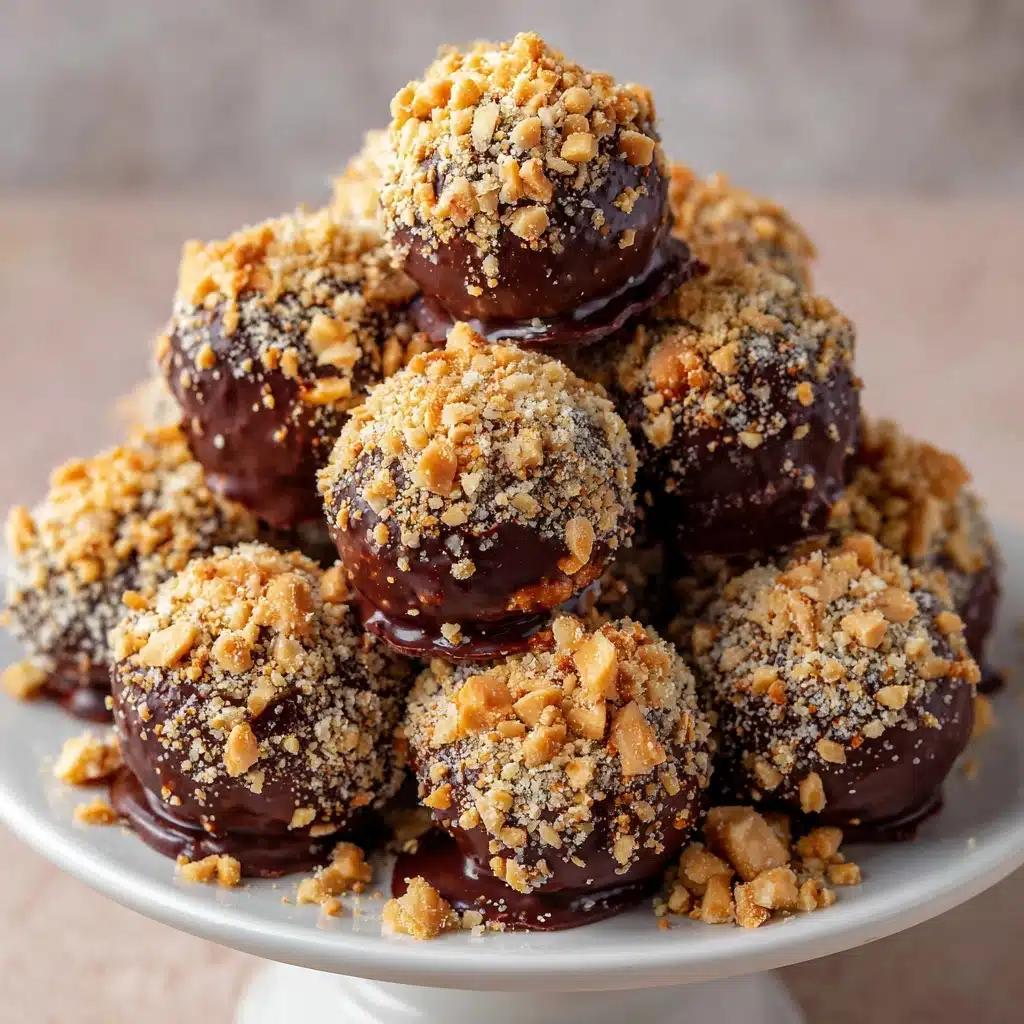
Butterfinger Balls Recipe
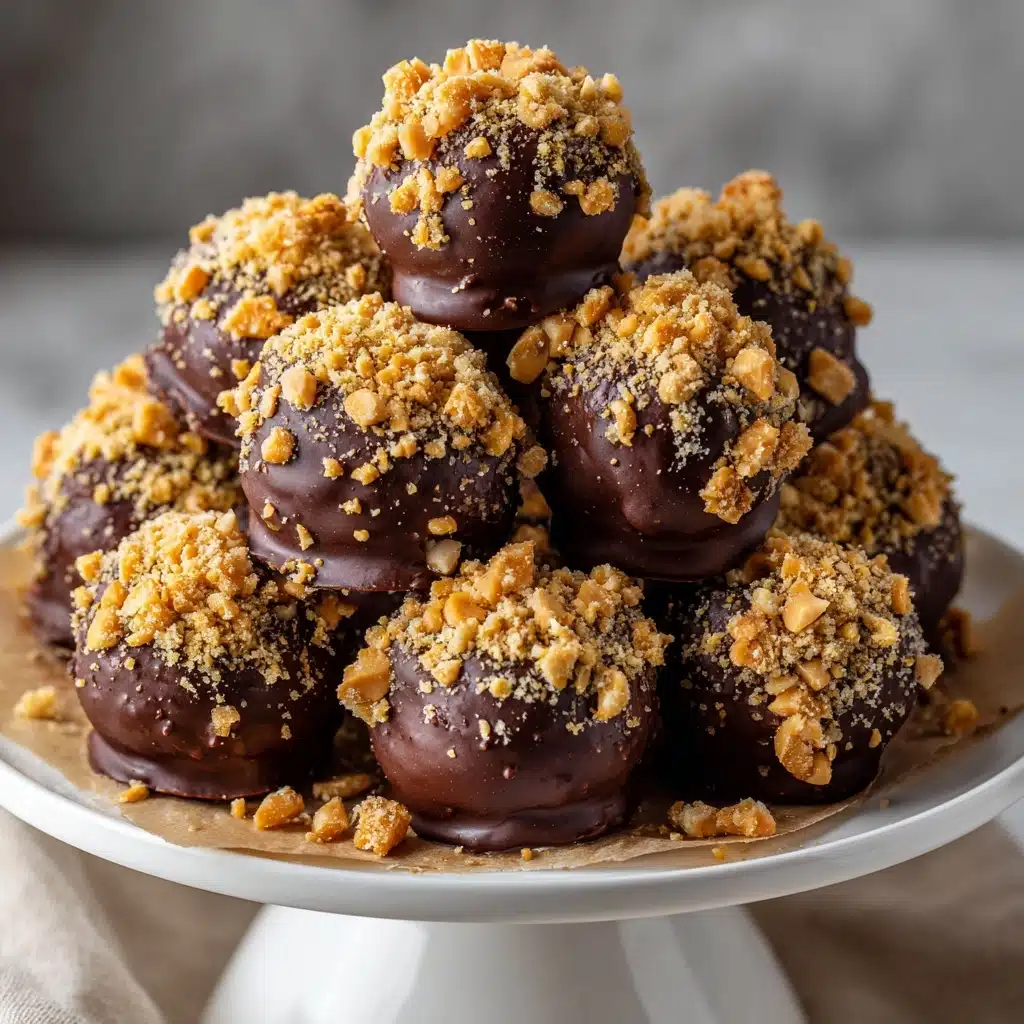
If the words “peanut butter” and “chocolate” together make your heart skip a beat, you’re about to fall in love with Butterfinger Balls. These no-bake treats are the ultimate mashup of crisp, creamy, and chocolatey—the kind of bite-sized desserts you want to bring to every party or stash in your fridge for late-night cravings. Each ball is loaded with iconic Butterfinger candy bits and wrapped in a silky chocolate shell, offering just the right blend of salty, sweet, and unbelievably craveable crunch.
Ingredients You’ll Need
The beauty of Butterfinger Balls is just how little you need to make something magical. Each ingredient plays a starring role—whether adding richness, binding everything together, or delivering that unmistakable Butterfinger snap and flavor.
- Creamy peanut butter: This is the glue and the flavor base—choose your favorite brand for the creamiest texture.
- Unsalted butter, softened: Softens the mix and adds a lovely buttery finish without stealing the spotlight.
- Vanilla extract: Just a splash makes the whole candy taste more homemade and fragrant.
- Powdered sugar: Sweetens while binding everything into a perfect dough that’s easy to shape.
- Crushed Butterfinger candy bars: The signature crunch and toffee-like flavor come from these irresistible bits.
- Semi-sweet chocolate or chocolate candy coating, chopped: Offers a luscious, glossy shell that balances all the rich flavors inside.
How to Make Butterfinger Balls
Step 1: Creamy Beginnings
In a large mixing bowl, beat together the peanut butter, softened butter, and vanilla extract until you get a mixture that’s smooth and wonderfully creamy. This is your foundation, so make sure it’s blended really well—scraping the sides if necessary so every bite has the perfect balance of nutty and buttery undertones.
Step 2: Build the Dough
Gradually add your powdered sugar to the creamy mixture, beating as you go. You’ll notice the dough thickening up and turning into something you can easily mold. Be patient with this step; it’s worth it to incorporate the sugar a bit at a time, ensuring that your Butterfinger Balls come out perfectly soft yet sturdy enough to hold together once shaped.
Step 3: Stir in the Butterfinger Magic
Fold in the crushed Butterfinger candy bars so each bite bursts with that unmistakable crispy, chocolate-peanut-butter flavor. You want those bits to be well distributed because that’s where the magic (and the crunch) happens!
Step 4: Shape and Chill
With clean hands, roll the dough into 1-inch balls, placing each one on a parchment-lined baking sheet. Freeze your Butterfinger Balls for about 20 to 30 minutes—this quick chill step firms them up so dipping them in chocolate is a breeze.
Step 5: Dip in Chocolate and Set
Melt your chocolate or candy coating using a heatproof bowl over simmering water or in brief microwave bursts (stirring each time until smooth). Dip each chilled ball into the chocolate, letting the excess drip off, then transfer them right back to your parchment-lined sheet. Let the chocolate set at room temperature or pop them back into the fridge if you get impatient—the choice is yours. For a dash of extra flair, you can drizzle with melted white chocolate or sprinkle with a few more crushed Butterfinger bits before the coating firms up.
How to Serve Butterfinger Balls
Garnishes
These adorable treats already look pretty enticing, but a little garnish never hurt! Try drizzling a bit of white chocolate on top or scattering extra crushed Butterfinger bits before the coating sets for a playful crunch and pop of caramel color. You could even sprinkle some sea salt flakes for that sweet-salty finish.
Side Dishes
Butterfinger Balls are stars all on their own, but they’re fantastic with anything from a scoop of vanilla ice cream to a mug of bold coffee. If you’re serving a platter for dessert, pair them with fresh berries, whipped cream, or even a small bowl of caramel sauce for dipping.
Creative Ways to Present
Go beyond the usual—display your Butterfinger Balls in pretty mini cupcake liners, arrange them in a pyramid on a cake stand, or skewer them onto lollipop sticks for a fun twist. For special occasions, wrap them in decorative bags or boxes as edible gifts that will absolutely disappear in minutes.
Make Ahead and Storage
Storing Leftovers
Simply pile any extra Butterfinger Balls into an airtight container and keep them in the refrigerator. They’ll stay fresh, luscious, and delightful for up to two weeks—which, honestly, might be a record for how long they last before disappearing!
Freezing
If you want to make a big batch ahead of time, Butterfinger Balls freeze beautifully. Lay them out in a single layer in a freezer-safe container, separating layers with parchment paper, and freeze for up to three months. Just thaw in the fridge before serving for the best texture and flavor.
Reheating
These treats don’t require reheating, but if you like your Butterfinger Balls a tad softer, let them sit at room temperature for 10 to 15 minutes before enjoying. The centers will get blissfully fudgy, making them even more irresistible.
FAQs
Can I use crunchy peanut butter instead of creamy?
Absolutely! Crunchy peanut butter will add an extra pop of texture to your Butterfinger Balls, so if you’re a fan of more crunch, go for it. Just note that the mixture might be a bit more rustic and not as smooth when rolling.
What’s the best way to crush Butterfinger candy bars?
Place the candy bars in a zip-top plastic bag and gently whack them with a rolling pin or heavy can. You want fine bits and a few small chunks for the best flavor and crunch. Don’t crush them into dust—you want those crispy Butterfinger shards!
Can I use milk chocolate instead of semi-sweet?
Yes, you can switch to milk chocolate if you prefer a sweeter finish to your Butterfinger Balls. Semi-sweet tends to balance out the sugary filling, but milk chocolate will give the whole treat a gentle, creamy tone. Go with what you love!
Do Butterfinger Balls have to be refrigerated?
It’s best to refrigerate them since the peanut butter and chocolate can get a little melty at room temperature, especially if you live anywhere warm. Chilling ensures they stay firm and hold their shape.
Can I make Butterfinger Balls nut-free?
Butterfinger candy bars contain peanuts, so these particular balls can’t be made entirely nut-free using Butterfingers. However, you could substitute the peanut butter with a sunflower seed or soy nut butter and use the closest nut-free crispy candy for a similar treat.
Final Thoughts
Share these Butterfinger Balls once, and you’ll find yourself fielding requests for the recipe at every gathering! They’re crowd-pleasers for all ages and couldn’t be easier to make, whether you’re whipping up a quick dessert batch or getting the whole family involved. Go ahead—give this irresistible no-bake wonder a try and watch them disappear, one sweet bite at a time.
Print
Butterfinger Balls Recipe
- Total Time: 30 minutes plus chilling time
- Yield: 40 balls 1x
- Diet: Vegetarian
Description
Indulge in these irresistible Butterfinger Balls that combine the creamy richness of peanut butter with the crunch of Butterfinger candy bars, all coated in decadent chocolate. A perfect no-bake dessert for any occasion!
Ingredients
Peanut Butter Mixture:
- 1 ½ cups creamy peanut butter
- ½ cup unsalted butter, softened
- 1 teaspoon vanilla extract
- 3 cups powdered sugar
Filling:
- 2 cups crushed Butterfinger candy bars
Coating:
- 16 ounces semi-sweet chocolate or chocolate candy coating, chopped
Instructions
- Mix Peanut Butter Mixture: In a large bowl, beat peanut butter, softened butter, and vanilla until creamy. Gradually add powdered sugar, mix until dough forms.
- Add Filling: Stir in crushed Butterfinger until evenly distributed.
- Shape Balls: Roll mixture into 1-inch balls, place on parchment-lined sheet, freeze until firm.
- Coat in Chocolate: Melt chocolate, dip each ball, let excess drip off, place on sheet. Let set at room temperature or refrigerate until firm.
Notes
- For a festive touch, drizzle with melted white chocolate or sprinkle with extra crushed Butterfinger before the coating sets.
- Store in an airtight container in the refrigerator for up to 2 weeks.
- Prep Time: 30 minutes
- Cook Time: 0 minutes
- Category: Dessert
- Method: No-Bake
- Cuisine: American
Nutrition
- Serving Size: 1 ball
- Calories: 150
- Sugar: 13 g
- Sodium: 65 mg
- Fat: 9 g
- Saturated Fat: 4 g
- Unsaturated Fat: 4.5 g
- Trans Fat: 0 g
- Carbohydrates: 17 g
- Fiber: 1 g
- Protein: 2 g
- Cholesterol: 5 mg


