Butterfinger Cheesecake Recipe
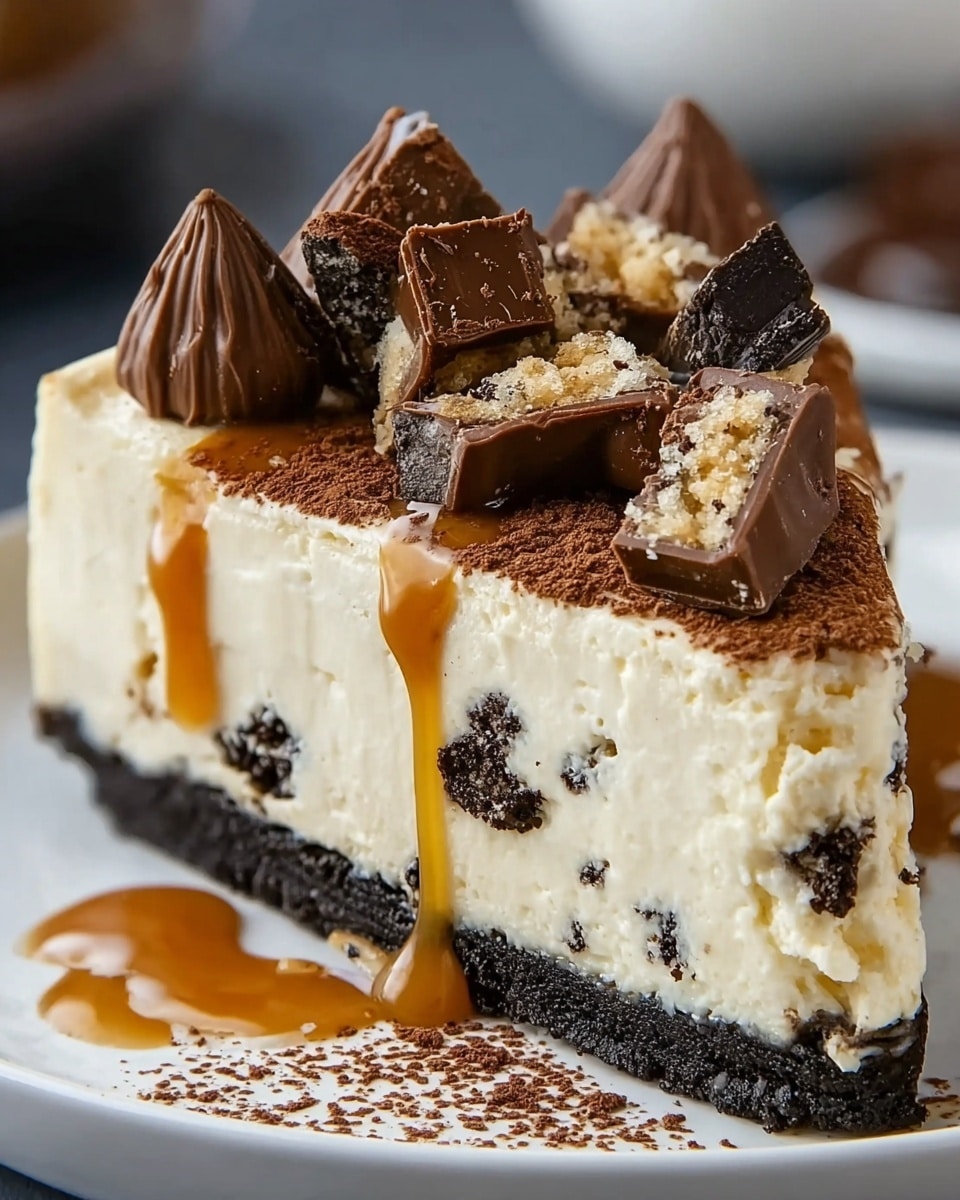
If you have a sweet tooth that craves a perfect blend of creamy richness and crunchy chocolatey peanut butter goodness, this Butterfinger Cheesecake Recipe is just what your dessert dreams are made of. Combining a buttery graham cracker crust with a luscious cream cheese filling studded with chunks of Butterfinger candy bars, this cheesecake is an irresistible crowd-pleaser. Each bite offers that classic creamy texture with the delightful surprise of crisp Butterfinger pieces, making it a must-try for any celebration or cozy night in.
Ingredients You’ll Need
Gathering simple yet essential ingredients is the key to making this Butterfinger Cheesecake Recipe shine. Each element plays a vital role—from the buttery crust for a crunchy base to the rich cream cheese filling that melts in your mouth, every component contributes to the overall flavor and texture.
- Graham cracker crumbs (1 1/2 cups): Provides a classic, slightly sweet and crispy base that holds the entire cheesecake together.
- Granulated sugar (1 1/4 cups total): Sweetens both the crust and the filling, balancing the flavors perfectly.
- Unsalted butter (6 tablespoons, melted): Adds richness to the crust, helping it bind and giving it a delectable buttery taste.
- Cream cheese (24 ounces, softened): The star of the filling, delivering that creamy, tangy profile essential to cheesecake.
- Sour cream (1/2 cup): Adds moisture and a gentle tartness that brightens the custard-like filling.
- Eggs (3 large): Bind the filling together and provide structure while keeping it silky smooth.
- Vanilla extract (1 teaspoon): Infuses a warm, aromatic flavor that enhances the overall dessert.
- Salt (1/2 teaspoon): Balances sweetness and deepens flavor layers.
- Butterfinger candy bars (1 1/2 cups chopped, divided): The magical crunch that adds chocolate peanut butter chunks in every bite.
- Heavy cream (1/2 cup): Whipped to create a light, fluffy topping that complements the dense cheesecake.
- Optional garnishes: Additional chopped Butterfinger or a drizzle of chocolate for that extra wow factor.
How to Make Butterfinger Cheesecake Recipe
Step 1: Prepare the Crust
Begin by preheating your oven to 325°F (160°C) and greasing a 9-inch springform pan to ensure easy release later. In a medium bowl, mix the graham cracker crumbs, 1/4 cup sugar, and melted butter until the texture resembles damp sand. Press this mixture firmly into the bottom of your pan to create a solid crust foundation. Bake for 10 minutes to set the crust, then let it cool while you prepare the filling—this step helps maintain a crunchy base that won’t get soggy.
Step 2: Make the Cheesecake Filling
In a large mixing bowl, beat the softened cream cheese until it’s completely smooth and creamy—no lumps allowed! Gradually add 1 cup sugar while continuing to beat until the mixture lightens and becomes fluffy. Stir in the sour cream, vanilla extract, and salt to add depth and a touch of tang. Add the eggs one at a time, mixing slowly after each addition to prevent overbeating, which can cause cracks. Finally, gently fold in 1 cup of the chopped Butterfinger pieces to infuse the batter with that signature crunch.
Step 3: Bake the Cheesecake
Pour the filling over the pre-baked crust and use a spatula to smooth the top evenly. Place the springform pan on the middle rack of your oven and bake for 55 to 65 minutes. You’ll want the center to be just set and still a bit jiggly when you gently shake the pan — this ensures a creamy interior once cooled. After baking, turn off the oven, crack the door open, and let the cheesecake cool inside for about an hour, a crucial step to prevent cracking and maintain its creamy texture.
Step 4: Chill and Finish
Remove the cheesecake from the oven and refrigerate for at least 4 hours, or preferably overnight, so it sets perfectly and flavors meld beautifully. Before serving, whip the heavy cream to stiff peaks and spread or pipe it generously over the top of the cheesecake. Scatter the remaining chopped Butterfinger pieces and, if you like, drizzle some melted chocolate over the top for a picture-perfect finish.
How to Serve Butterfinger Cheesecake Recipe
Garnishes
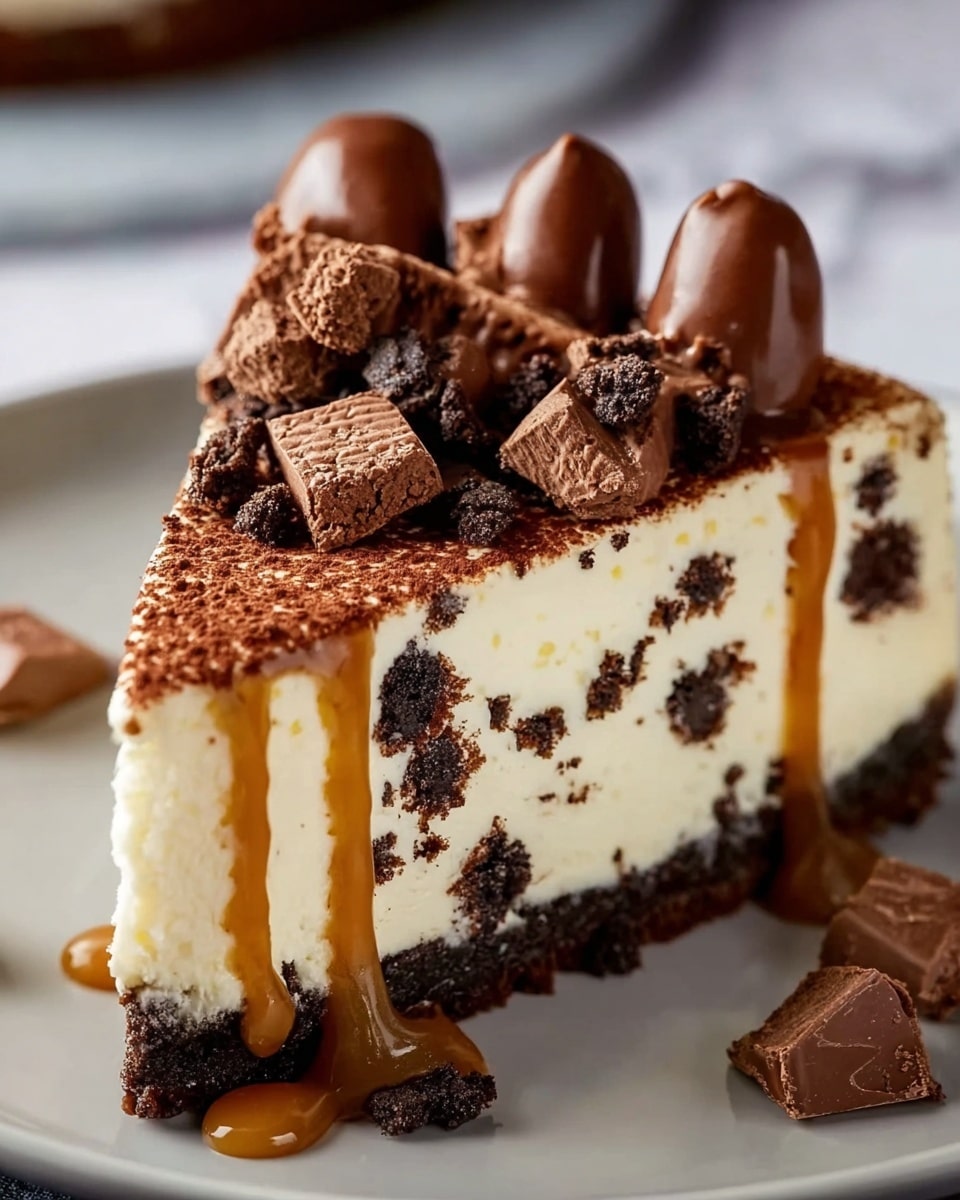
Elevate your Butterfinger Cheesecake Recipe presentation by adding extra small Butterfinger shards for that irresistible crunch right on top. A smooth swirl of chocolate drizzle adds visual appeal and a slight bitterness that cuts through the sweetness delightfully. Fresh mint leaves can be a great pop of color and freshness too.
Side Dishes
This cheesecake pairs wonderfully with light accompaniments such as fresh berries, which add a juicy contrast to the richness. A simple vanilla bean ice cream or a dollop of lightly sweetened whipped cream alongside can also enhance each bite without overwhelming the flavors.
Creative Ways to Present
For a fun twist, serve individual portions in clear dessert cups layered with crushed Butterfinger pieces and whipped cream on top. Another idea is to cut mini cheesecake squares and stick popsicle sticks in them to create Butterfinger cheesecake pops, perfect for parties and kid-friendly events.
Make Ahead and Storage
Storing Leftovers
Properly storing your Butterfinger Cheesecake Recipe leftovers will keep it fresh and delicious. Cover the cheesecake tightly with plastic wrap or store in an airtight container in the refrigerator. It will stay good for up to 5 days, maintaining all its creamy goodness and crunch.
Freezing
Need to save some for later? Wrap the cheesecake (whole or slices) securely with plastic wrap, then aluminum foil to protect from freezer burn. When frozen, it can last up to 2 months. Thaw overnight in the fridge before serving to preserve that smooth texture.
Reheating
Cheesecake is best enjoyed chilled, so reheating is generally not recommended. However, if you prefer it slightly warm, you can let slices sit at room temperature for 15-20 minutes before eating. Avoid microwaving as it may alter the texture dramatically.
FAQs
Can I use other candy bars instead of Butterfinger?
Absolutely! While Butterfinger candy bars bring a unique crispy peanut butter flavor, you can experiment with similar candy bars like Heath or Snickers for a different twist. Just keep in mind that textures and sweetness levels may vary.
Do I need a water bath to bake this cheesecake?
This recipe does not require a water bath because the moderate baking temperature and cooling process help prevent cracks and ensure a creamy texture. However, if you’ve had trouble with cracks before, a water bath can provide more gentle, even baking.
Can I prepare this cheesecake in advance for a party?
Yes! In fact, this Butterfinger Cheesecake Recipe tastes even better the next day after it has fully chilled and set. Make it a day ahead to save time and let the flavors meld wonderfully together.
How do I get clean slices when cutting cheesecake?
Use a sharp knife dipped in hot water and wiped dry between cuts. This simple trick helps slice through the creamy cheesecake smoothly without dragging or crumbling.
Is this recipe suitable for vegetarians?
Yes, this Butterfinger Cheesecake Recipe is vegetarian-friendly as it contains no meat products. Just check that your Butterfinger candy bars meet your specific dietary preferences.
Final Thoughts
I can’t recommend enough that you try this Butterfinger Cheesecake Recipe at home. It’s one of those desserts that bring such joy and satisfaction, whether you’re treating yourself or impressing guests. The blend of creamy texture with crunchy, chocolatey Butterfinger pieces creates a memorable taste experience that will have everyone asking for seconds. So go ahead, dig in, and enjoy a slice of happiness!
Print
Butterfinger Cheesecake Recipe
- Total Time: 1 hour 25 minutes (plus chilling time)
- Yield: 12 servings 1x
- Diet: Vegetarian
Description
This luscious Butterfinger Cheesecake combines a creamy, rich cream cheese filling with crunchy Butterfinger candy pieces for a delightful texture contrast. Nestled on a buttery graham cracker crust, this American dessert is perfect for celebrations or a special treat, topped with whipped cream and more Butterfinger candy for extra indulgence.
Ingredients
Crust
- 1 1/2 cups graham cracker crumbs
- 1/4 cup granulated sugar
- 6 tablespoons unsalted butter, melted
Filling
- 24 ounces cream cheese, softened
- 1 cup granulated sugar
- 1/2 cup sour cream
- 3 large eggs
- 1 teaspoon vanilla extract
- 1/2 teaspoon salt
- 1 1/2 cups chopped Butterfinger candy bars, divided
Topping
- 1/2 cup heavy cream
- Optional: additional chopped Butterfinger or chocolate drizzle for garnish
Instructions
- Prepare the crust: Preheat the oven to 325°F (160°C) and grease a 9-inch springform pan. In a medium bowl, combine graham cracker crumbs, 1/4 cup sugar, and melted butter. Mix well then firmly press the mixture into the bottom of the pan to form an even crust. Bake for 10 minutes, then remove and set aside to cool.
- Make the cheesecake batter: In a large bowl, beat the softened cream cheese until smooth and creamy. Gradually add 1 cup sugar and continue beating until light in texture. Mix in the sour cream, vanilla extract, and salt until fully incorporated.
- Add the eggs: Add the eggs one at a time, mixing on low speed after each addition until just combined to avoid overmixing.
- Fold in Butterfinger candy: Gently fold in 1 cup of the chopped Butterfinger pieces to distribute evenly throughout the filling.
- Bake the cheesecake: Pour the filling over the cooled crust and smooth the top. Bake for 55 to 65 minutes, or until the center is set but still slightly jiggly. After baking, turn off the oven, crack the door open, and let the cheesecake cool inside for 1 hour.
- Chill: Remove the cheesecake from the oven and refrigerate for at least 4 hours or overnight to fully set and develop flavors.
- Prepare the topping: Before serving, whip the heavy cream to stiff peaks. Spread or pipe the whipped cream over the top of the chilled cheesecake.
- Garnish and serve: Decorate with the remaining chopped Butterfinger pieces and, if desired, drizzle with chocolate for an extra decadent finish. Slice cleanly with a wiped knife for perfect servings.
Notes
- Use room temperature ingredients to ensure a smooth and creamy batter.
- The cheesecake can be made a day ahead and stored in the refrigerator overnight.
- For neat slices, wipe the knife clean between each cut to prevent crumb buildup.
- Prep Time: 25 minutes
- Cook Time: 1 hour
- Category: Dessert
- Method: Baking
- Cuisine: American
