Butterfinger Pie (No-Bake) Recipe
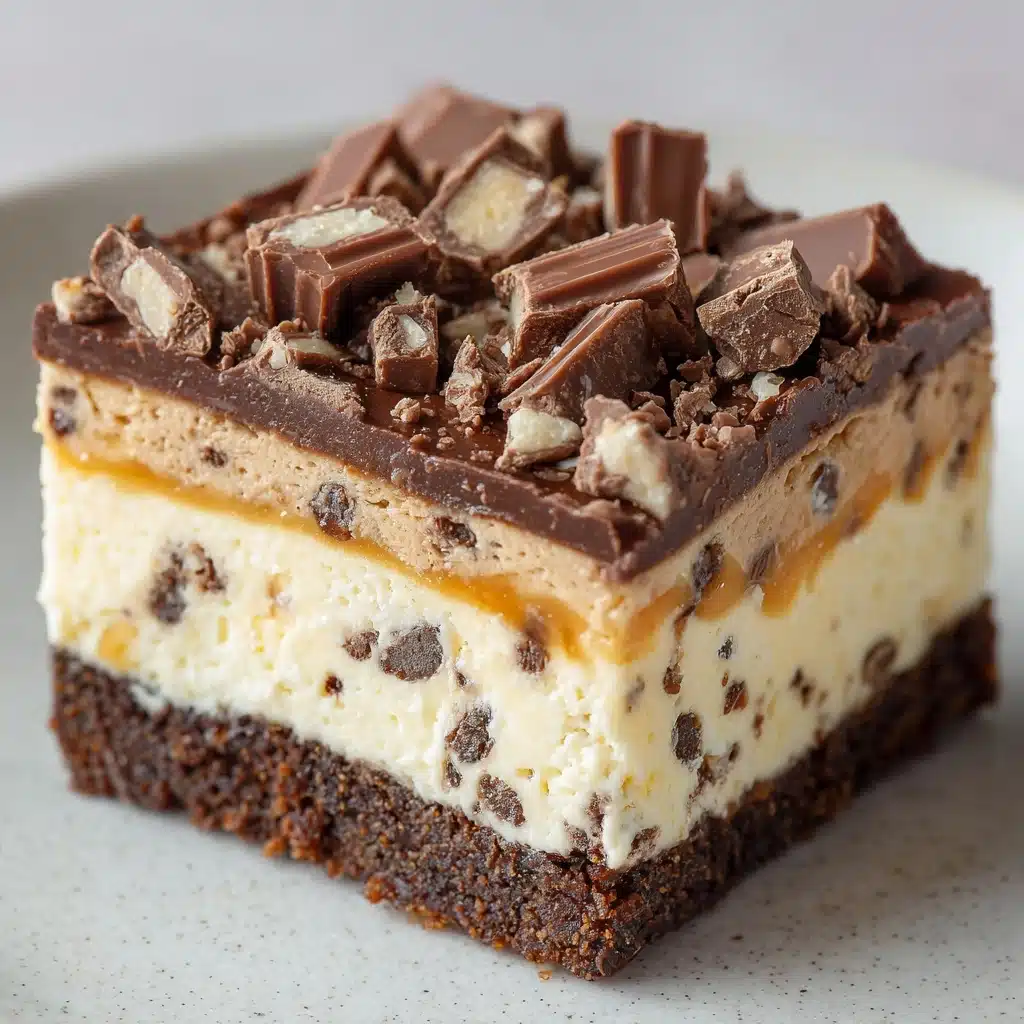
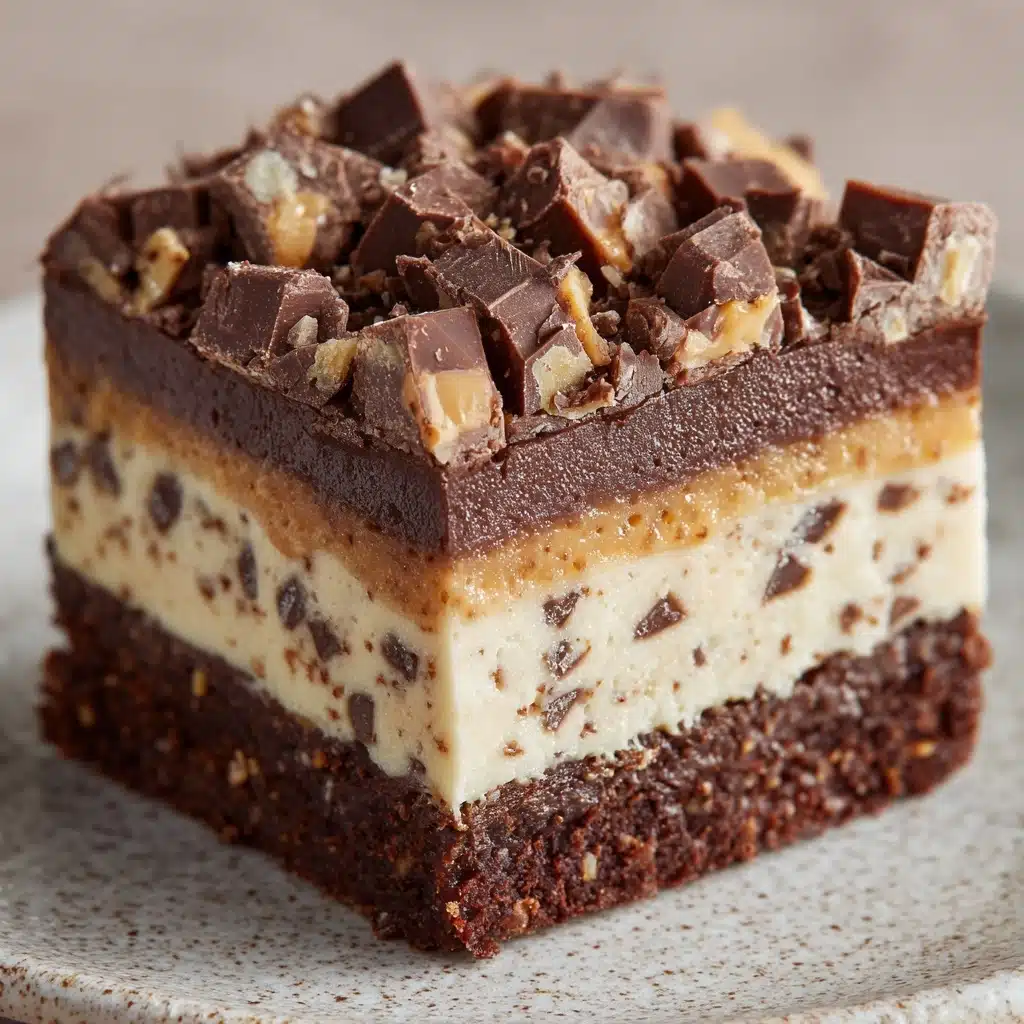
If there’s one dessert that manages to be both nostalgic and downright irresistible, it’s Butterfinger Pie (No-Bake). This creamy, peanut buttery dream delivers all the sweet satisfaction of a candy bar, but with the ease of a pie you can whip up in minutes—no oven required! Whether you’re making it for a family get-together, a potluck, or just to treat yourself, this pie turns simple ingredients into a showstopping finale. Each slice is packed with crunchy Butterfinger pieces, a luscious peanut butter filling, and a golden graham cracker crust that brings everything together perfectly.
Ingredients You’ll Need
One of the best things about Butterfinger Pie (No-Bake) is that every ingredient plays a starring role. These simple pantry staples come together to create a dessert that’s rich, creamy, and loaded with that signature Butterfinger crunch. Here’s what you’ll need and why:
- Graham cracker pie crust: The classic, buttery foundation that holds everything together and offers a lovely crunch in every bite.
- Cream cheese (softened): Gives the filling its creamy, tangy richness and helps the pie set beautifully.
- Whipped topping (like Cool Whip): Adds airy lightness, making the pie luscious without feeling heavy.
- Creamy peanut butter: Brings out that unforgettable peanut butter flavor and smooth texture you’ll crave.
- Powdered sugar: Sweetens the filling and blends seamlessly for a silky-smooth finish.
- Vanilla extract: A splash of vanilla rounds out the flavors and deepens the dessert’s aroma.
- Butterfinger bars (crushed): The star ingredient! They bring crunchy bits of chocolate and peanut buttery goodness to every layer.
- Optional: chocolate syrup and extra crushed Butterfinger: For those who love a decadent finish, these toppings make the pie look and taste even more indulgent.
How to Make Butterfinger Pie (No-Bake)
Step 1: Cream the Cheese
Start by adding your softened cream cheese to a large mixing bowl. Beat it until smooth and creamy, making sure there are no lumps. This step sets the stage for a silky, dreamy filling—so take a minute to get it just right!
Step 2: Blend in the Peanut Butter Goodness
Next, mix in the peanut butter, powdered sugar, and vanilla extract. Keep beating until everything is fully combined and the mixture is glossy and creamy. You’ll notice it thickening up and taking on that irresistible peanut butter aroma—try not to sneak a taste just yet!
Step 3: Fold in the Whipped Topping and Butterfinger
Gently fold in the whipped topping and three of the crushed Butterfinger bars. Use a spatula and a light touch—this keeps the filling fluffy and ensures the Butterfinger bits stay nice and crunchy throughout the pie.
Step 4: Fill and Top the Pie
Spoon the creamy filling into your graham cracker crust, smoothing the top as you go. Scatter the remaining crushed Butterfinger bar over the pie for extra crunch, and drizzle with chocolate syrup if you’re feeling fancy. This is the moment when the pie really starts to look irresistible!
Step 5: Chill and Serve
Cover the pie and refrigerate it for at least four hours, or until it’s fully set. If you want extra-clean slices, pop it in the freezer for about 30 minutes before serving. Slice, serve, and get ready for lots of “oohs” and “aahs” from your lucky tasters.
How to Serve Butterfinger Pie (No-Bake)
Garnishes
Dress up your Butterfinger Pie (No-Bake) with a sprinkle of extra crushed Butterfinger bars, a generous drizzle of chocolate syrup, or even a dollop of whipped cream. These little touches not only make your pie look bakery-worthy, but they also add even more flavor and texture.
Side Dishes
This pie is undeniably rich, so it pairs perfectly with a cup of strong coffee or a glass of cold milk. For a lighter touch, serve it alongside fresh berries or a fruit salad—something to balance the sweetness with a bit of freshness.
Creative Ways to Present
Try serving individual slices in mason jars for a fun twist or make mini Butterfinger Pie (No-Bake) tartlets using a muffin tin for parties. If you want to go all out, layer the filling and crushed Butterfingers in a trifle dish for a dramatic, crowd-pleasing presentation.
Make Ahead and Storage
Storing Leftovers
Leftover Butterfinger Pie (No-Bake) keeps beautifully in the fridge. Just cover the pie tightly with plastic wrap or foil, and it will stay delicious for up to five days. The crust and filling hold up well, and the Butterfinger bits remain satisfyingly crunchy.
Freezing
If you want to make the pie in advance or save leftovers for longer, you can freeze Butterfinger Pie (No-Bake). Wrap the pie or individual slices tightly in plastic wrap and then foil, and freeze for up to one month. Let it thaw in the refrigerator overnight for best results.
Reheating
Since this is a no-bake dessert, there’s no need to reheat! If you’ve frozen the pie, simply let it thaw in the fridge before serving. For a slightly firmer texture, you can even enjoy a slice straight from the freezer—think of it as a frozen treat!
FAQs
Can I use a homemade graham cracker crust instead of store-bought?
Absolutely! Homemade graham cracker crusts are easy and add a personal touch. Just combine graham cracker crumbs, melted butter, and a bit of sugar, then press into your pie dish and chill before filling.
What can I substitute for Cool Whip?
If you prefer to avoid store-bought whipped topping, you can use freshly whipped cream that’s been lightly sweetened. Just make sure it’s whipped to soft peaks so the filling stays light and airy.
Can I use crunchy peanut butter instead of creamy?
You can, but keep in mind it will add extra bits of peanut throughout the pie. If you love a little more texture and peanutty crunch, crunchy peanut butter is a delicious swap!
How far ahead can I make Butterfinger Pie (No-Bake)?
This pie is perfect for making ahead! Prepare it up to two days in advance and keep it chilled until you’re ready to serve. The flavors meld together even more as it sits.
Is Butterfinger Pie (No-Bake) gluten-free?
With a standard graham cracker crust, it’s not gluten-free. However, you can easily use gluten-free graham crackers for the crust and double-check your Butterfinger bars to make it suitable for gluten-free diets.
Final Thoughts
Butterfinger Pie (No-Bake) is the kind of dessert that brings out everyone’s inner kid and makes any occasion feel special. It’s incredibly easy to make, impossible to resist, and guaranteed to be a hit whether you’re sharing it at a party or sneaking a midnight slice. Give it a try—you just might find yourself making it every chance you get!
Print
Butterfinger Pie (No-Bake) Recipe
- Total Time: 4 hours 15 minutes
- Yield: 8 servings 1x
- Diet: Non-Vegetarian
Description
This no-bake Butterfinger Pie is a creamy, peanut buttery dessert layered with crushed Butterfinger candy bars inside a crisp graham cracker crust. Perfect for chocolate and candy bar lovers looking for an easy, refrigerator-set pie with a crunchy, sweet finish.
Ingredients
Pie Crust
- 1 pre-made graham cracker pie crust (9-inch)
Filling
- 1 (8 oz) package cream cheese, softened
- 1 (8 oz) container whipped topping (like Cool Whip), thawed
- ½ cup creamy peanut butter
- ½ cup powdered sugar
- 1 teaspoon vanilla extract
- 4 full-size Butterfinger bars, crushed (divided)
Topping (Optional)
- Chocolate syrup
- Extra crushed Butterfinger bars
Instructions
- Prepare the Cream Cheese Mixture: In a large mixing bowl, beat the softened cream cheese until smooth and creamy, ensuring there are no lumps.
- Add Flavors: Add the peanut butter, powdered sugar, and vanilla extract to the cream cheese and continue beating until all ingredients are fully combined and the mixture is smooth.
- Fold in Whipped Topping and Candy: Gently fold in the whipped topping and 3 of the crushed Butterfinger bars with a spatula until evenly distributed throughout the filling, maintaining a light and airy texture.
- Fill the Crust: Spoon the creamy filling mixture into the pre-made graham cracker pie crust, smoothing the top evenly with the back of a spoon or spatula.
- Add Toppings: Sprinkle the remaining crushed Butterfinger bars over the surface of the pie and drizzle with chocolate syrup if desired to add extra sweetness and decoration.
- Chill and Set: Cover the pie and refrigerate for at least 4 hours to allow the filling to set properly and flavors to meld.
- Serve: Slice the pie into 8 servings and serve chilled for the best texture and taste.
Notes
- Freeze the pie for 30 minutes before slicing for cleaner, neater slices.
- For a homemade crust, combine 1½ cups graham cracker crumbs with 6 tablespoons melted butter and ¼ cup sugar; press into a pie dish and chill before filling.
- Prep Time: 15 minutes
- Cook Time: 0 minutes
- Category: Dessert
- Method: No-Bake
- Cuisine: American
Nutrition
- Serving Size: 1 slice
- Calories: 420
- Sugar: 28g
- Sodium: 280mg
- Fat: 27g
- Saturated Fat: 12g
- Unsaturated Fat: 14g
- Trans Fat: 0g
- Carbohydrates: 38g
- Fiber: 1g
- Protein: 6g
- Cholesterol: 30mg
