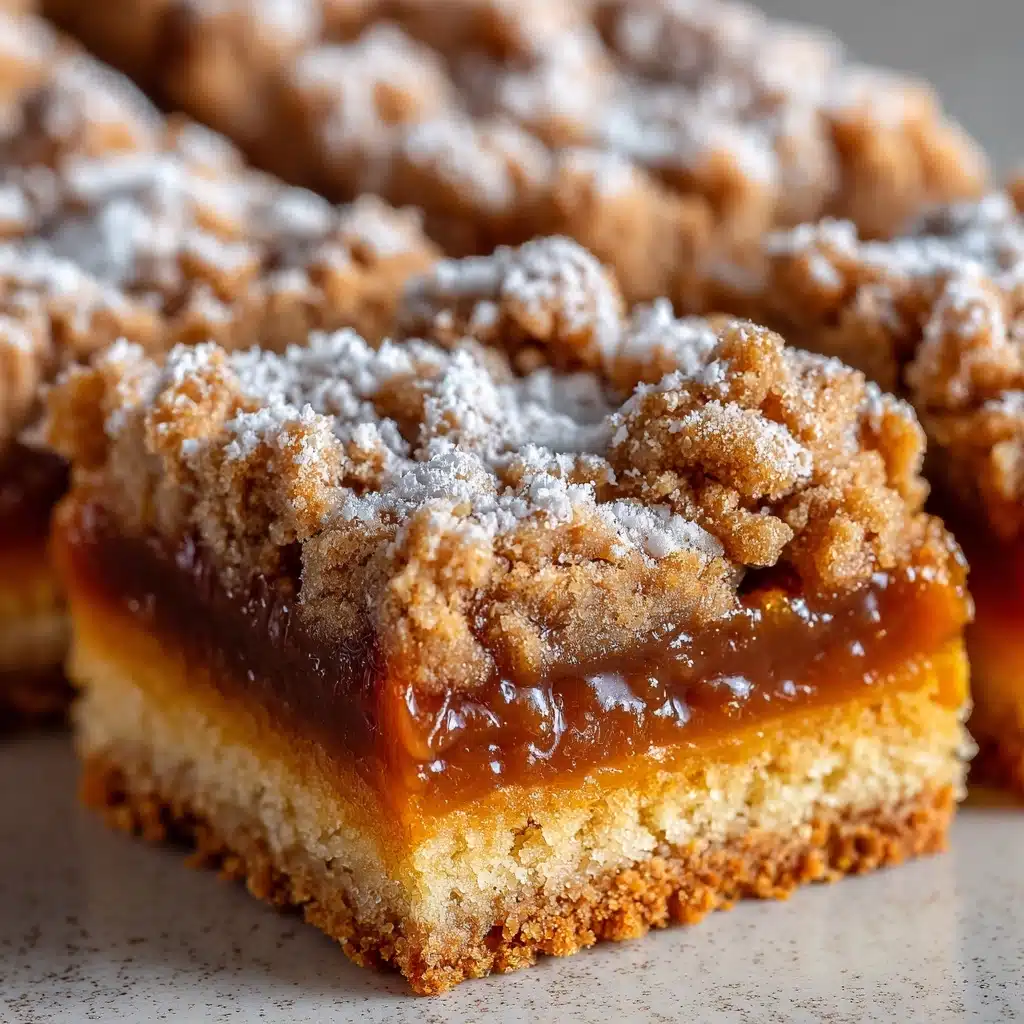
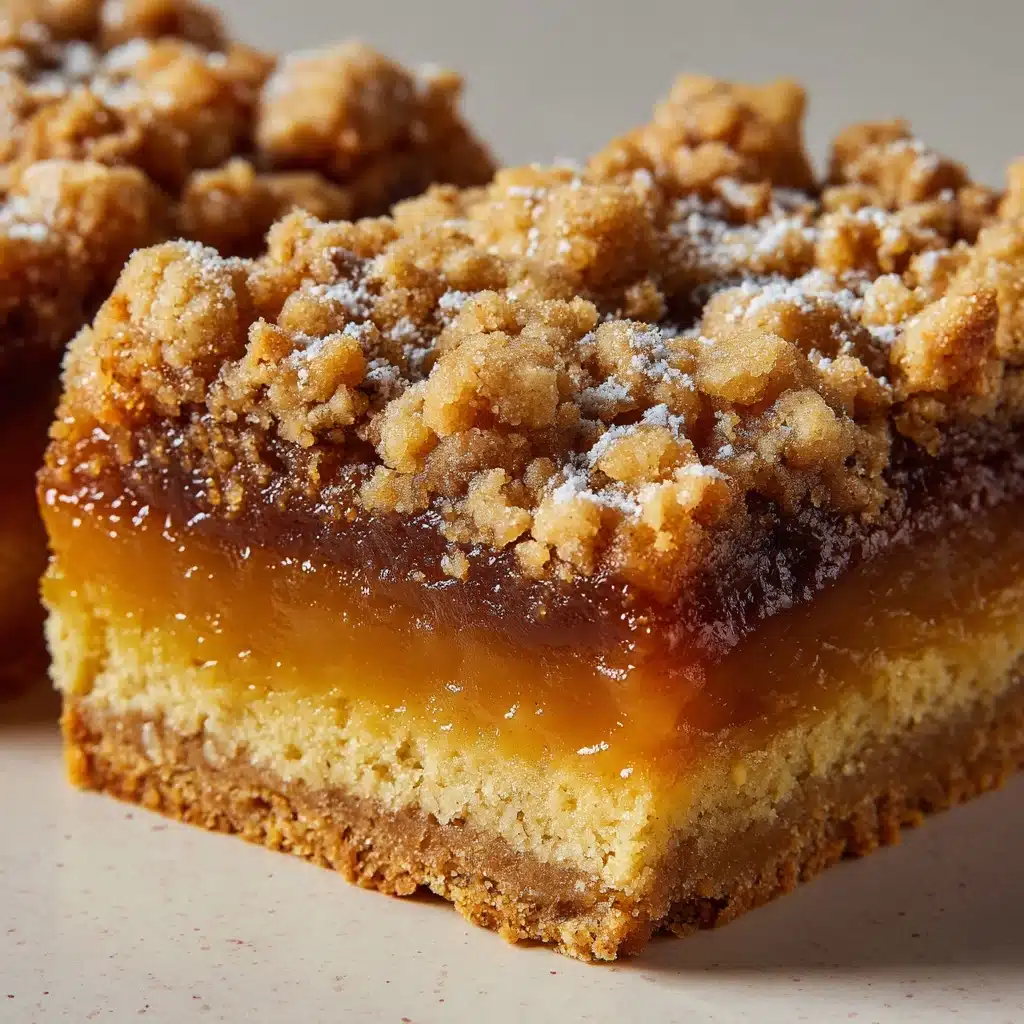
Caramelitas Recipe
If you’re on the hunt for a crowd-pleasing treat that brings together gooey caramel, melty chocolate, and a buttery oat crust, this Caramelitas Recipe is about to become your new obsession. With irresistible layers and a blend of rich, chewy, and crunchy textures, Caramelitas are classic dessert bars that feel special enough for a party yet easy enough for a weeknight baking fix. Whether you serve them warm, chilled, or straight from the pan, you’ll love every sweet, decadent bite.
Ingredients You’ll Need
What makes the Caramelitas Recipe truly shine is how each ingredient plays a key role in creating those lush, layered flavors and perfect textures. Simple pantry staples come together to deliver an incredibly satisfying treat. Here’s exactly what you’ll need and why:
- Old-fashioned rolled oats: These give the bars hearty structure and a chewy bite that balances the sweet filling.
- All-purpose flour: Helps bind the oat crust and topping for the just-right bar consistency.
- Packed brown sugar: Infuses the dough with caramel notes and rich molasses flavor.
- Baking soda: Gives the oat layers a gentle lift and adds a touch of tenderness.
- Salt: Just a pinch brings out every other flavor in the Caramelitas Recipe.
- Unsalted butter, melted: Makes each bite buttery and keeps the layers perfectly moist.
- Semisweet chocolate chips: Melts into puddles, providing bursts of deep chocolate richness.
- Chopped pecans (optional): Lends a toasty crunch and a nutty kick, but you can leave them out if you prefer.
- Soft caramels, unwrapped: The star of the show, these melt into a gooey, sweet filling you’ll crave.
- Heavy cream: Silky smooths out the caramel and makes the filling dreamy and pourable.
How to Make Caramelitas Recipe
Step 1: Prepare Your Baking Dish
Begin by preheating your oven to 350°F. Grease a 9×13-inch baking dish generously or line it with parchment paper for easy removal. This step sets you up for easy serving and ensures your bars hold their beautiful layers without sticking.
Step 2: Mix the Oatmeal Crust and Crumble
In a large bowl, combine the oats, flour, brown sugar, baking soda, and salt. Give it a quick stir to blend everything evenly. Next, pour in the melted butter and mix until you have a crumbly but cohesive mixture. This oat blend is going to offer both the sturdy base and the crispy top of your Caramelitas Recipe.
Step 3: Press and Pre-Bake the Bottom Crust
Take half of the oat mixture and firmly press it into the bottom of your prepared dish. Really pack it down to create a gorgeous, chewy foundation. Bake this bottom crust for 10 minutes to set it—this way, it stays dense and delicious even after you add the caramel and chocolate layers.
Step 4: Make the Caramel Filling
While the crust bakes, combine your unwrapped caramels with heavy cream in a small saucepan set over low heat. Stir often and patiently watch as the caramels melt into a dreamy, velvety sauce. The cream keeps it smooth and easy to pour—no grainy caramel here!
Step 5: Layer on the Chocolate and Nuts
When the crust comes out of the oven, immediately sprinkle the chocolate chips evenly over the hot layer. The residual heat will begin to melt the chocolate. If you’re feeling nutty, scatter chopped pecans over top for extra crunch and an earthy flavor burst.
Step 6: Pour on the Caramel
Carefully pour the warm caramel mixture over the chocolate and nut layer, spreading gently to the edges. The caramel seeps between the chocolate and crust, ensuring every bite is gooey and divine. If you love a salted twist, now’s the time to sprinkle on some flaky sea salt for contrast.
Step 7: Finish with Oat Crumble and Bake Again
Crumble the remaining oat mixture evenly over the caramel layer, breaking it up with your hands for a rustic, bakery-style look. Return your pan to the oven and bake for 20 to 22 minutes, or until the topping turns lightly golden and inviting.
Step 8: Cool and Cut
Patience is key! Let the Caramelitas Recipe cool completely before cutting into bars. This helps the layers set, guaranteeing perfect squares that hold together beautifully (and prevent gooey caramel escapes!).
How to Serve Caramelitas Recipe
Garnishes
These bars are rich and indulgent all on their own, but if you want to jazz up your Caramelitas Recipe for a party or special event, consider a sprinkle of flaky sea salt, an extra drizzle of melted chocolate, or a dusting of powdered sugar. Add a dollop of whipped cream or even a scoop of vanilla ice cream to send them over the top!
Side Dishes
The best companions to these decadent squares are cool, refreshing treats. Serve Caramelitas alongside fresh berries to balance the sweetness, or pair them with a scoop of sorbet for a lighter contrast. For coffee lovers, a deep roast or even an icy cold brew will take things to another level.
Creative Ways to Present
Turn your Caramelitas Recipe into a showstopper by stacking bars into a rustic dessert tower, wrapping individual squares in parchment with twine for party favors, or making mini bites for a dessert buffet. If you’re feeling really fancy, sandwich a scoop of ice cream between two squares and serve as a caramel-chocolate ice cream sandwich—pure bliss!
Make Ahead and Storage
Storing Leftovers
To keep your Caramelitas Recipe fresh, store leftover bars in an airtight container at room temperature for up to 3 days. They’ll stay chewy and gooey just the way you want, making them perfect for lunchbox treats or afternoon coffee breaks.
Freezing
If you want to save some for later, this recipe is wonderfully freezer-friendly. Place cooled bars between layers of parchment in a freezer-safe container and freeze for up to 2 months. When a caramel craving strikes, just thaw a bar or two at room temperature or in the fridge overnight.
Reheating
For that fresh-from-the-oven experience, pop a Caramelitas square in the microwave for 10–15 seconds. This reawakens the gooey caramel and melty chocolate, giving you the best possible texture and flavor, especially if you’re serving with ice cream!
FAQs
Can I make Caramelitas Recipe gluten-free?
Absolutely! Swap the all-purpose flour for a cup-for-cup gluten-free flour blend and ensure your oats are certified gluten-free. You’ll enjoy all the chewy, caramel-filled goodness without any gluten worries.
Do I have to use pecans?
Nope! Pecans are totally optional—they add a lovely crunch, but you can simply leave them out or swap in walnuts, almonds, or even coconut if you like. The Caramelitas Recipe is super flexible and will be delicious however you personalize it.
Can I use caramel sauce instead of melting caramels?
You can, but the homemade melted caramel is definitely thicker and holds the bars together better. If you use jarred caramel sauce, choose a high-quality, thick version and reduce the cream just a little to avoid overly runny filling.
Why do my bars fall apart when cutting?
If you slice them before they’re fully cooled, you’ll get messy, falling-apart squares. Let the Caramelitas set completely—patience pays off! For perfect slices, use a sharp knife and wipe it clean between cuts.
Can I halve the recipe?
Yes! Prepare the Caramelitas in an 8×8-inch or 9×9-inch baking dish and just halve every ingredient. The bake times may be a minute or two less, so start checking a little earlier.
Final Thoughts
This Caramelitas Recipe has everything you could want in a dessert bar: gooey caramel, melty chocolate, a buttery crumble, and a dose of nostalgia in every bite. I guarantee once you try these, they’ll be requested on repeat for bake sales, birthdays, or just because. Pull out your mixing bowl and treat yourself—you deserve it!
Print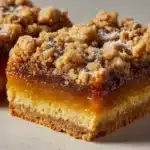
Caramelitas Recipe
- Total Time: 45 minutes
- Yield: 24 bars 1x
- Diet: Vegetarian
Description
Indulge in the rich, chewy goodness of these decadent Caramelitas. A layer of buttery oats and brown sugar crumble sandwich a sweet and gooey caramel-chocolate filling. Perfect for satisfying your sweet tooth cravings!
Ingredients
Oat Base and Topping:
- 2 cups old-fashioned rolled oats
- 2 cups all-purpose flour
- 1 1/2 cups packed brown sugar
- 1 teaspoon baking soda
- 1/4 teaspoon salt
- 1 1/2 cups unsalted butter, melted
Filling:
- 2 cups semisweet chocolate chips
- 1 cup chopped pecans (optional)
- 1 (14-ounce) bag soft caramels, unwrapped
- 1/2 cup heavy cream
Instructions
- Preheat oven and prepare baking dish: Preheat oven to 350°F. Grease a 9×13-inch baking dish or line with parchment paper.
- Mix oat base: In a large bowl, combine oats, flour, brown sugar, baking soda, and salt. Stir in melted butter until crumbly.
- Layer and bake: Press half of the oat mixture into the dish. Bake for 10 minutes.
- Prepare caramel: Melt caramels with heavy cream in a saucepan until smooth.
- Assemble: Sprinkle chocolate chips and pecans over crust. Pour caramel mixture evenly. Top with remaining oat mixture.
- Bake: Bake for 20–22 minutes until golden. Cool before cutting into bars.
Notes
- For a salted caramel twist, add flaky sea salt over the caramel layer.
- Store bars in an airtight container at room temperature for up to 3 days or refrigerate for longer freshness.
- Prep Time: 15 minutes
- Cook Time: 30 minutes
- Category: Dessert
- Method: Baking
- Cuisine: American
Nutrition
- Serving Size: 1 bar
- Calories: 250
- Sugar: 21g
- Sodium: 95mg
- Fat: 13g
- Saturated Fat: 8g
- Unsaturated Fat: 4g
- Trans Fat: 0g
- Carbohydrates: 33g
- Fiber: 2g
- Protein: 3g
- Cholesterol: 30mg


