Easter Dirt Cups Recipe
If you’re searching for a fun, festive, and utterly delicious dessert to wow your guests this spring, the Easter Dirt Cups Recipe is your new best friend. This playful treat combines creamy, colorful pudding with crunchy Oreo layers, crowned by vibrant, dyed shredded coconut and cheerful candy eggs. Every bite feels like a little celebration, making it perfect for Easter parties or family gatherings where smiles and sweet indulgences go hand in hand.
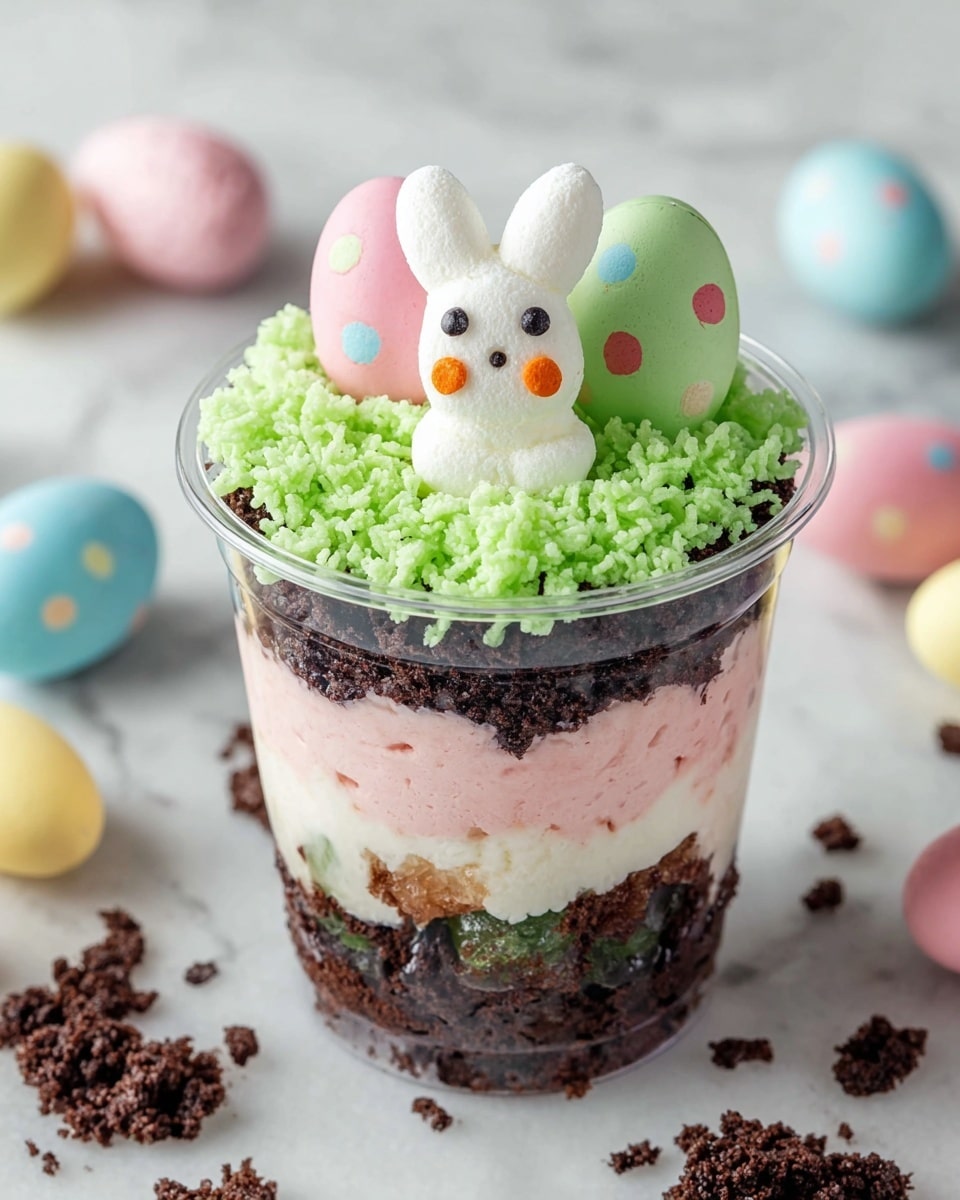
Ingredients You’ll Need
This recipe is wonderfully straightforward, using just a handful of ingredients that each bring something special to the table. From the creamy vanilla pudding base to the crunchy crushed Oreos, every component plays a delicious role in building the perfect layers and textures.
- Vanilla instant pudding mix (3.9 oz): The sweet, smooth base that sets the rich flavor of your dessert.
- Cold milk (2 cups): Essential for whisking the pudding to creamy perfection.
- Cool Whip (8 oz., thawed): Adds a fluffy lightness, balancing out the richness.
- Oreo cookies (finely crushed, filling removed): Provide that signature “dirt” texture with a delightful crunch.
- Food coloring (various colors): Creates festive layers that pop and brighten your cups.
- Shredded coconut: Dyed to imitate fresh grass, giving your cups a fun springtime finish.
- Candy eggs: The perfect sweet decoration that ties the theme together.
- Peeps: Adds an iconic, fluffy Easter touch to the top of your dessert.
How to Make Easter Dirt Cups Recipe
Step 1: Prepare the Pudding
Begin by whisking the vanilla instant pudding mix with cold milk for about two minutes until well blended. Let it sit for five minutes so it thickens properly, creating a luscious, creamy foundation for your dirt cups.
Step 2: Color the Pudding
Divide your pudding evenly into two bowls to create colorful layers. Add a few drops of food coloring to each bowl—think lively spring shades like purple and pink—to give your cups that whimsical, Easter vibe that kids and adults alike will adore.
Step 3: Fold in Cool Whip
Gently fold the thawed Cool Whip into each bowl of colored pudding. This makes the pudding extra fluffy and light, transforming it into a dreamy mousse that perfectly complements the crunchy cookie layers.
Step 4: Layer the Cups
Start building your Easter Dirt Cups Recipe by adding a tablespoon of finely crushed Oreo cookies to the bottom of each mason jar or serving cup. Alternate layers by spooning one color of pudding over the cookies, then adding another Oreo layer. Keep alternating until your cup is full, finishing with a crushed Oreo topping to keep that ‘dirt’ effect alive.
Step 5: Chill the Cups
Place the layered cups in the refrigerator for at least one hour. This chilling step lets everything set and melds the flavors and textures, so when you dig in, each spoonful is a perfectly balanced delight.
Step 6: Color the Coconut
For your finishing touch, color shredded coconut to look like fresh grass by mixing it with a few drops of food coloring and a little water in a sealed container. Shake well until the coconut is evenly dyed, then let it dry slightly to avoid sogginess when topping your desserts.
Step 7: Garnish and Serve
Right before serving, sprinkle the colored coconut over each dirt cup, then add candy eggs and Peeps on top. These cheerful garnishes bring that classic Easter feel, turning each cup into a festive masterpiece ready to impress.
How to Serve Easter Dirt Cups Recipe
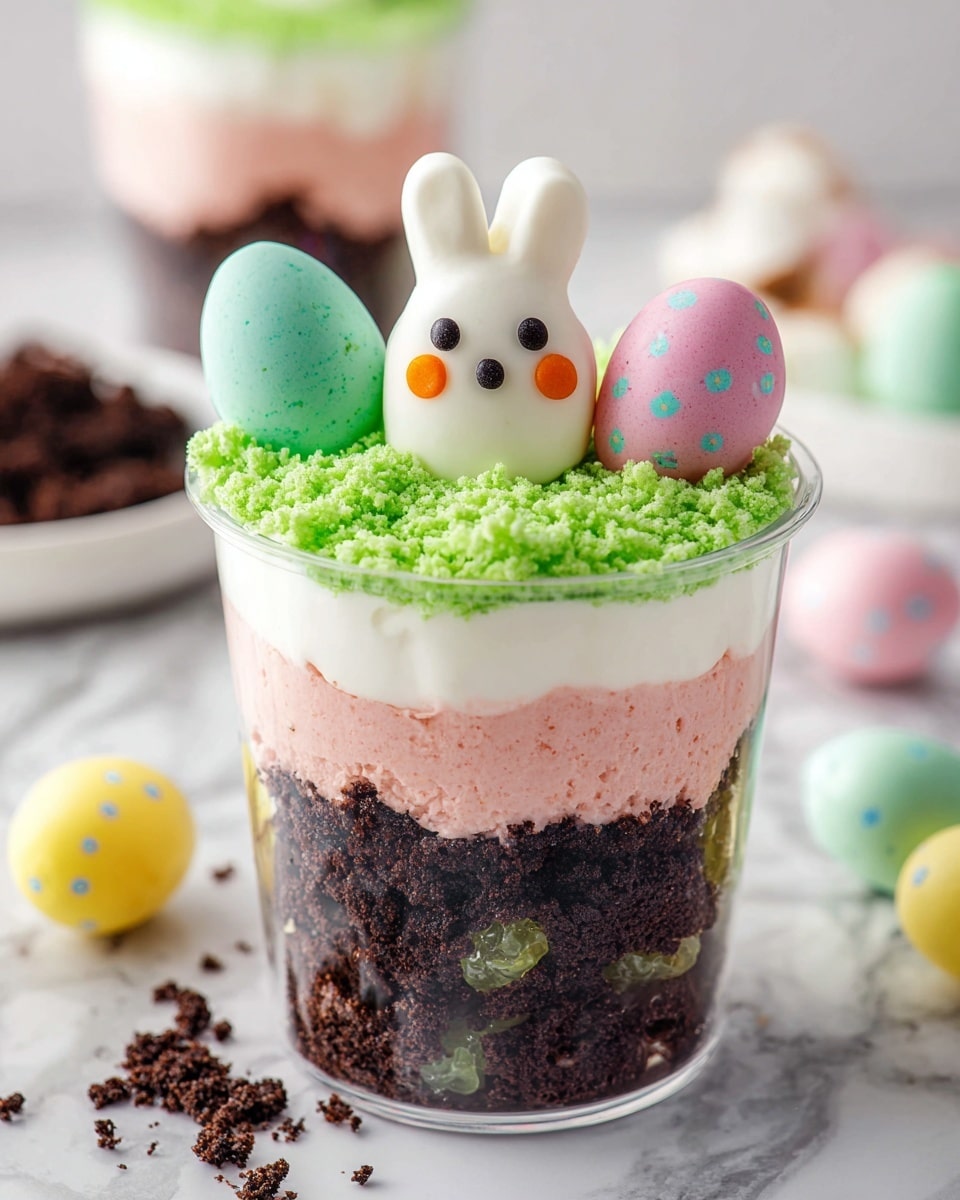
Garnishes
Garnishing makes all the difference here. The vibrant colored coconut creates a fresh grassy effect, while candy eggs and Peeps add pops of color and texture that scream Easter fun. These garnishes not only make your cups look adorable but also introduce sweet, playful flavors that brighten every bite.
Side Dishes
Pair your Easter Dirt Cups with light and fruity sides like fresh berry salads or citrus-infused water to balance the richness. These fresh, zesty flavors refresh the palate and keep the meal feeling bright and spring-inspired.
Creative Ways to Present
For an extra-special presentation, serve the dirt cups in mini flower pots or clear plastic clamshell containers resembling tiny gardens. You can also place small toy gardening tools or plastic bugs next to the cups on a party platter to amp up the dirt garden theme and delight little guests.
Make Ahead and Storage
Storing Leftovers
You can refrigerate leftover Easter Dirt Cups in airtight containers for up to 2 days. Keeping the layers chilled ensures the pudding remains fluffy and the cookies don’t get soggy too quickly.
Freezing
This recipe is best enjoyed fresh or refrigerated. Freezing is not recommended as the Cool Whip and pudding may separate or become watery upon thawing, affecting texture and taste.
Reheating
Since this is a chilled dessert, reheating isn’t necessary—or recommended! Simply keep your dirt cups refrigerated until ready to serve, as they’re best enjoyed cold and creamy.
FAQs
Can I use a different flavor of pudding?
Absolutely! While vanilla is classic, chocolate or banana pudding could add a fun twist. Just keep in mind how the flavor pairs with Oreos and your chosen garnishes.
What if I don’t have Cool Whip?
You can substitute with homemade whipped cream, but be gentle when folding it in to maintain that light and fluffy texture.
How long do Easter Dirt Cups last?
Stored in the refrigerator, they stay fresh and delicious for about 2 days. After that, textures might start to change due to the cookie layers absorbing moisture.
Can I make the pudding layers ahead of time?
Yes, you can prepare the pudding layers a few hours in advance, but hold off on layering and garnishing until ready to serve to keep everything looking fresh.
Is there a way to make this recipe allergy-friendly?
For dairy-free options, try using plant-based pudding mixes and whipped toppings. Gluten-free cookies can replace Oreos for those avoiding gluten. Just tweak the colors and flavors to suit your needs.
Final Thoughts
The Easter Dirt Cups Recipe is a playful, crowd-pleasing treat that brings so much joy to the table with its colorful layers and delightful textures. Whether you’re making it with kids or preparing it for an Easter gathering, it’s a foolproof way to spread smiles and create delicious memories. Go ahead, give it a try and watch your loved ones’ faces light up with every sweet, creamy spoonful!
Print
Easter Dirt Cups Recipe
- Total Time: 1 hour 15 minutes
- Yield: 18 servings 1x
Description
This playful and delightful Easter Dirt Cups recipe features layers of creamy colored vanilla pudding and crushed Oreo cookies that create a fun dirt effect. Topped with colorful shredded coconut and festive candy eggs and Peeps, these no-bake treats are perfect for Easter celebrations and springtime gatherings.
Ingredients
Pudding Layer
- 1 package (3.9 oz.) vanilla instant pudding mix
- 2 cups cold milk
- 1 container (8 oz.) Cool Whip, thawed
- Food coloring (various colors, such as purple and pink)
Crust and Toppings
- 1 package Oreo cookies (finely crushed, filling removed)
- Shredded coconut
- Candy eggs
- Peeps marshmallow candies
Instructions
- Prepare Pudding: In a medium bowl, whisk together the vanilla instant pudding mix and cold milk for 2 minutes. Let the mixture stand for 5 minutes to thicken and set properly.
- Color the Pudding: Divide the pudding mixture evenly into two separate bowls. Add food coloring to each bowl to create your desired colors, such as purple in one and pink in the other.
- Fold in Cool Whip: Gently fold the thawed Cool Whip into each bowl of colored pudding until fully combined and smooth.
- Layer the Cups: Start by placing one tablespoon of the finely crushed Oreo cookies into the bottom of each mason jar or serving cup to create the ‘dirt’ base.
- Add Pudding Layers: Spoon a layer of one colored pudding mixture over the crushed cookies in each cup. Then alternate with another layer of crushed cookies and a layer of the other colored pudding, continuing to alternate until the cup is full, finishing with a final layer of crushed cookies on top.
- Chill: Refrigerate the assembled dirt cups for at least 1 hour to allow the layers to set and flavors to meld.
- Color the Coconut: Place shredded coconut into a container with a tight-fitting lid. Add a few drops of food coloring and a small amount of water, then close the lid and shake until the coconut is evenly colored and vibrant.
- Garnish and Serve: Just before serving, sprinkle the colored shredded coconut over the top layer of crushed cookies, then decorate each cup with candy eggs and Peeps marshmallow candies for a festive Easter presentation.
Notes
- Remove the cream filling from the Oreo cookies before crushing for authentic dirt texture.
- You can customize the food coloring to match your Easter theme colors.
- Use individual serving cups or mason jars for easy portion control and presentation.
- If Cool Whip is unavailable, whipped cream can be used as a substitute.
- Chilling time can be extended to up to 4 hours for firmer texture.
- Handle the colored coconut gently to avoid color transfer onto clothing or surfaces.
- Prep Time: 15 minutes
- Cook Time: 0 minutes
- Category: Dessert
- Method: No-Cook
- Cuisine: American
