
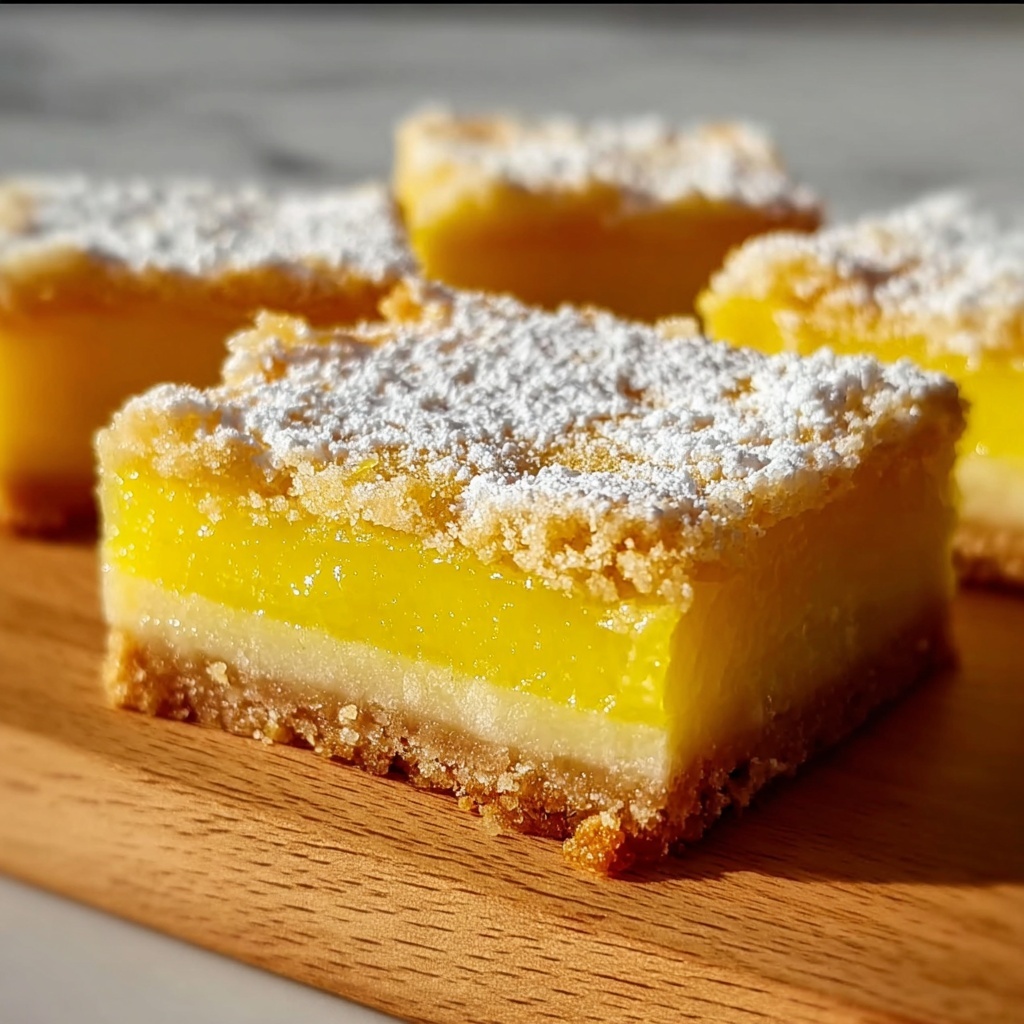
If you are on the hunt for a bright, tangy, and utterly satisfying dessert, this Gluten-Free Lemon Bars Recipe is an absolute must-try. With a perfectly crisp gluten-free crust and a luscious, zesty lemon filling, these bars strike that magical balance of sweet and tart that keeps you coming back for just one more bite. Whether you’re gluten-sensitive or just looking for a fresh twist on a classic favorite, these lemon bars are guaranteed to make your taste buds sing with joy and leave your guests asking for the recipe.
Ingredients You’ll Need
Whipping up these lemon bars is wonderfully straightforward, and every ingredient plays a crucial role in creating their irresistible flavor and texture. From the delicate gluten-free flour that forms the buttery crust to the fresh lemon juice that brings the filling to life, these ingredients come together in perfect harmony.
- 1 cup gluten-free flour: The foundation for a crisp and tender crust that everyone can enjoy regardless of gluten sensitivity.
- 1/2 cup butter, softened: Adds rich flavor and helps bind the crust ingredients together for a deliciously flaky base.
- 1/4 cup powdered sugar: Sweetens the crust side just enough to complement the tart lemon.
- 1/4 teaspoon salt: Enhances all the flavors and balances the sweetness perfectly.
- 2 large eggs: Provides structure to the bright lemon filling and helps it set beautifully.
- 1 cup granulated sugar: Sweetens the tangy lemon filling to just the right level.
- 1/4 cup fresh lemon juice: The star ingredient, delivering that invigorating citrus punch everyone loves.
- 1 tablespoon lemon zest: Boosts lemon flavor and adds a lovely fresh aroma.
- 1/2 teaspoon baking powder: Ensures the lemon filling has a slight lift and airy texture.
How to Make Gluten-Free Lemon Bars Recipe
Step 1: Prepare Your Oven and Crust
Start by preheating your oven to 350°F (175°C). This sets the stage for a perfectly baked crust. Mix the gluten-free flour, softened butter, powdered sugar, and salt in a bowl until it forms a crumbly dough. Press this mixture evenly into the bottom of a greased 8×8 inch baking dish. This crust will bake into a golden, buttery base that holds all the lemony goodness on top.
Step 2: Bake the Crust
Place your crust in the oven and bake for 15 minutes. This step is key because it gives the crust time to firm up without overbaking, striking a balance that provides a satisfying crunch to contrast the smooth filling.
Step 3: Mix the Lemon Filling
While the crust is baking, whisk together the eggs, granulated sugar, fresh lemon juice, lemon zest, and baking powder. This combination creates a silky, tangy filling that is bursting with bright citrus flavor and the perfect sweetness.
Step 4: Add the Filling to the Crust
Carefully pour the lemon mixture over the warm, baked crust. Spread it out evenly to ensure each bar will have that perfect layer of filling we all crave.
Step 5: Bake Again
Bake the assembled bars for an additional 20 minutes. During this time, the filling will set, transforming into a velvety custard-like layer atop the crust. The aroma of fresh lemon will fill your kitchen, making it impossible to wait until they cool.
Step 6: Cool and Cut
Once the baking is complete, allow the bars to cool completely before cutting them into squares. Cooling is essential for that perfect slice without any messy drips or cracks.
How to Serve Gluten-Free Lemon Bars Recipe
Garnishes
A simple dusting of powdered sugar adds a delicate, snowy finish that looks as great as it tastes. For an extra touch, add a sprinkle of finely chopped fresh mint or a few thin lemon slices on top to brighten the presentation and complement the vibrant citrus flavor.
Side Dishes
These lemon bars pair beautifully with a lightly brewed cup of herbal tea or a glass of sparkling water with a splash of lemon. For a richer contrast, serve alongside whipped cream or a scoop of creamy vanilla ice cream—the interplay of cool creaminess and zesty lemon is unforgettable.
Creative Ways to Present
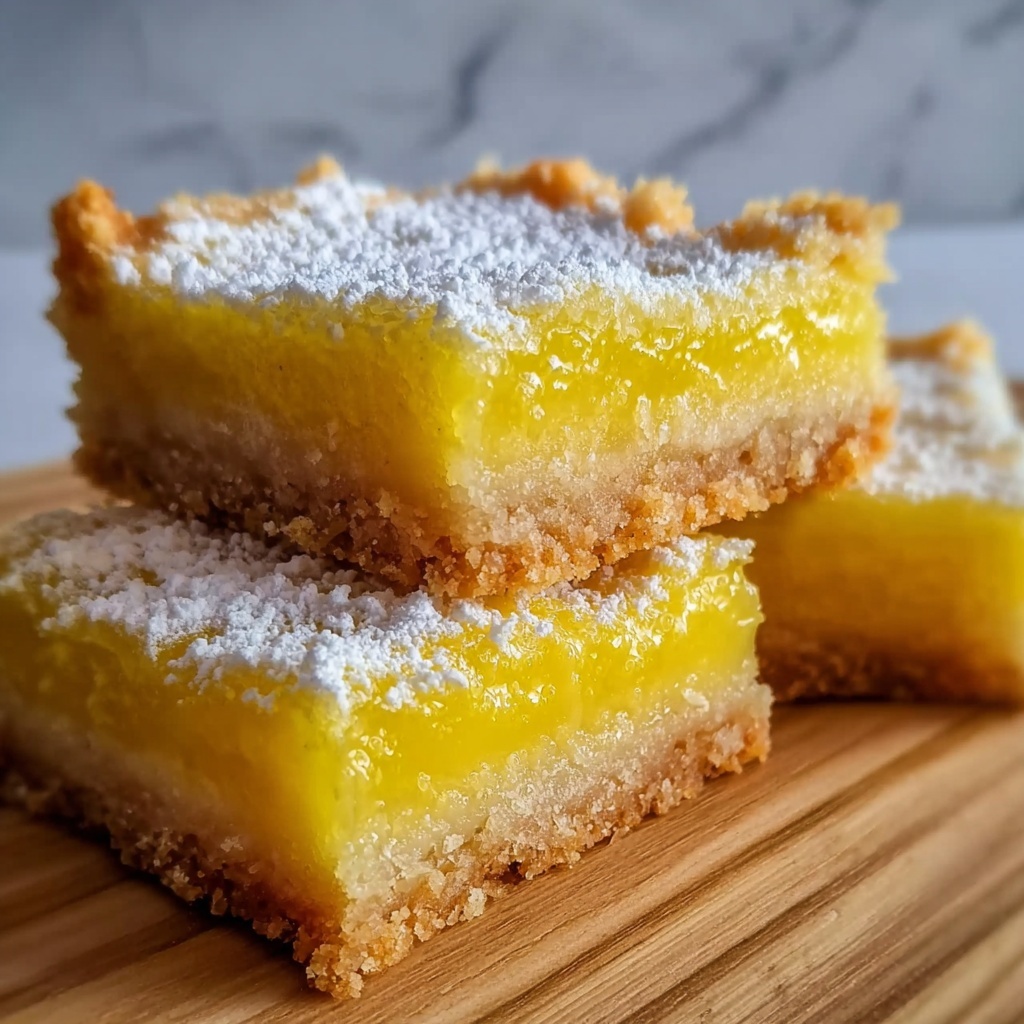
For a party or special occasion, consider serving your gluten-free lemon bars on a wooden board or colorful platter to highlight their sunny yellow color. You can also cut them into fun shapes using cookie cutters or stack them with layers of fresh berries for an elegant dessert display. It’s a joyful treat that’s as versatile as it is delicious.
Make Ahead and Storage
Storing Leftovers
You can store leftover lemon bars in an airtight container at room temperature for up to two days or refrigerate for up to a week. Keeping them cool helps maintain the filling’s luscious texture and keeps the crust from becoming soggy.
Freezing
If you want to enjoy these Gluten-Free Lemon Bars Recipe later, freeze the bars in a single layer on a baking sheet first, then transfer them to a freezer-safe container or bag. They freeze beautifully for up to two months. Thaw them overnight in the fridge for the best texture.
Reheating
Reheat lemon bars lightly in the oven at 300°F (150°C) for about 5-7 minutes to bring back some of that fresh-baked warmth, or simply serve them chilled for a refreshing treat. Avoid microwaving as it can alter the texture of the crust and filling.
FAQs
Can I use regular flour instead of gluten-free flour?
Absolutely! If gluten isn’t a concern, regular all-purpose flour works perfectly in this recipe and will yield a similar delicious crust texture.
How can I make these lemon bars more tart?
To dial up the tartness, simply add a bit more fresh lemon juice or zest to the filling. Just be careful not to add too much liquid, which could affect how the filling sets.
Can I make these bars vegan?
While this recipe relies on eggs and butter, you can experiment with vegan substitutes like flax eggs and vegan butter. Keep in mind this might change the texture slightly, but it’s worth trying for a plant-based option.
What’s the best way to cut the bars to avoid crumbling?
Make sure the bars have completely cooled before cutting, and use a sharp knife that you clean between cuts. This technique helps maintain the clean edges without crumbs.
Can I double the recipe for a bigger batch?
Yes, doubling the ingredients and using a larger baking dish works well. Just keep an eye on the baking times, as they may need to increase slightly depending on the depth of the bars.
Final Thoughts
This Gluten-Free Lemon Bars Recipe is one of my all-time favorite desserts to make and share. It’s easy, elegant, and packs that delightful punch of lemony goodness everyone adores. Whether for a casual afternoon snack or a special occasion dessert, I hope you enjoy making and savoring these lemon bars as much as I do. Go ahead, treat yourself—you deserve it!
Print
Gluten-Free Lemon Bars Recipe
- Prep Time: 10 minutes
- Cook Time: 35 minutes
- Total Time: 45 minutes
- Yield: 16 servings
- Category: Dessert
- Method: Baking
- Cuisine: American
- Diet: Gluten Free
Description
This Gluten-Free Lemon Bars recipe delivers a perfect balance of tangy lemon flavor and sweet, buttery crust, making it a delightful treat for any occasion. Easy to prepare with simple ingredients and baked to golden perfection, these lemon bars are perfect for those avoiding gluten but still craving a classic dessert.
Ingredients
Crust Ingredients
- 1 cup gluten-free flour
- 1/2 cup butter, softened
- 1/4 cup powdered sugar
- 1/4 teaspoon salt
Lemon Filling Ingredients
- 2 large eggs
- 1 cup granulated sugar
- 1/4 cup fresh lemon juice
- 1 tablespoon lemon zest
- 1/2 teaspoon baking powder
Instructions
- Preheat Oven: Preheat your oven to 350°F (175°C) to ensure it reaches the right temperature for baking the crust and lemon filling evenly.
- Prepare Crust Mixture: In a mixing bowl, combine the gluten-free flour, softened butter, powdered sugar, and salt. Mix thoroughly until the ingredients form a crumbly and cohesive dough.
- Press Crust Into Pan: Grease an 8×8 inch baking dish, then press the dough mixture evenly into the bottom to form the crust layer.
- Bake Crust: Bake the crust in the preheated oven for 15 minutes, allowing it to set and lightly brown.
- Mix Lemon Filling: In a separate bowl, whisk together the eggs, granulated sugar, fresh lemon juice, lemon zest, and baking powder until smooth and well combined.
- Pour Filling Over Crust: Once the crust has baked, pour the lemon filling evenly over the hot crust layer in the baking dish.
- Bake Lemon Bars: Return the baking dish to the oven and bake for an additional 20 minutes, or until the filling is set and slightly golden on top.
- Cool and Serve: Allow the lemon bars to cool completely before cutting into 16 squares to ensure clean slices and enhanced flavor.
Notes
- For best flavor, use freshly squeezed lemon juice and lemon zest.
- Make sure the butter is softened, not melted, for the crust to achieve a proper texture.
- You can dust the finished bars with powdered sugar for an added touch of sweetness.
- Store leftovers in an airtight container in the refrigerator for up to 4 days.
- Allow the bars to cool fully to help the filling set properly before slicing.

