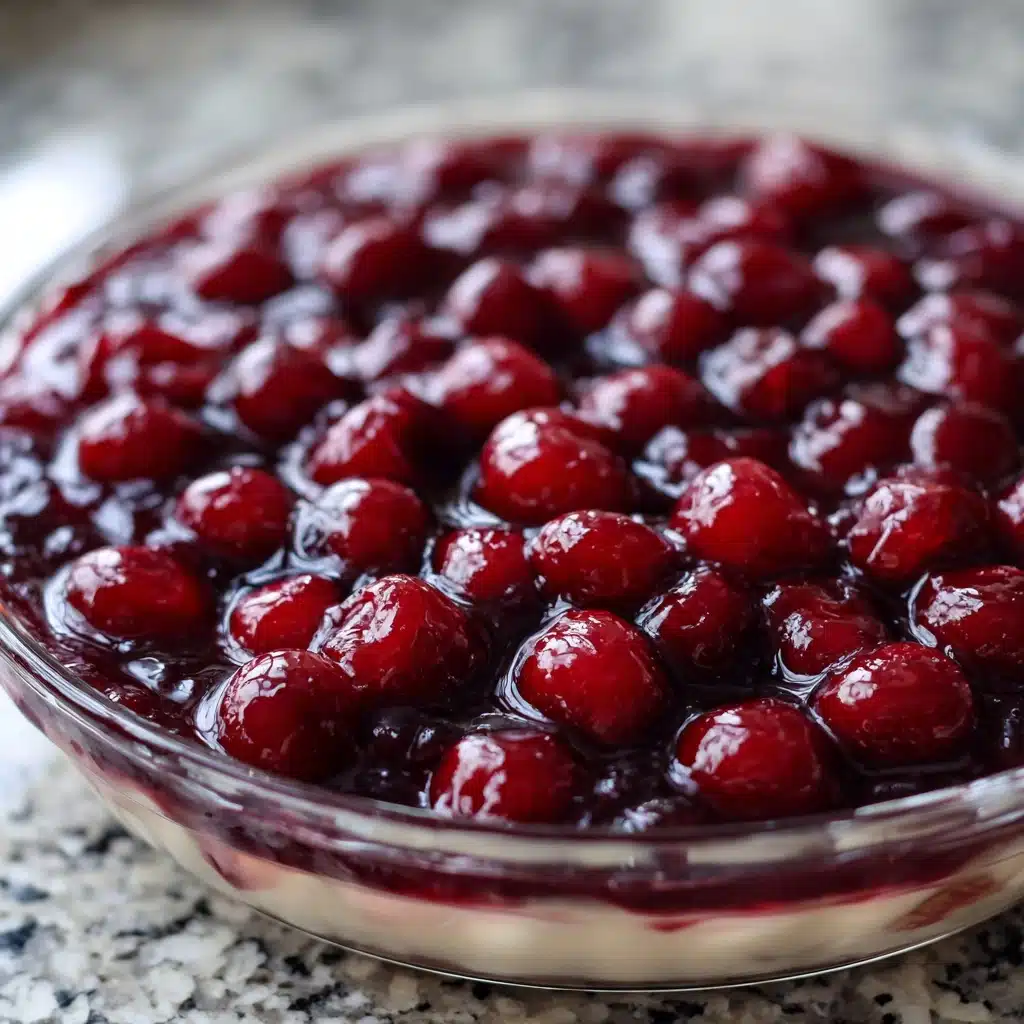
Homemade Cherry Pie Filling Recipe
If you crave vibrant summer flavors that crown your pies, cheesecakes, and breakfasts with jewel-toned goodness, Homemade Cherry Pie Filling is about to become your go-to kitchen secret. This easy recipe bursts with sweet-tart cherries and a hint of bright lemon, all brought together by a silky sauce that’s worlds beyond anything store-bought. Whether you’re planning a classic cherry pie or looking for delicious ways to elevate desserts and snacks, this Homemade Cherry Pie Filling guarantees pure, juicy satisfaction in every spoonful.
Ingredients You’ll Need
For the best Homemade Cherry Pie Filling, you only need a handful of pantry staples and a big bowl of cherries. Each ingredient plays a crucial role in making this filling glossy, luscious, and packed with real fruit flavor—no artificial shortcuts here!
- Cherries (4 cups, fresh or frozen): The heart of the recipe, bringing natural sweetness, juicy bite, and that irresistible deep red color.
- Granulated sugar (3/4 cup): Balances tartness and helps the cherries release their juices for the perfect sweet-tart profile.
- Cornstarch (1/4 cup): Thickens the sauce into a glossy, spoonable filling that won’t run out of your pie.
- Lemon juice (1 tablespoon): Brightens the flavor and keeps the beautiful color vibrant—fresh or bottled works fine.
- Almond extract (1/8 teaspoon, optional): A lovely accent that deepens the cherry aroma and adds that classic bakery touch.
- Salt (1/8 teaspoon): Just a pinch heightens all the flavors and keeps the filling from tasting flat.
- Water or cherry juice (1/2 cup): Helps dissolve the thickener and makes a luscious sauce. If you have cherry juice, use it to amp up the flavor!
How to Make Homemade Cherry Pie Filling
Step 1: Combine the Cherries and Sugar
Start by adding your pitted cherries, granulated sugar, and a splash of water (or cherry juice) to a medium saucepan. This step ensures the cherries release their juices and the sugar begins to melt, laying the foundation for a syrupy filling. If you’re using frozen cherries, there’s no need to thaw—just increase the cooking time by a couple of minutes to let the mixture come together.
Step 2: Add Cornstarch, Lemon Juice, and Salt
Now sprinkle the cornstarch, lemon juice, and salt straight into your saucepan. Stir everything together carefully, making sure the cornstarch dissolves to avoid any lumps. The lemon adds brightness, while the salt quietly highlights all those cherry notes—these little touches make your Homemade Cherry Pie Filling extra memorable.
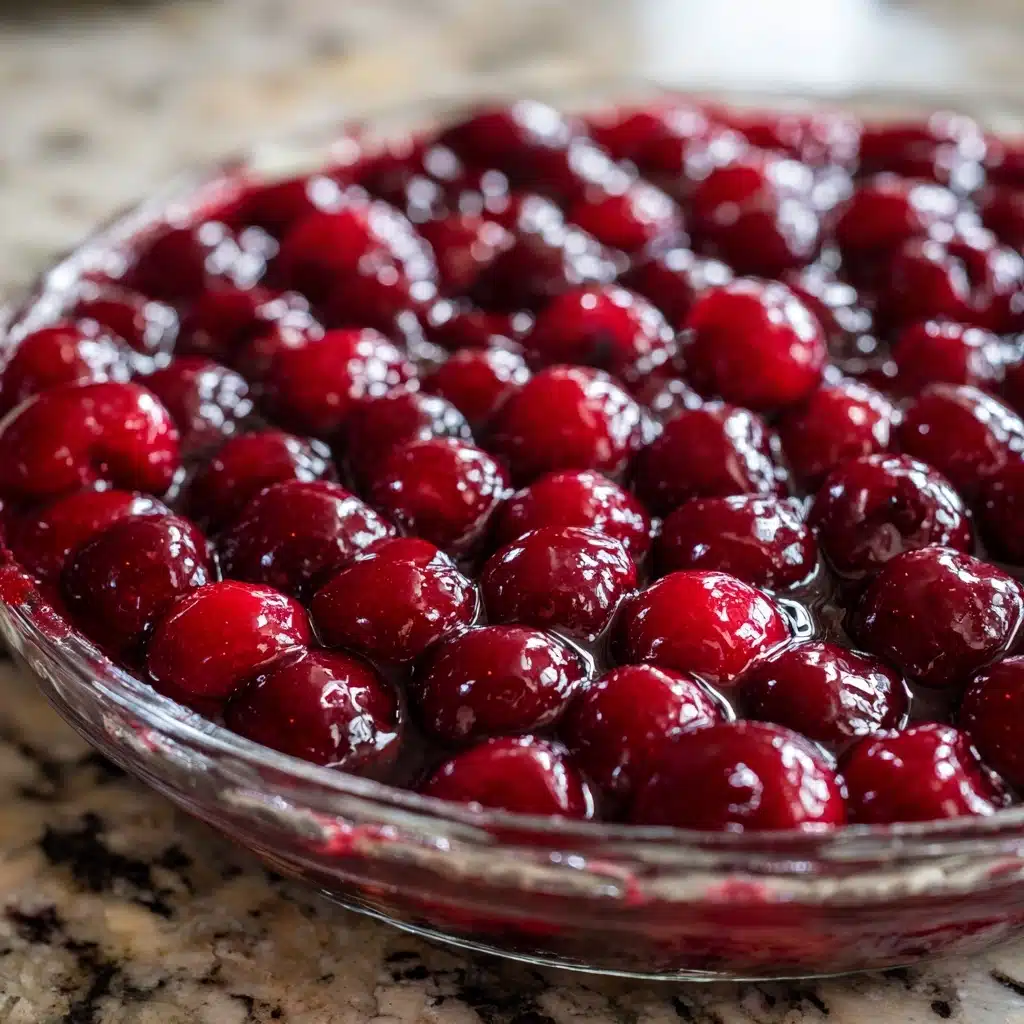
Step 3: Cook Until Thick and Bubbly
Set the pan over medium heat and stir frequently as the cherries release their juices and the mixture starts to bubble. In about 5 to 8 minutes, you’ll see the sauce thicken and the whole kitchen will start to smell like your favorite bakery. Lower the heat and let it simmer for another 2 to 3 minutes, stirring here and there until you reach that perfect glossy consistency.
Step 4: Stir in Almond Extract
As soon as you take your saucepan off the heat, drizzle in that almond extract if you’re using it. This tiny amount transforms Homemade Cherry Pie Filling with a toasty, nutty aroma that works wonders with cherries—don’t skip it if you have the extract on hand!
Step 5: Cool to Room Temperature
Set the pan aside and let your cherry pie filling cool before you try to spoon it onto pies or tarts. This gives it time to thicken further and ensures you get those picture-perfect slices, whether you’re filling a baked crust or dolloping it onto yogurt.
How to Serve Homemade Cherry Pie Filling
Garnishes
Dress up your finished filling with a cloud of freshly whipped cream, a little dusting of powdered sugar, or a scattering of toasted almond slivers to echo that subtle nutty flavor. Even a few curls of dark chocolate are pure bliss, especially if your cherries are on the tart side.
Side Dishes
Serve Homemade Cherry Pie Filling alongside classic vanilla ice cream, a slice of pound cake, or even as an upgrade to simple pancakes and waffles. The tangy cherries cut through rich and creamy desserts, making every bite feel like a celebration of summer.
Creative Ways to Present
Think beyond pies: layer this filling in individual parfait glasses with Greek yogurt and granola, swirl it through cheesecake batter before baking, or spoon it warm over French toast for a breakfast that feels straight out of a farmstead kitchen. Get playful and see where your sweet tooth takes you!
Make Ahead and Storage
Storing Leftovers
Once your Homemade Cherry Pie Filling has cooled, transfer it to an airtight jar or container and pop it in the fridge. It will keep beautifully for up to five days, ready to brighten up desserts, breakfasts, or even a bowl of oatmeal on a busy morning.
Freezing
Homemade Cherry Pie Filling freezes like a dream! Pour any extra into a freezer-safe bag or jar, leaving a bit of space at the top for expansion. It’ll keep for up to three months without losing texture or flavor. Thaw overnight in the fridge before using.
Reheating
If you want to serve your filling warm, gently reheat it in a saucepan over low heat, stirring occasionally until it loosens up. You can microwave individual portions as well—just use short bursts and stir frequently for the best texture.
FAQs
Can I use sour or tart cherries instead of sweet ones?
Absolutely! Sour cherries make a fantastic Homemade Cherry Pie Filling, especially if you love a bold tang. Just add extra sugar to taste—start with a tablespoon or two more and adjust as needed.
What should I do if my filling is too thick?
If your mixture ends up a bit thicker than you like, just stir in a splash or two of water or cherry juice over gentle heat until you reach the desired consistency. It’s an easy fix and won’t affect the glorious flavor.
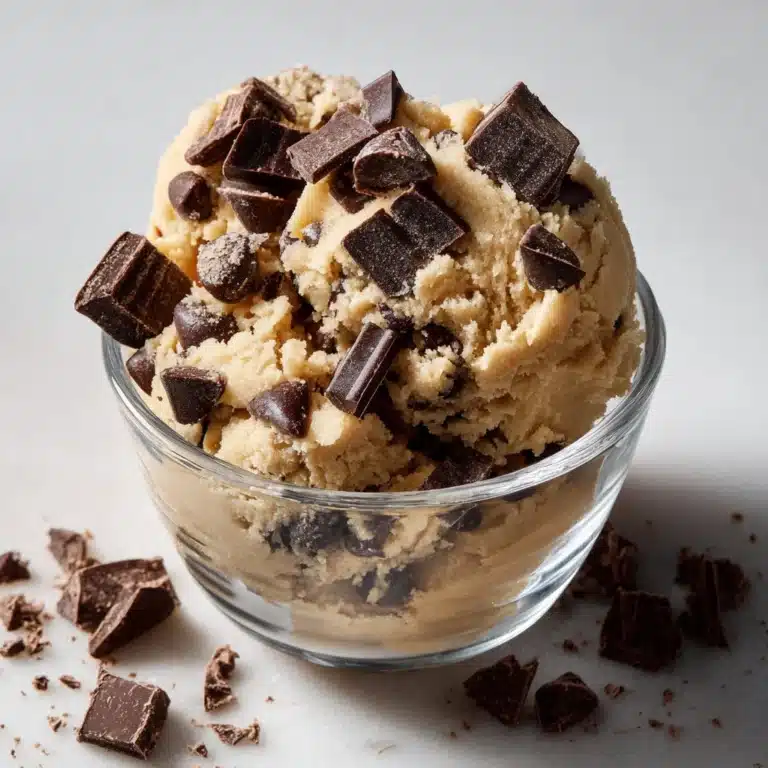
Can this filling be used in other desserts besides pie?
Yes! Homemade Cherry Pie Filling shines in cheesecakes, trifles, thumbprint cookies, turnovers, and even on cheeseboards as a bright, fruity jam replacement. Wherever you want a burst of cherry flavor, this recipe delivers.
Is this recipe gluten-free and vegan?
You bet! Since this filling uses cornstarch instead of flour for thickening and has no animal products, it’s naturally gluten-free and vegan—perfect for sharing with everyone at your table.
Can I make this with other fruits?
Definitely. This recipe serves as a terrific blueprint for other summer fruits like blueberries, blackberries, or peaches. Just swap out the cherries (and maybe the almond extract) and enjoy a custom pie filling in minutes.
Final Thoughts
If you’ve only ever tasted cherry fillings from a can, this Homemade Cherry Pie Filling will be a true revelation. It’s quick to make, bursting with nostalgia and fresh fruit flavor, and endlessly versatile for desserts year-round. Don’t be surprised if you find yourself making it on repeat—your pies, pancakes, and cheerful gatherings deserve this delicious upgrade!
Print
Homemade Cherry Pie Filling Recipe
- Total Time: 15 minutes
- Yield: About 3 cups 1x
- Diet: Vegan, Gluten-Free
Description
Learn how to make a delicious homemade cherry pie filling from scratch with fresh or frozen cherries. This filling is perfect for pies, tarts, or as a dessert topping.
Ingredients
For the Cherry Pie Filling:
- 4 cups fresh or frozen pitted cherries
- 3/4 cup granulated sugar
- 1/4 cup cornstarch
- 1 tablespoon lemon juice
- 1/8 teaspoon almond extract (optional)
- 1/8 teaspoon salt
- 1/2 cup water (or cherry juice, if available)
Instructions
- Combine Ingredients: In a medium saucepan, combine the cherries, sugar, cornstarch, lemon juice, salt, and water. Stir well to combine.
- Cook: Cook over medium heat, stirring frequently, until the mixture thickens and bubbles, about 5–8 minutes.
- Simmer: Reduce heat and simmer for an additional 2–3 minutes until desired consistency.
- Finish: Remove from heat and stir in almond extract if desired. Let cool before using.
Notes
- If using frozen cherries, do not thaw before cooking—adjust cook time slightly.
- Adjust sugar based on cherries’ sweetness.
- Store in the refrigerator for up to 5 days or freeze for up to 3 months.
- Prep Time: 5 minutes
- Cook Time: 10 minutes
- Category: Dessert
- Method: Stovetop
- Cuisine: American
Nutrition
- Serving Size: 1/4 cup
- Calories: 90
- Sugar: 17 g
- Sodium: 20 mg
- Fat: 0 g
- Saturated Fat: 0 g
- Unsaturated Fat: 0 g
- Trans Fat: 0 g
- Carbohydrates: 22 g
- Fiber: 1 g
- Protein: 0 g
- Cholesterol: 0 mg


