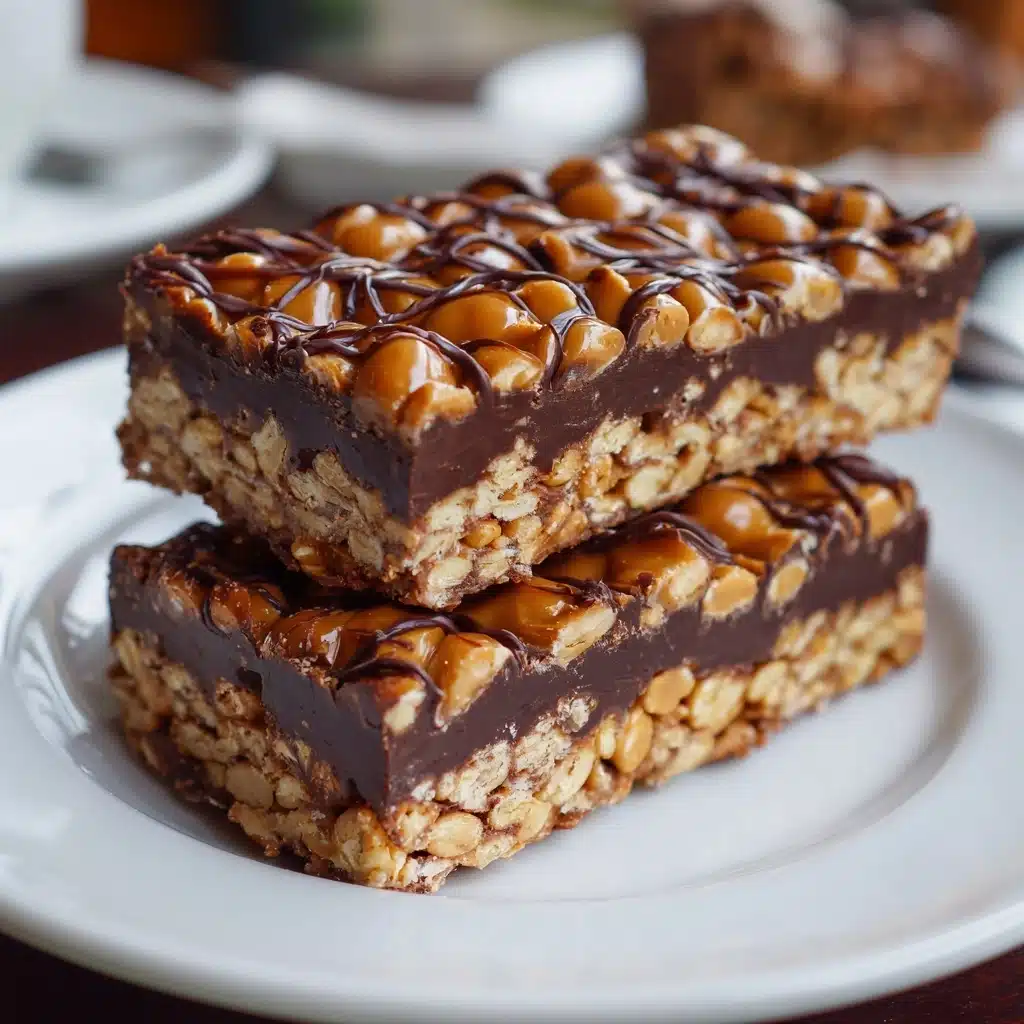
Homemade Crunch Bars Recipe
If you’re searching for the best way to relive childhood memories or just want a ridiculously easy, crowd-pleasing treat, Homemade Crunch Bars are exactly what you need! These delightful bars combine molten chocolate and crispy rice cereal into a no-bake dessert that’s crunchy, chocolatey, and absolutely irresistible. You only need a handful of pantry staples and a few minutes to whip up a batch. Once you try this recipe, you’ll understand why Homemade Crunch Bars are my go-to for potlucks, lunchbox surprises, and late-night snacks.
Ingredients You’ll Need
Here’s the beauty of Homemade Crunch Bars: just four simple ingredients, each playing a starring role in the final result. The chocolate provides sweetness and richness, while the crispy rice cereal brings that crave-worthy crunch. Don’t underestimate the coconut oil, either—it creates the perfect glossy finish and silky texture.
- 2 cups semisweet chocolate chips: Provides a deep, fudgy base that balances perfectly with the crispy cereal.
- 1 cup milk chocolate chips: Adds sweetness and a creamy, melt-in-your-mouth quality that rounds out the chocolate flavor.
- 2 cups crispy rice cereal: The hero of the crunch factor, giving the bars their signature light and airy texture.
- 1 tablespoon coconut oil or vegetable oil: Ensures your chocolate melts smoothly and sets up with a flawless, shimmery surface.
How to Make Homemade Crunch Bars
Step 1: Prepare the Pan
Line an 8×8-inch baking pan with parchment paper, leaving some overhang on all sides. This little trick makes it super easy to lift the finished bars out for neat slicing later. Trust me, your future self will thank you!
Step 2: Melt the Chocolate
In a microwave-safe bowl, combine the semisweet chocolate chips, milk chocolate chips, and coconut oil. Microwave the mixture in 30-second bursts, stirring well after each interval, until the chocolate is silky smooth. Stirring frequently ensures the chocolate melts evenly and doesn’t seize up.
Step 3: Add the Crunch
Pour the crispy rice cereal into your bowl of warm, melted chocolate. Gently fold everything together with a spatula, making sure the cereal is fully coated but not crushed. The goal is to keep those perfect little puffed grains intact for maximum crunch.
Step 4: Press and Set
Scrape the chocolate-cereal mixture into your prepared pan. Spread it out evenly and press down lightly with your spatula to create an even layer—no need to smush too firmly; just enough so the bars hold together. Pop the pan in the refrigerator for 1 to 2 hours, or until the bars are completely set and firm to the touch.
Step 5: Slice and Enjoy
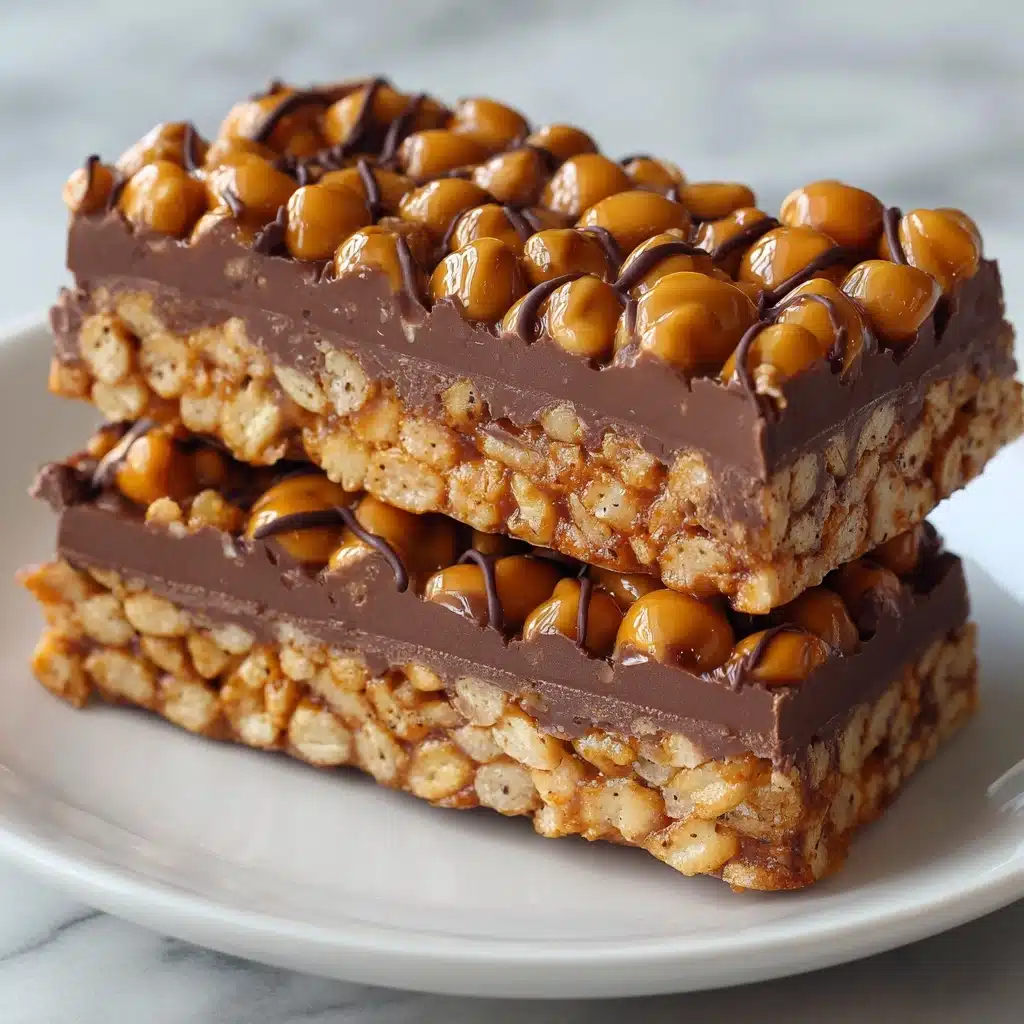
Once chilled, use the parchment paper to lift the slab from the pan onto a cutting board. Slice into bars or squares of your preferred size. Each bite of Homemade Crunch Bars is pure joy: crisp, snappy, and perfectly chocolaty!
How to Serve Homemade Crunch Bars
Garnishes
For a gourmet touch, sprinkle a little flaky sea salt over the top just before the chocolate hardens, or drizzle with a thin stream of melted white chocolate. Chopped toasted nuts or a dusting of cocoa powder can elevate the look and add extra flavor.
Side Dishes
Homemade Crunch Bars are fantastic on their own but shine even brighter as part of a dessert spread. Serve with fresh fruit—like berries or sliced bananas—for a sweet contrast, or pair them with a scoop of vanilla ice cream for a decadent treat.
Creative Ways to Present
Stack the bars high on a pretty plate, wrap them individually in parchment for lunchbox surprises, or arrange in mini cupcake liners for a party platter. For the holidays, use cookie cutters to shape them into festive forms and wrap in colorful cellophane.
Make Ahead and Storage
Storing Leftovers
Store Homemade Crunch Bars in an airtight container in the refrigerator for up to a week. Keeping them cold ensures they maintain their irresistible snap and the chocolate doesn’t soften at room temperature.
Freezing
If you want to stock up for busy weeks or special occasions, Homemade Crunch Bars freeze beautifully. Just layer them between sheets of parchment in a freezer-safe container. They’ll keep for up to two months and thaw quickly whenever a chocolate craving strikes.
Reheating
There’s no need to reheat Homemade Crunch Bars—they’re meant to be enjoyed chilled or at room temperature. If they’ve come straight from the freezer, let them sit for about 10 minutes to soften slightly before serving.
FAQs
Can I use all dark chocolate instead of a mix?
Absolutely! If you’re a devoted dark chocolate fan, swapping all the chocolate chips for dark chocolate will give your Homemade Crunch Bars a richer, more intense flavor. Just be aware the bars will be slightly less sweet.
What can I use instead of coconut oil?
Vegetable oil works perfectly as a substitute if you prefer not to use coconut oil. You can also try unsalted butter for a bit more richness—just melt it with the chocolate like you would the oil.
How do I make these bars dairy-free?
Choose dairy-free chocolate chips and confirm your crispy rice cereal is dairy-free. Use coconut oil for the fat component, and you’ll have delicious, fully dairy-free Homemade Crunch Bars!
Can I mix in other ingredients for variety?
Definitely! Chopped nuts, dried fruit, shredded coconut, or mini marshmallows can all be folded in with the cereal. Just keep the total mix-ins reasonable so the bars still stick together nicely.
Do I have to use a microwave to melt the chocolate?
Not at all. You can melt the chocolate and oil together in a heatproof bowl set over a pot of barely simmering water (a double boiler) for extra gentle melting if you don’t have a microwave or prefer not to use one.
Final Thoughts
I hope you fall in love with these Homemade Crunch Bars as deeply as I have! They’re truly the easiest homemade treat, perfect for sharing—or for keeping all to yourself on a busy week. Give them a try, and don’t be surprised if they become your new favorite chocolate fix!
Print
Homemade Crunch Bars Recipe
- Total Time: 1 hour 10 minutes
- Yield: 16 bars 1x
- Diet: Vegetarian
Description
Indulge in the irresistible crunch and chocolatey goodness of these homemade Crunch Bars. Quick and easy to make, these no-bake bars are perfect for satisfying your sweet cravings with a delightful blend of crispy rice cereal and rich chocolate.
Ingredients
For the Crunch Bars:
- 2 cups semisweet chocolate chips
- 1 cup milk chocolate chips
- 2 cups crispy rice cereal
- 1 tablespoon coconut oil or vegetable oil
Instructions
- Prepare the Chocolate Mixture: Line an 8×8-inch baking pan with parchment paper. Melt semisweet and milk chocolate chips with coconut oil in the microwave, stirring until smooth.
- Combine with Cereal: Fold crispy rice cereal into the melted chocolate until well-coated.
- Set in Pan: Spread the mixture into the prepared pan, press down lightly, and refrigerate until firm.
- Cut and Serve: Lift the set chocolate slab out of the pan using the parchment paper overhang, then cut into bars or squares.
Notes
- Enhance with sea salt or nuts for extra flavor.
- Experiment with dark or white chocolate for different taste variations.
- Store in the refrigerator for the best texture.
- Prep Time: 10 minutes
- Cook Time: 0 minutes
- Category: Dessert
- Method: No-Bake
- Cuisine: American
Nutrition
- Serving Size: 1 bar
- Calories: 180
- Sugar: 18 g
- Sodium: 20 mg
- Fat: 10 g
- Saturated Fat: 6 g
- Unsaturated Fat: 3 g
- Trans Fat: 0 g
- Carbohydrates: 24 g
- Fiber: 2 g
- Protein: 2 g
- Cholesterol: 2 mg


