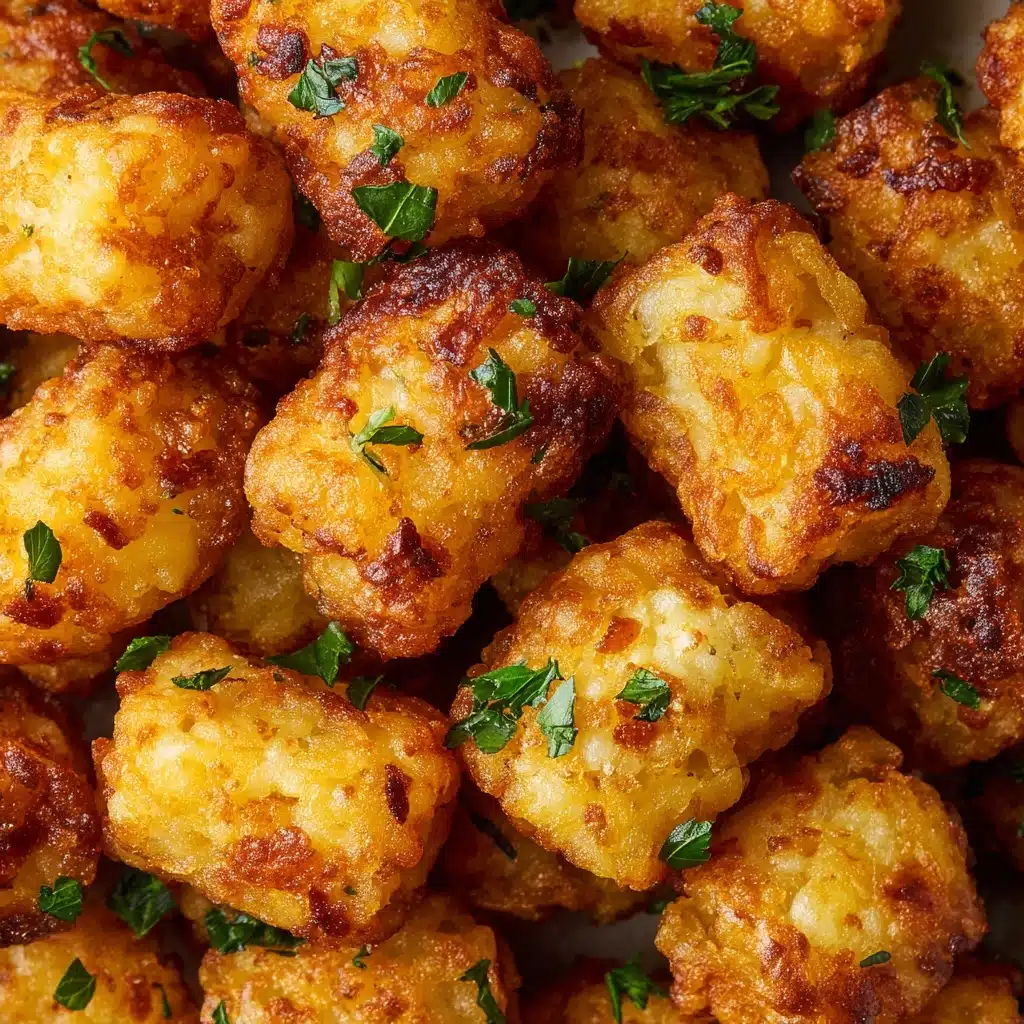
Homemade Tater Tots Recipe
If you’ve never had the joy (yes, joy!) of biting into a hot, golden, crispy tater tot straight from your own kitchen, let me tell you: Homemade Tater Tots are an absolute game-changer. There’s something irresistibly satisfying about making this classic comfort snack from scratch—watching potatoes transform into perfect, bite-sized nuggets of crunchy, fluffy goodness. Whether you’re feeding a hungry family, bringing nostalgia to a potluck, or conjuring up a snack for yourself, you’ll love just how fun and simple these are to whip up.
Ingredients You’ll Need
Forget complicated processes or endless ingredient lists—Homemade Tater Tots shine with just a handful of basics. Every component here plays a role in building crave-worthy tots: fluffy russet potatoes provide heartiness, seasonings bring them to life, a bit of flour helps bind, and a flash of green parsley adds fresh color. Here’s what you’ll need and why it matters:
- Russet potatoes (2 pounds, peeled): Their high starch content guarantees classic crispy outsides and fluffy centers, which is the magic of tater tots.
- All-purpose flour (1 tablespoon): Just a touch helps hold your tots together, so they don’t fall apart in the oil.
- Garlic powder (1 teaspoon): Adds a subtle, deep savoriness that keeps you reaching for ‘just one more.’
- Onion powder (1 teaspoon): A dash balances the garlic and gives your tots that signature flavor, just like your favorite diner side.
- Salt (1/2 teaspoon): Essential for drawing out the potatoes’ flavor—plus, a little extra to sprinkle on at the end is pure bliss.
- Black pepper (1/4 teaspoon): Just enough to warm things up, without overpowering that classic potato taste.
- Fresh parsley, chopped (1 tablespoon, optional): If you want a little pop of color and freshness, parsley adds that lovely finish.
- Vegetable oil (for frying): Use plenty for deep-frying; it’s the key to tater tot crunch and golden-brown perfection.
How to Make Homemade Tater Tots
Step 1: Parboil the Potatoes
Start your Homemade Tater Tots journey with a quick boil. Place your peeled russet potatoes in a large pot of boiling water and let them parboil for 6 to 7 minutes. You want them slightly tender yet still firm—think, more al dente than mashed-potato soft. This step creates the ideal texture for grating later, giving your tots that signature fluffy interior.
Step 2: Cool and Grate
Drain the potatoes and let them cool completely. This makes them firm enough to grate without turning mushy. Once cool, use a box grater to shred them into fine pieces, channeling your inner kitchen artist! The texture at this stage is everything—you’ll end up with those perfect potato strands that crisp and cling together in frying.
Step 3: Squeeze Out Excess Moisture
This step is your crispy secret weapon. Spread the grated potato onto a clean kitchen towel and squeeze out as much liquid as you can. The drier the potato, the crispier the tot. It can feel like an arm workout, but trust me, it’s worth the final payoff!
Step 4: Mix and Season
Transfer your well-dried potato shreds to a large bowl. Sprinkle in the flour, garlic powder, onion powder, salt, pepper, and parsley if you’re using it. Give everything a good mix—either with clean hands or a wooden spoon—until the little shreds are evenly coated, sticky, and fragrant.
Step 5: Shape Your Tots
With everything well-mixed, it’s time for a little hands-on fun. Scoop small amounts of potato mixture (about a tablespoon each) and roll or press them into little cylinders or nugget shapes. Think of the classic tot shape but feel free to go rustic—there’s beauty in imperfection! They’ll hold together beautifully, thanks to that touch of flour and plenty of love.
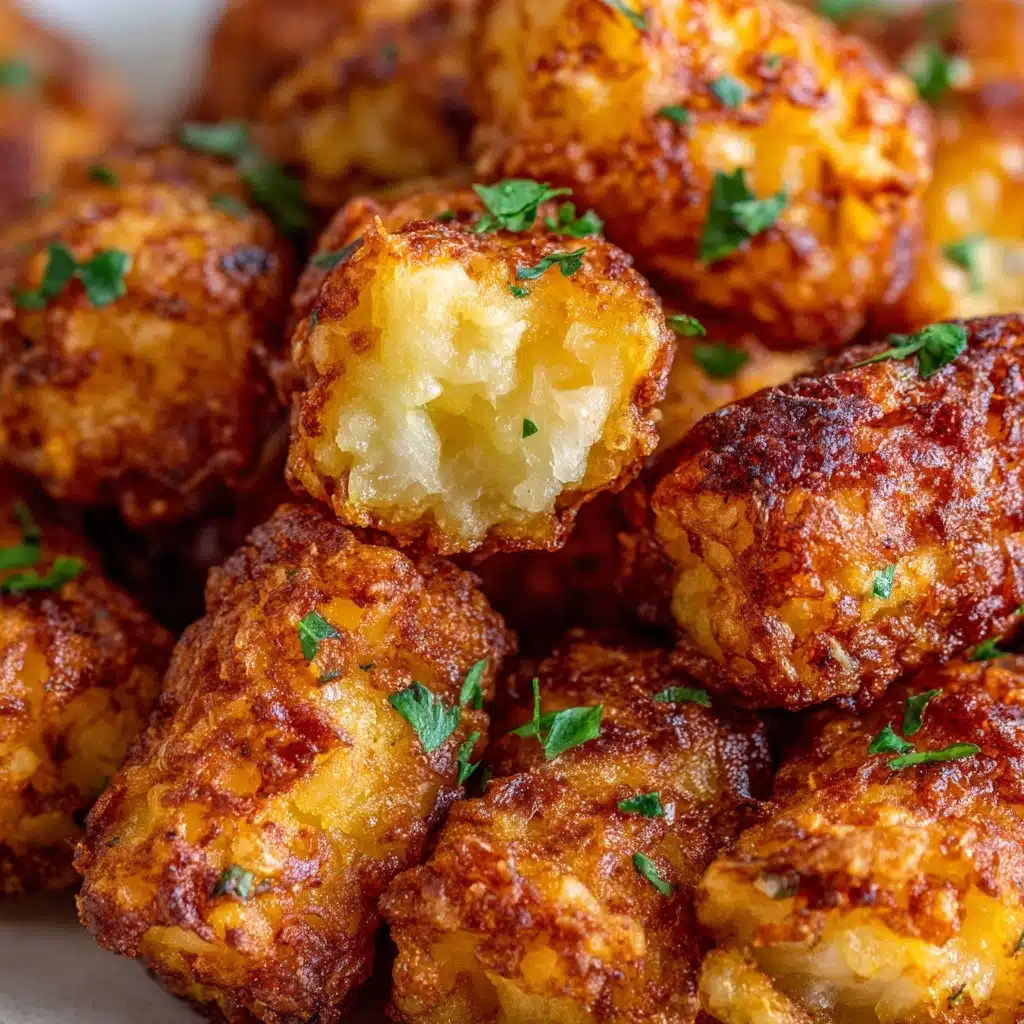
Step 6: Fry Until Golden and Crispy
Heat 2 to 3 inches of vegetable oil in a deep skillet or heavy pot to 375°F (190°C). Fry your tots in batches, turning occasionally, for about 3 to 4 minutes until they’re perfectly golden and fantastically crispy. Don’t overcrowd the pan—they need space to work their magic! Drain each sizzling batch on paper towels and sprinkle with a pinch of salt while hot for ultimate flavor.
How to Serve Homemade Tater Tots
Garnishes
Fresh out of the fryer, a sprinkle of flaky sea salt makes Homemade Tater Tots irresistible. For a pop of color, scatter more chopped fresh parsley over the top. Don’t forget to set out ramekins of ketchup, spicy mayo, or even a tangy herbed yogurt dip for some saucy action—serving is your time to get creative and indulge your inner chef.
Side Dishes
Homemade Tater Tots are happy to mingle with just about any main, but they shine especially beside classic burgers, breakfast scrambles, or grilled sandwiches. Surround them with bright, crunchy salads for contrast, or pile them onto a big platter alongside roasted veggies and sliders for the ultimate comfort food feast.
Creative Ways to Present
If you’re serving a crowd, try loading your tots up nacho-style: arrange them on a sheet pan, then smother with melty cheese, green onions, and dollops of sour cream for a showstopping twist. Or tuck them into tortillas for fun tot tacos, scatter them atop casseroles, or serve mini skewers for party snacks that’ll disappear fast. Homemade Tater Tots are the canvas—let your imagination go wild!
Make Ahead and Storage
Storing Leftovers
Stash any leftover Homemade Tater Tots in an airtight container in the fridge for up to 3 days. They may soften a bit but remain utterly snackable—perfect for next-day munchies or quick lunchbox additions. Be sure they’re completely cool before storing, so they don’t steam and get soggy.
Freezing
Want to plan ahead or save a batch for another time? Arrange uncooked tots in a single layer on a baking sheet, flash freeze for about an hour, then transfer to a freezer-safe bag. They keep beautifully for up to 2 months, ready to fry (or bake) straight from frozen for instant crispy potato joy at a moment’s notice.
Reheating
To bring back that just-fried crispiness, pop refrigerated tots on a baking sheet and bake at 400°F (200°C) for about 8 to 10 minutes, or until revived and sizzling. For frozen tots, bake at 425°F (220°C) for 25 to 30 minutes, flipping halfway through. Skip the microwave; the oven or even an air fryer is your friend for restoring crunch.
FAQs
Can I use a different type Side Dish
Russet potatoes really are the gold standard for Homemade Tater Tots because of their starchy texture, but you can try Yukon Golds if that’s what you have on hand. They’ll be a bit creamier, with slightly less crunch, but still delicious!
Is it possible to bake the tater tots instead of frying?
Absolutely! Brush or spray your shaped tots generously with oil, place on a parchment-lined baking sheet, and bake at 425°F (220°C) for 20 to 25 minutes, flipping halfway through. They won’t be quite as crisp as fried, but they’re still a healthier, super-tasty alternative.
What’s the best dip for Homemade Tater Tots?
Ketchup is the classic, but homemade honey mustard, spicy sriracha mayo, barbecue sauce, or ranch dressings are all amazing choices. Mix and match to keep things fun, or try a trio of sauces for a party platter.
Can I make these gluten-free?
Yes! Simply swap the all-purpose flour for a 1:1 gluten-free flour blend or even use cornstarch instead. The taste and texture remain spot-on, so you can share Homemade Tater Tots with gluten-avoiding friends or family, no problem.
How do I keep the tots from falling apart?
The trick is squeezing out as much moisture as possible from the grated potatoes and not skipping the flour. If your mixture feels too loose, add another sprinkle of flour—but only a little at a time. Shaping them gently and keeping your oil hot ensures they’ll hold together as they fry.
Final Thoughts
You don’t need fancy gadgets or deep-frying experience to make unreal Homemade Tater Tots—and once you taste the results, you may never grab the freezer bag version again! Give this recipe a try and share a platter with people you care about. Snacks like these have a way of turning any meal or gathering into something special—so why not make a batch right now?
Print
Homemade Tater Tots Recipe
- Total Time: 35 minutes
- Yield: 6 servings 1x
- Diet: Vegetarian
Description
Learn how to make delicious Homemade Tater Tots that are crispy on the outside and fluffy on the inside. These golden nuggets of joy are perfect as a side dish or a snack. Easy to make and a hit with both kids and adults!
Ingredients
Potato Mixture:
- 2 pounds russet potatoes, peeled
- 1 tablespoon all-purpose flour
- 1 teaspoon garlic powder
- 1 teaspoon onion powder
- 1/2 teaspoon salt
- 1/4 teaspoon black pepper
- 1 tablespoon chopped fresh parsley (optional)
For Frying:
- Vegetable oil
Instructions
- Parboil Potatoes: Boil potatoes until slightly tender; drain, cool, and grate them.
- Mix Ingredients: Combine grated potatoes with flour, seasonings, and parsley.
- Shape Tater Tots: Form mixture into small cylinders or nuggets.
- Fry: Heat oil, fry tots until golden and crispy.
- Serve: Drain, season, and enjoy with your favorite sauce.
Notes
- You can freeze uncooked tots for later use.
- For a baked version, brush with oil and bake at 425°F for 20–25 minutes.
- Prep Time: 20 minutes
- Cook Time: 15 minutes
- Category: Side Dish
- Method: Frying
- Cuisine: American
Nutrition
- Serving Size: 1/6 of recipe
- Calories: 210
- Sugar: 1g
- Sodium: 320mg
- Fat: 12g
- Saturated Fat: 2g
- Unsaturated Fat: 9g
- Trans Fat: 0g
- Carbohydrates: 22g
- Fiber: 2g
- Protein: 3g
- Cholesterol: 0mg


