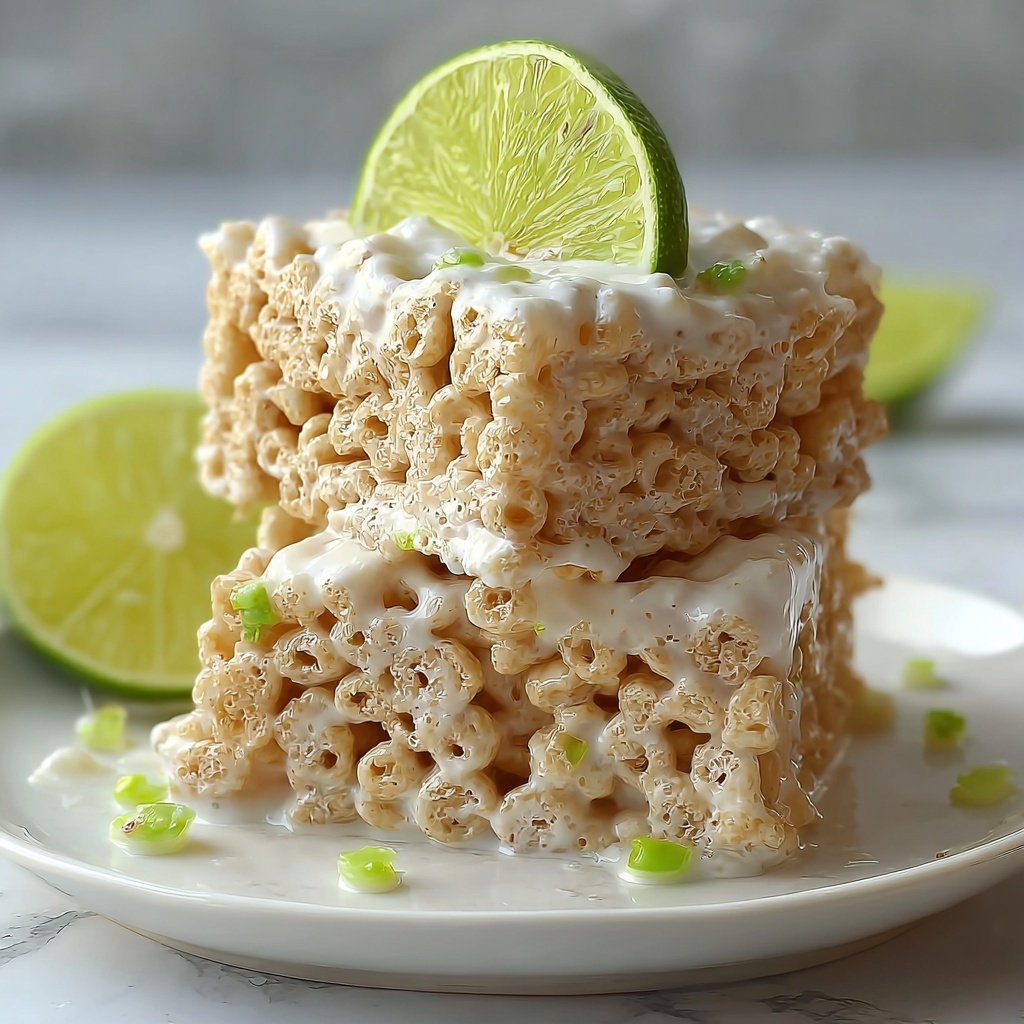
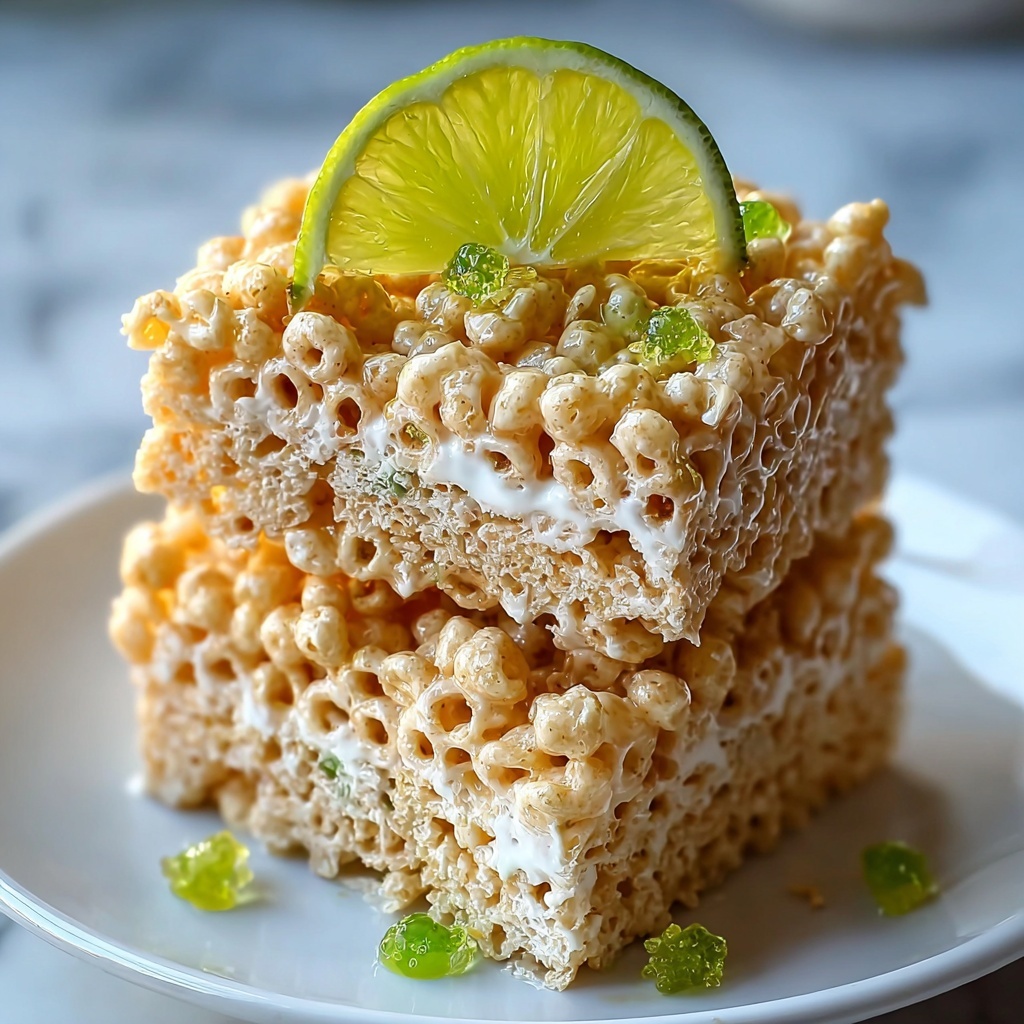
If you’re craving a fun twist on a classic treat, the Key Lime Pie Rice Krispie Treats Recipe is going to become your new go-to dessert. These bars bring together the nostalgic chewiness of Rice Krispies and marshmallows with the bright, tangy flavors of fresh lime juice and zest, perfectly capturing that key lime pie essence in every bite. Whether you’re making them for a party, a family snack, or just to jazz up your dessert game, this recipe delivers a burst of citrusy delight wrapped in a familiar, crispy texture that’s impossible to resist.
Ingredients You’ll Need
Let’s keep it simple but impactful. Each ingredient plays a starring role: from the creamy butter that helps everything stick, to the marshmallows providing gooey magic, and the zing of lime juice plus zest that gives these treats their unforgettable flavor.
- 3 tbsp butter: Acts as the binding agent and keeps the treats moist with a rich buttery taste.
- 1 package mini marshmallows: The essential gooey glue that creates those iconic chewy Rice Krispie bars.
- 6 cups Rice Krispies cereal: Delivers the crispy crunch that contrasts perfectly with the soft marshmallow.
- 1/4 cup lime juice: Infuses a fresh, tart brightness reminiscent of classic Key lime pie.
- 1/4 tsp lime zest: Adds an extra punch of citrus aroma and depth of flavor.
- 1/2 cup white chocolate chips (optional): For a luscious drizzle that adds sweetness and a pretty finishing touch.
How to Make Key Lime Pie Rice Krispie Treats Recipe
Step 1: Melt the Butter and Marshmallows
Start by melting the butter in a large pot over medium heat. Once melted, add the mini marshmallows and stir continuously until they have completely dissolved into a smooth, sticky, and glossy marshmallow mixture. This step ensures your bars will hold together with that signature chewy texture.
Step 2: Stir in Lime Juice and Zest
Once your marshmallow mixture is silky and smooth, remove the pot from the heat and immediately stir in the lime juice and zest. This is where the magic happens: the citrus infuses the entire batch, giving these treats their unique, tangy key lime pie flavor that sets this recipe apart.
Step 3: Mix in the Rice Krispies Cereal
Gently fold the Rice Krispies cereal into your marshmallow-lime mixture, stirring until every crispy piece is evenly coated. This crunchy foundation combined with the zesty marshmallow is the heart of these treats, delivering texture and flavor in every bite.
Step 4: Press Into the Pan
Lightly grease a 9×13-inch baking pan and carefully press the mixture into it. Use a spatula or clean hands to firmly pack the treats down so they hold their shape and slice beautifully once cooled. This ensures your bars stay dense and chewy rather than crumbly.
Step 5: Cool Completely
Let the treats cool fully at room temperature before attempting to cut them. This cooling step helps the bars set properly, making it easier to slice clean squares without crumbling or sticking to your knife.
Step 6: Optional White Chocolate Drizzle
For a sweet and stylish finish, melt the white chocolate chips and drizzle them artfully over the cooled bars. This not only adds a touch of creamy sweetness but also makes your Key Lime Pie Rice Krispie Treats Recipe look irresistible and fancy enough to impress guests.
How to Serve Key Lime Pie Rice Krispie Treats Recipe

Garnishes
Enhance this treat by adding a sprinkle of extra lime zest on top or a few thin slices of fresh lime alongside each serving. The garnish amplifies the citrus notes and adds a fresh, vibrant touch that’s so inviting.
Side Dishes
Pair these treats with a scoop of vanilla ice cream or a dollop of whipped cream to mellow the tartness and create a luscious dessert experience. A cup of iced tea or a fresh lemonade also complements the zesty sweetness perfectly.
Creative Ways to Present
For parties, cut the bars into fun shapes using cookie cutters or layer them in small parfait cups with lime-flavored yogurt and crushed graham crackers for a deconstructed twist on the classic key lime pie. Presentation is all about making these bright, crispy treats pop visually and tastefully.
Make Ahead and Storage
Storing Leftovers
Wrap any leftover bars tightly in plastic wrap and store them in an airtight container at room temperature. They will stay fresh and chewy for up to 3 days, making them a perfect ready-to-grab snack.
Freezing
To freeze, separate the bars with parchment paper to prevent sticking, then place them in an airtight bag or container. Freeze for up to 2 months, letting them thaw fully at room temperature before serving to maintain their texture and flavor.
Reheating
While these treats are best enjoyed at room temperature, you can give them a quick zap in the microwave for about 10 seconds if you prefer them slightly warm and extra gooey. Just be careful not to overheat and melt the shape!
FAQs
Can I use regular marshmallows instead of mini marshmallows?
Absolutely! Regular marshmallows work just as well; you might just need to chop them into smaller pieces to melt evenly and quickly with the butter.
Is the white chocolate drizzle necessary?
Not at all! The white chocolate is optional, but it adds a creamy sweetness that balances the tart lime flavors beautifully. Feel free to skip it or replace it with a vanilla glaze if you prefer.
Can I substitute Rice Krispies cereal with another cereal?
You can experiment with similar crispy rice cereals, but keep in mind that the classic texture of Rice Krispies gives this treat its trademark crunch, which might change the final mouthfeel.
How sharp is the lime flavor in this recipe?
The lime juice and zest add a bright, tangy zing that’s noticeable but well balanced with the sweetness of marshmallows and cereal. It’s refreshing without being overpowering.
Can I make these treats vegan or dairy-free?
To make a vegan version, use dairy-free margarine and vegan marshmallows. The lime elements are naturally vegan, so with those swaps, you’re good to go!
Final Thoughts
If you want a dessert that’s both nostalgic and delightfully fresh, the Key Lime Pie Rice Krispie Treats Recipe is a must-try. It’s fun to make, bursting with citrus zest, and perfect for sharing with friends or family. Go ahead and whip up a batch—you’ll wonder how you ever enjoyed Rice Krispies treats without this zingy upgrade!
Print
Key Lime Pie Rice Krispie Treats Recipe
- Prep Time: 5 minutes
- Cook Time: 15 minutes
- Total Time: 20 minutes
- Yield: 16 servings
- Category: Dessert
- Method: Stovetop
- Cuisine: American
- Diet: Vegetarian
Description
These Key Lime Pie Rice Krispie Treats are a zesty twist on the classic marshmallow cereal bars, combining the tangy flavor of lime juice and zest with the sweet, crispy texture of Rice Krispies. Perfect for a quick and easy dessert that delivers refreshing citrus notes with every bite.
Ingredients
Main Ingredients
- 3 tbsp butter
- 1 package mini marshmallows (about 10 oz)
- 6 cups Rice Krispies cereal
- 1/4 cup lime juice
- 1/4 tsp lime zest
Optional
- 1/2 cup white chocolate chips
Instructions
- Melt marshmallow mixture: In a large pot over medium heat, melt the butter and mini marshmallows together, stirring constantly until the mixture is smooth and fully melted.
- Add lime flavor: Remove the pot from heat and stir in the lime juice and lime zest until well blended to infuse the mixture with fresh citrus flavor.
- Combine with cereal: Add the Rice Krispies cereal to the marshmallow mixture and stir thoroughly to coat the cereal evenly.
- Press into pan: Transfer the mixture into a greased 9×13-inch baking pan and press down firmly using a spatula or clean hands to ensure it is compact and even.
- Cool and set: Allow the mixture to cool completely at room temperature so it sets firmly before cutting.
- Add topping (optional): If desired, melt the white chocolate chips and drizzle over the cooled bars for an extra sweet finishing touch.
Notes
- Use fresh lime juice and zest for the brightest flavor.
- Grease the pan well to prevent sticking.
- Press the mixture firmly to help the bars hold together when cut.
- White chocolate drizzle is optional but adds a lovely contrast to the tart lime.
- Store leftovers in an airtight container at room temperature for up to 3 days.


