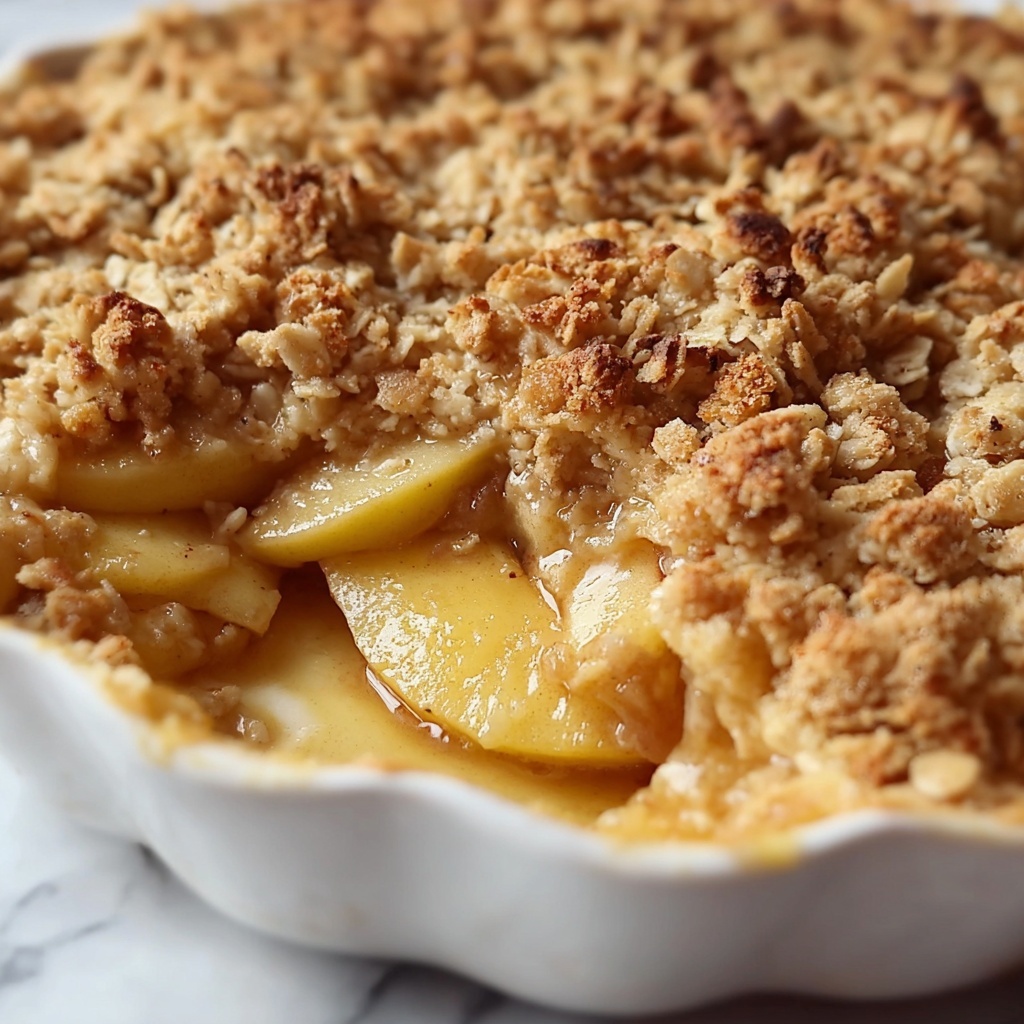
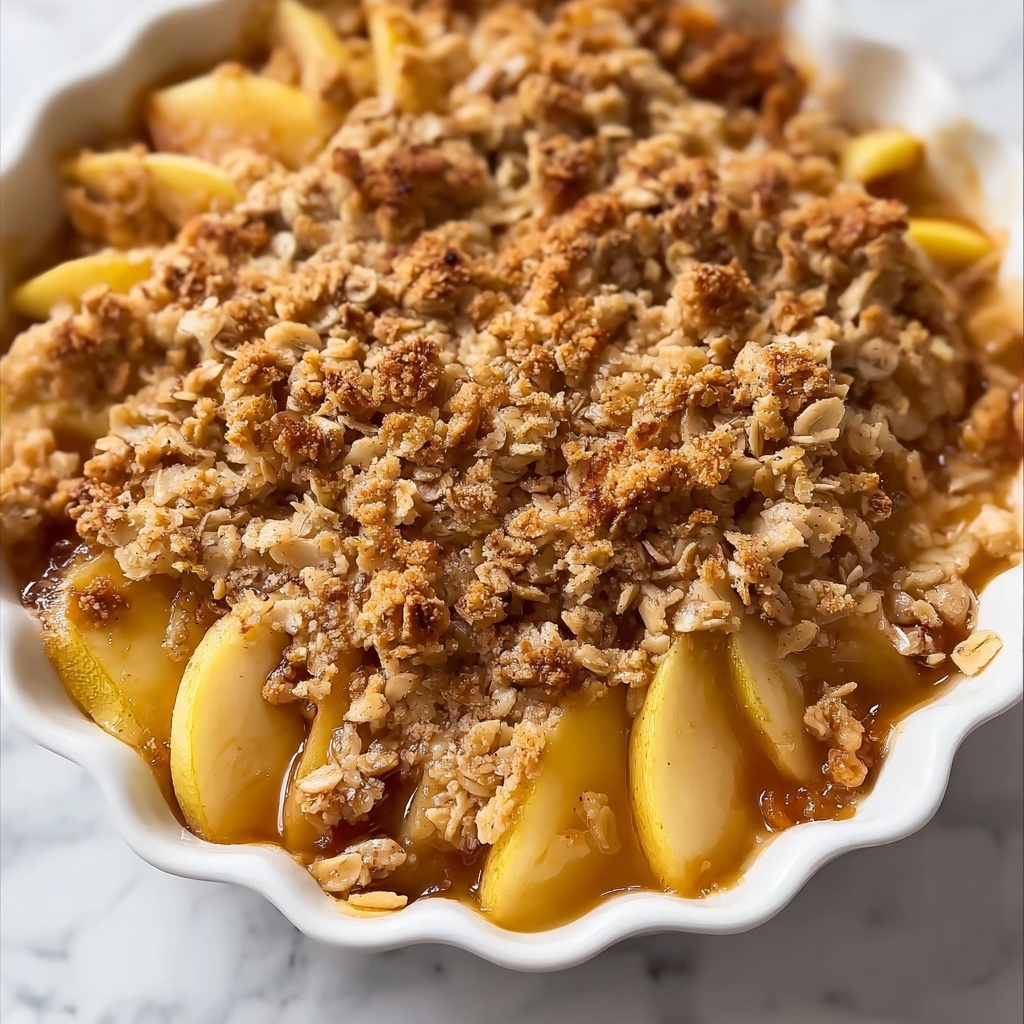
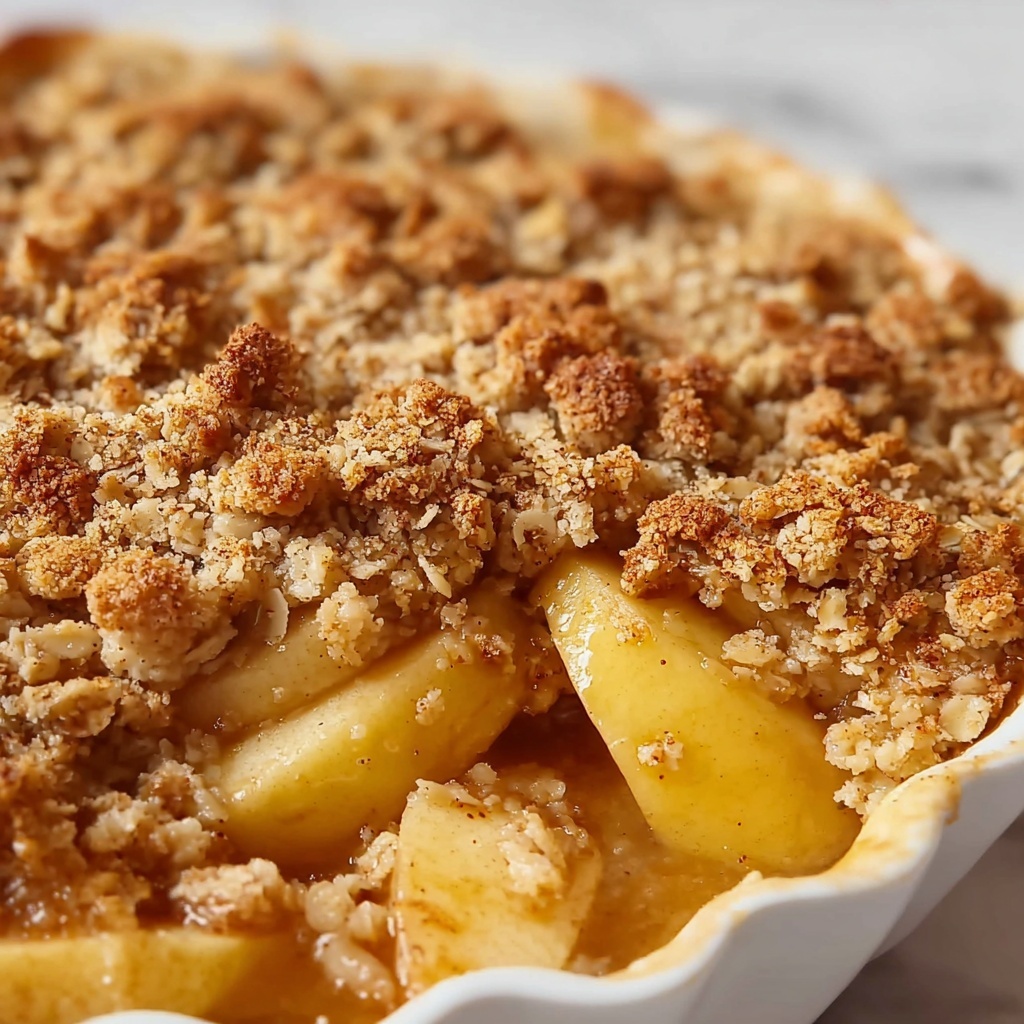
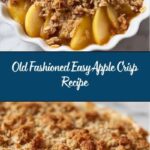
If you have a soft spot for classic desserts that feel like a warm hug in every bite, then this Old Fashioned Easy Apple Crisp Recipe is going to steal your heart. It’s that perfect blend of tender, cinnamon-spiced apples topped with a buttery, crumbly oat topping that bakes to a beautiful golden brown. This recipe brings together simple, wholesome ingredients to create a dessert that’s both comforting and effortlessly impressive — no fancy techniques needed, just pure homey goodness that everyone will adore.
Ingredients You’ll Need
Getting started on this Old Fashioned Easy Apple Crisp Recipe means gathering a few staple ingredients that you probably already have on hand. Each one plays a crucial role, from the juicy apples lending natural sweetness and texture, to the oats and butter creating that perfectly crisp topping that’s impossible to resist.
- 6 golden delicious apples, peeled and chopped: These apples are sweet and soft when baked, making them ideal for a tender filling.
- 2 tbsp granulated sugar: Adds straightforward sweetness to balance the tartness of the apples.
- ¾ tsp ground cinnamon: Brings that classic warm spice flavor that pairs beautifully with apples.
- 1½ tsp lemon juice: Helps enhance the apple flavor and prevents the fruit from browning.
- 1 cup light brown sugar: Provides rich caramel notes for the crisp topping.
- ¾ cup old-fashioned oats: Adds that hearty, chewy texture to the crumble, making it extra satisfying.
- ¾ cup all-purpose flour: Binds the topping ingredients together perfectly.
- 1 tsp ground cinnamon: For extra depth of warm spice in the topping.
- Pinch of kosher salt: Balances the sweetness and enhances all the flavors.
- ½ cup cold unsalted butter, diced into small cubes: The secret to that flaky, melt-in-your-mouth topping that bakes golden and crisp.
How to Make Old Fashioned Easy Apple Crisp Recipe
Step 1: Preheat the Oven and Prepare Your Dish
Start by setting your oven to 350°F (175°C). While it warms up, generously grease an 8×8-inch baking dish with butter or non-stick spray. This crucial step ensures your apple crisp won’t stick and will come out beautifully when baked.
Step 2: Prepare the Apple Filling
In a mixing bowl, toss the peeled and chopped golden delicious apples with granulated sugar, ¾ teaspoon of ground cinnamon, and lemon juice. The lemon juice isn’t just for flavor—it helps keep the apples from turning brown while you prepare the topping. Once everything is coated evenly, transfer the apple mixture into your prepared baking dish, spreading it out into an even layer.
Step 3: Make the Crisp Topping
Mix the brown sugar, oats, flour, 1 teaspoon of cinnamon, and a pinch of kosher salt in a separate bowl. Add the cold, diced butter and use a pastry cutter or your hands to work the butter into the dry ingredients. The goal here is to create pea-sized crumbs — these chunks of butter are what make the topping delightfully flaky and crisp when baked.
Step 4: Assemble and Bake
Evenly spread the crumbly topping over the apple filling, pressing down lightly so it sticks together but remains crumbly. Pop the assembled dish into the oven and bake for 40 to 50 minutes, or until you see the topping turn golden brown and the apple mixture is bubbling happily underneath. The oven’s warmth will coax the sweet apple juices to mingle with the crisp topping, creating that irresistible mix of textures.
Step 5: Serve and Enjoy
Once baked, this Old Fashioned Easy Apple Crisp Recipe is best enjoyed warm straight from the oven. Whether you serve it solo or with a generous scoop of vanilla ice cream or a dollop of whipped cream, it’s guaranteed to be a crowd-pleaser that brings cozy vibes to any table.
How to Serve Old Fashioned Easy Apple Crisp Recipe
Garnishes
To elevate this dessert even more, consider sprinkling a little extra cinnamon on top or adding chopped pecans for a crunchy contrast. A drizzle of caramel sauce can also add a luxurious finish that pairs beautifully with the warm apples and crisp topping.
Side Dishes
This apple crisp pairs wonderfully with classic dessert accompaniments like vanilla ice cream, whipped cream, or even a scoop of creamy mascarpone cheese. If you want something lighter, a dollop of Greek yogurt with a touch of honey can add a refreshing twist that balances the sweetness.
Creative Ways to Present
For a charming presentation, serve individual portions in small ramekins or mason jars, which make for a delightful rustic touch. You can also layer the warm apple crisp with whipped cream or ice cream parfait-style for a pretty, layered dessert that’s perfect for entertaining guests.
Make Ahead and Storage
Storing Leftovers
If you have any leftovers (though that’s rare!), cover the apple crisp tightly with plastic wrap or foil and store it in the refrigerator. It will stay fresh and delicious for up to 3 days, making it an easy dessert to enjoy throughout the week.
Freezing
You can freeze this dessert either before baking or after it has cooled. To freeze before baking, assemble the crisp in a freezer-safe dish and cover tightly with foil and plastic wrap. When ready to bake, thaw overnight in the fridge and bake as usual. For freezing baked crisp, cool completely, then wrap and freeze for up to 2 months. Reheat to enjoy that perfect warm crisp again!
Reheating
Reheat leftover apple crisp in the oven at 325°F (160°C) for about 15-20 minutes until warmed through and crisp on top. Avoid the microwave if you want to keep the topping crunchy; but for a quick fix, microwave for 1-2 minutes—just know the topping will lose some crispness.
FAQs
Can I use a different type of apple?
Absolutely! While golden delicious apples are sweet and tender, varieties like Granny Smith, Honeycrisp, or Fuji can add a nice balance of tartness and texture. Just adjust sugar to taste depending on the apple’s sweetness.
Can I make this recipe gluten-free?
Yes, to make this Old Fashioned Easy Apple Crisp Recipe gluten-free, substitute all-purpose flour with a gluten-free flour blend. Be sure the oats you use are labeled gluten-free too, as oats are often cross-contaminated.
Is there a way to make the topping more crunchy?
For an extra crunchy topping, you can add chopped nuts like walnuts or pecans, or sprinkle a bit of coarse sugar (like turbinado) on top before baking. Also, using cold butter and mixing it until pea-sized crumbs form helps create that perfect crisp texture.
How can I avoid a soggy bottom in my apple crisp?
To prevent sogginess, be sure to toss your apples with enough sugar and lemon juice, which helps draw out excess moisture and create a syrupy but not watery filling. Also, a baking dish with good heat circulation and baking the crisp until bubbling helps evaporate extra liquid.
Can I prepare this dessert in advance?
Yes! You can assemble the crisp the night before, cover it tightly, and refrigerate. Bake it fresh the next day, adding about 5-10 extra minutes to the baking time if chilled. This makes it super convenient for gatherings or busy nights.
Final Thoughts
There’s something truly special about this Old Fashioned Easy Apple Crisp Recipe — it’s like a timeless slice of comfort you can pull together without fuss. Whether it’s a weeknight treat or the star of your holiday dessert table, it’s a dependable joy that invites smiles and second helpings. I can’t wait for you to try it and share it with those you love!
Print
Old Fashioned Easy Apple Crisp Recipe
- Prep Time: 15 minutes
- Cook Time: 45 minutes
- Total Time: 1 hour
- Yield: 6 servings
- Category: Dessert
- Method: Baking
- Cuisine: American
Description
This Old Fashioned Easy Apple Crisp is a warm and comforting dessert featuring tender, cinnamon-spiced apples topped with a buttery oat crumble. Perfect for cozy nights, this classic recipe is simple to prepare and yields a delightful balance of sweet and tangy flavors, baked to golden perfection.
Ingredients
Apple Filling
- 6 golden delicious apples, peeled and chopped (or sliced)
- 2 tbsp granulated sugar
- ¾ tsp ground cinnamon
- 1½ tsp lemon juice
Topping
- 1 cup light brown sugar
- ¾ cup old-fashioned oats
- ¾ cup all-purpose flour
- 1 tsp ground cinnamon
- Pinch of kosher salt
- ½ cup cold unsalted butter, diced into small cubes
Instructions
- Preheat the Oven: Set your oven to 350°F (175°C). Grease an 8×8-inch baking dish with butter or non-stick spray to prevent sticking and ensure easy serving.
- Prepare the Apple Filling: In a mixing bowl, combine the peeled and chopped apples with granulated sugar, ground cinnamon, and lemon juice. Toss everything together until the apples are evenly coated with the mixture. Transfer this filling to the prepared baking dish, spreading it out evenly.
- Make the Topping: In a separate bowl, mix together light brown sugar, old-fashioned oats, all-purpose flour, ground cinnamon, and a pinch of kosher salt. Add the cold, diced unsalted butter to the mixture. Using a pastry cutter or your hands, blend the butter into the dry ingredients until the topping resembles pea-sized crumbs.
- Assemble & Bake: Evenly spread the oat topping over the apple filling in the baking dish, lightly pressing down so it adheres properly. Place the baking dish in the preheated oven and bake for 40 to 50 minutes, or until the top turns golden brown and the apple mixture is bubbly.
- Serve: Remove from the oven and let it cool slightly before serving. Enjoy the apple crisp warm, optionally topped with ice cream or whipped cream for an extra indulgent treat.
Notes
- For extra flavor, try adding a teaspoon of vanilla extract to the apple mixture before baking.
- You can substitute golden delicious apples with Granny Smith or Honeycrisp for a tarter taste.
- To make the topping more textured, add chopped nuts like walnuts or pecans.
- Store leftovers covered in the refrigerator for up to 3 days and reheat before serving.
- For a gluten-free version, substitute all-purpose flour with gluten-free flour blend.


