Orange Dreamsicle Fudge Recipe
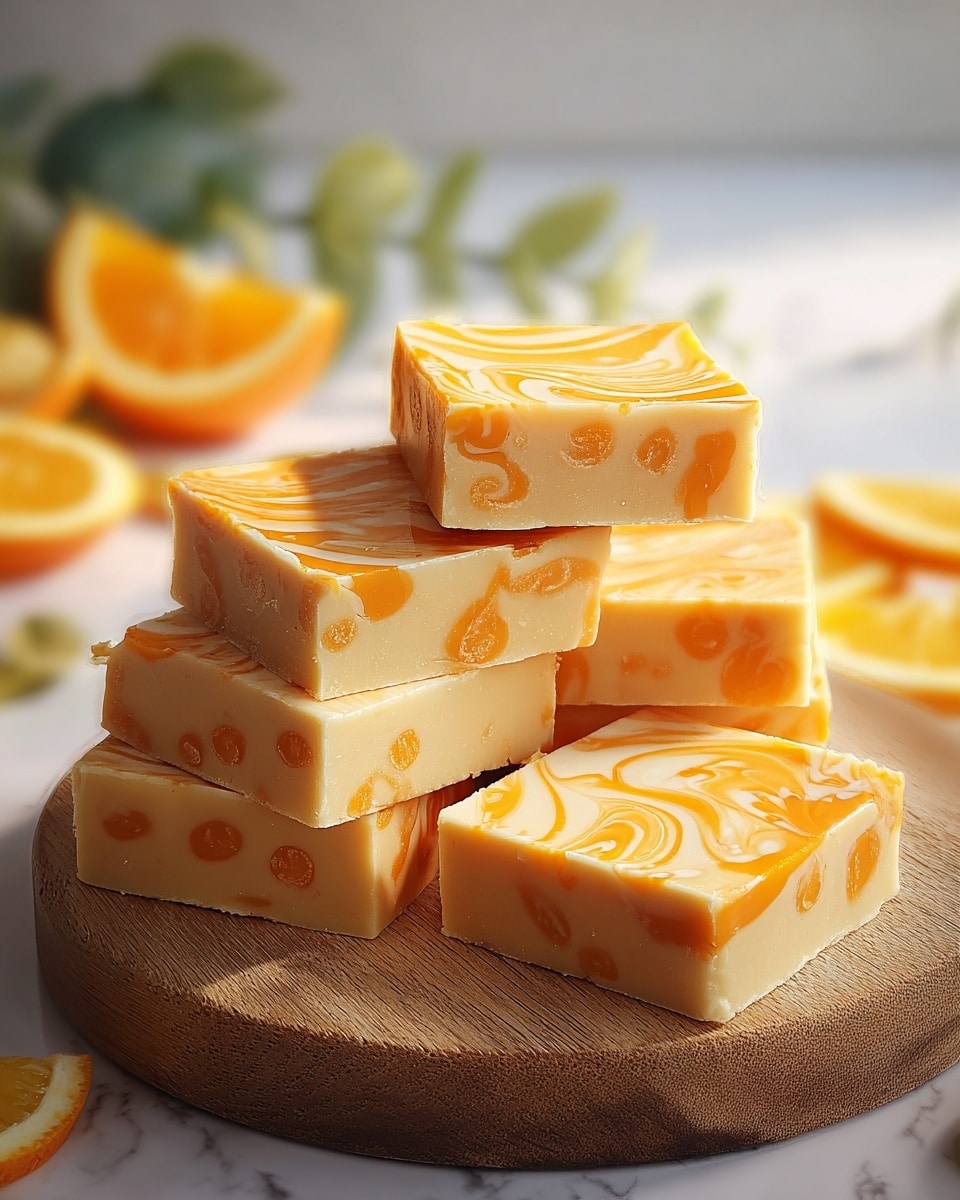
There is something truly magical about the creamy, tangy sweetness of an Orange Dreamsicle Fudge Recipe, and I’m so excited to share this delightful treat with you. This fudge perfectly captures the nostalgic flavors of a classic orange dreamsicle popsicle but in a rich, melt-in-your-mouth fudge form. Combining smooth white chocolate with vibrant orange gelatin and extracts, this recipe creates a stunningly beautiful and irresistibly delicious dessert that’s super easy to make and guaranteed to brighten up any occasion.
Ingredients You’ll Need
Getting ready to make this Orange Dreamsicle Fudge Recipe is a breeze thanks to a handful of simple, yet essential ingredients. Each one plays a crucial role—from the creamy base to the bright orange flavor and those gorgeous swirls of color that make this fudge a feast for the eyes and palate.
- White chocolate chips: These provide a smooth, creamy foundation that melts beautifully and carries the other flavors.
- Sweetened condensed milk: Adds sweetness and helps achieve that irresistibly soft, fudgy texture.
- Orange-flavored gelatin: The star ingredient that delivers the authentic citrus zing and lovely orange hue.
- Orange extract: Boosts the bright, fresh orange flavor, making the fudge taste like a true dreamsicle.
- Vanilla extract: Adds warmth and depth, balancing out the citrus notes perfectly.
- Orange food coloring (optional): For that vivid swirl effect that makes the fudge look as delicious as it tastes.
- Unsalted butter: Used to grease the pan or line it with parchment, ensuring your fudge releases easily.
How to Make Orange Dreamsicle Fudge Recipe
Step 1: Prepare Your Pan
Start by lining an 8×8-inch baking pan with parchment paper or lightly greasing it with unsalted butter. This little step keeps your fudge from sticking and makes cleanup so much easier—trust me, it’s worth the extra care!
Step 2: Melt the White Chocolate and Condensed Milk
Next, melt 2 ½ cups of white chocolate chips with one 14-ounce can of sweetened condensed milk in a medium saucepan over low heat. Stir constantly and be patient because you want a silky smooth mixture without any lumps. This creamy base is what sets the tone for your fudge’s luscious texture.
Step 3: Add the Orange Flavors
Once melted, quickly stir in the orange-flavored gelatin powder, 1 teaspoon each of orange extract and vanilla extract. If you love the idea of a fun swirl, now’s the time to add a few drops of orange food coloring. Mix well so the color and flavor are evenly distributed—this step is where your fudge really starts to come alive.
Step 4: Pour and Chill
Pour the bright orange mixture into your prepared pan and spread it out evenly. Let it cool at room temperature for about one hour before refrigerating for 2 to 3 hours until completely firm. This patient chilling gives your fudge the perfect set for those clean, satisfying cuts.
Step 5: Slice and Store
When your fudge has set fully, cut it into small, delectable squares—perfect for sharing or savoring piece by piece. Store any leftovers in an airtight container to keep every bite fresh and flavorful.
How to Serve Orange Dreamsicle Fudge Recipe
Garnishes
Sprinkle a tiny bit of finely grated orange zest on top or add a light dusting of powdered sugar for an elegant finish. A few miniature edible flowers can even make these fudge squares party-ready in seconds!
Side Dishes
Serve your fudge beside a scoop of vanilla bean ice cream or fresh berries to balance the rich sweetness and add a fresh, fruity contrast that complements those nostalgic orange flavors.
Creative Ways to Present
Cut the fudge into fun shapes using cookie cutters, or layer it between waxed paper to create a beautiful gift box. Wrapping individual pieces in colorful parchment or clear cellophane tied with a ribbon makes for irresistible homemade gifts that friends and family will adore.
Make Ahead and Storage
Storing Leftovers
Keep any leftover Orange Dreamsicle Fudge Recipe stored tightly in an airtight container at room temperature or in the fridge. This will help it maintain its wonderful creamy texture and fresh flavors for up to two weeks.
Freezing
If you want to stash some away for later, wrap pieces individually in plastic wrap, then place them in a freezer-safe container or bag. Frozen fudge keeps beautifully for up to three months, so you can enjoy your orange dreamsicle delight anytime.
Reheating
Fudge is best enjoyed cold or at room temperature, but if your fudge has frozen, simply thaw it overnight in the refrigerator. Avoid microwaving as this can change the texture, making it less creamy and more crumbly.
FAQs
Can I use a different type of chocolate?
While white chocolate chips are key to capturing that classic dreamsicle flavor, you could experiment with cream cheese fudge bases or mild white chocolate alternatives, but the signature taste won’t be quite the same.
Is it possible to make this recipe vegan?
Traditional sweetened condensed milk and white chocolate contain dairy, so for a vegan twist, you’ll need to find plant-based substitutes for both and ensure your gelatin is replaced with a vegan-friendly alternative like agar-agar.
Can I adjust the sweetness?
Because sweetened condensed milk is quite sweet, this fudge is on the sugary side, but you can reduce sweetness slightly by choosing less sugary white chocolate or experimenting with the amount of condensed milk, though it might affect the texture.
How do I get a more pronounced orange flavor?
For a stronger punch, try swapping orange extract for orange oil, which is much more concentrated. Just be careful to add only a small amount since it’s quite potent.
Can I make swirls in the fudge?
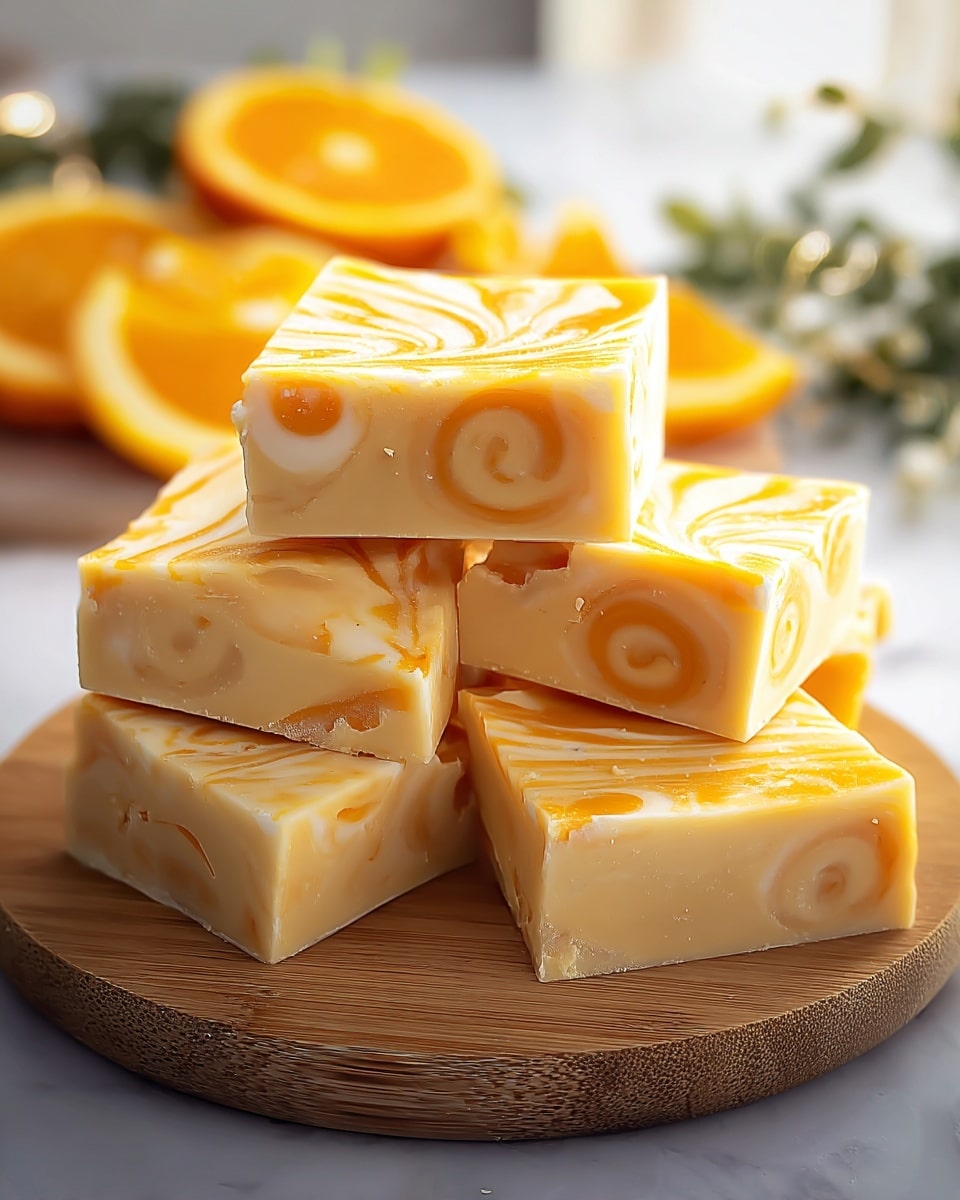
Absolutely! Before adding the gelatin, reserve about half a cup of the plain white fudge mixture. After pouring in the orange mixture, dollop the reserved white fudge on top and swirl gently with a knife to create the classic dreamsicle swirled effect.
Final Thoughts
This Orange Dreamsicle Fudge Recipe isn’t just a dessert; it’s a joyful slice of sunny nostalgia wrapped in creamy, melt-in-your-mouth goodness. Whether you’re making it for a special occasion or just because, it’s sure to bring smiles and happy cravings. I wholeheartedly encourage you to try this recipe—you’re going to love how easy it is and how wonderfully it recreates those beloved orange dreamsicle flavors in every bite.
Print
Orange Dreamsicle Fudge Recipe
- Total Time: 3 hours 20 minutes
- Yield: 36 pieces 1x
- Diet: Vegetarian
Description
This Orange Dreamsicle Fudge is a creamy, no-bake treat that combines the sweet richness of white chocolate with the bright, citrusy flavor of orange. Infused with orange gelatin and extracts, it’s a nostalgic dessert that mimics the classic orange creamsicle taste. Easy to prepare on the stovetop, this fudge sets up nicely in the fridge and makes for delightful, bite-sized squares perfect for sharing or gifting.
Ingredients
Fudge Base
- 2 ½ cups white chocolate chips
- 1 (14 oz) can sweetened condensed milk
- 1 (3 oz) package orange-flavored gelatin
Flavorings
- 1 teaspoon orange extract
- 1 teaspoon vanilla extract
- Orange food coloring (optional)
Preparation
- 1 tablespoon unsalted butter (for greasing or parchment lining)
Instructions
- Prepare the Pan: Line an 8×8-inch baking pan with parchment paper or lightly grease it with the unsalted butter to prevent sticking.
- Heat the Fudge Mixture: In a medium saucepan over low heat, combine the white chocolate chips and sweetened condensed milk. Stir constantly to ensure the chocolate chips melt smoothly without burning.
- Add Flavors: Once the mixture is fully melted and smooth, quickly stir in the orange-flavored gelatin powder, orange extract, and vanilla extract. Add a few drops of orange food coloring if you want a more vibrant orange swirl effect. Stir well to blend all ingredients evenly.
- Pour and Set: Pour the fudge mixture into the prepared pan and spread it out evenly using a spatula. Allow the fudge to cool at room temperature for about 1 hour to start setting.
- Chill Until Firm: Transfer the pan to the refrigerator and chill for 2 to 3 hours or until the fudge is fully firm and set.
- Cut and Store: Once the fudge has set, remove it from the pan, peel off the parchment paper, and cut into small squares. Store the fudge pieces in an airtight container to maintain freshness.
Notes
- For a swirl design, reserve ½ cup of the white fudge mixture before adding the orange gelatin and dollop it over the orange layer, swirling gently with a knife before chilling.
- For a more intense orange flavor, substitute orange extract with orange oil.
- Use parchment lining for easier removal and cleaner edges when cutting fudge.
- Prep Time: 10 minutes
- Cook Time: 10 minutes
- Category: Dessert
- Method: Stovetop
- Cuisine: American
