Quesadilla Cones Recipe
If you’re craving a fun twist on classic Mexican comfort food, the Quesadilla Cones Recipe is exactly what you need to try next. Imagine all the melty cheese, tender chicken, and vibrant veggies of a quesadilla, but served upright in a perfectly crispy, golden cone that’s easy to hold and share. This recipe brings together simple ingredients that transform into a delightful, handheld snack that’s sure to impress both family and friends with its fun presentation and irresistible flavor.
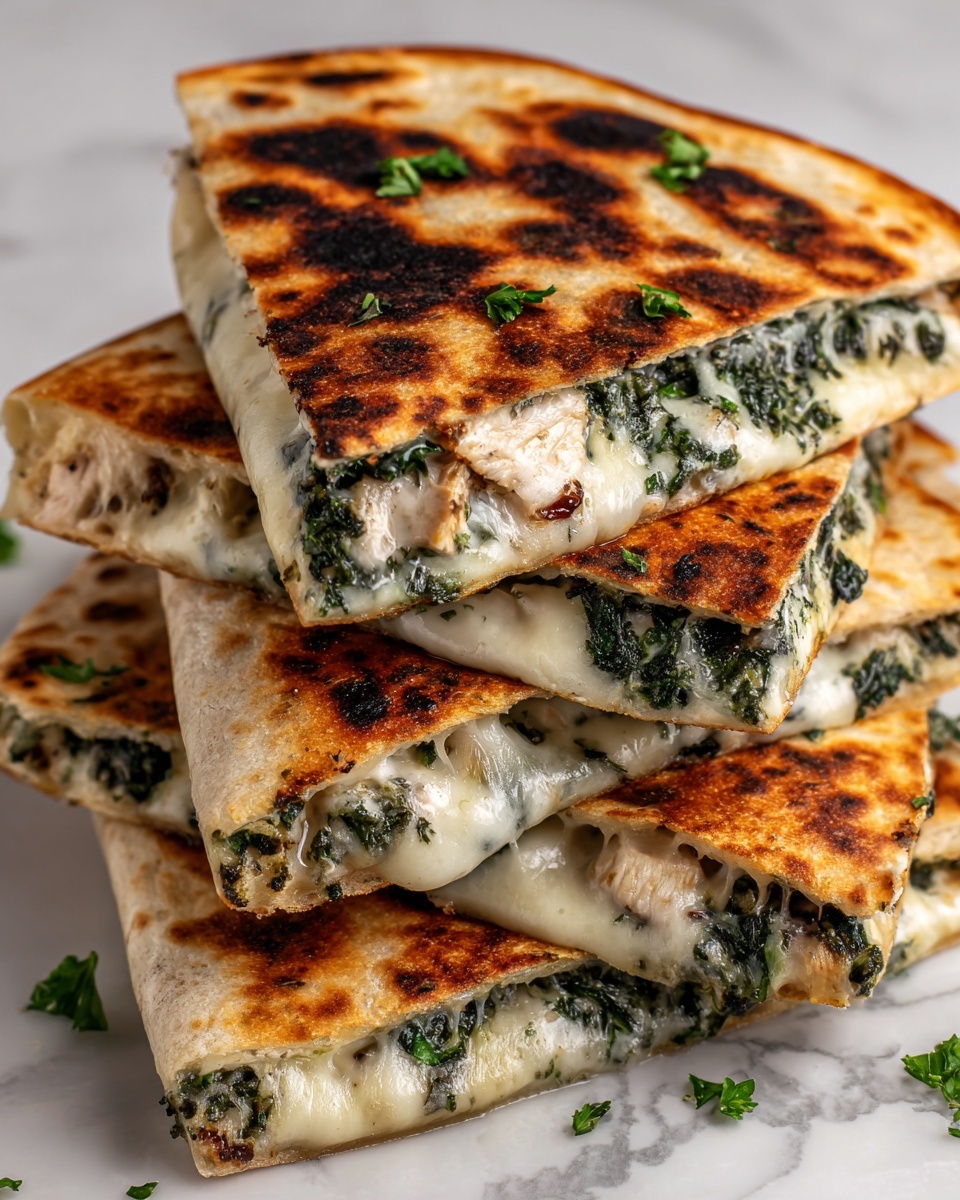
Ingredients You’ll Need
Getting together the ingredients for this Quesadilla Cones Recipe is straightforward, and each one plays a key role in creating a balance of textures and flavors that pop. From the tender chicken to the crunchy peppers and gooey cheese, these essentials will come together to make your cones absolutely delicious.
- 1 tbsp olive oil: For sautéing the veggies to bring out their natural sweetness and slight char.
- 1 red onion, diced: Adds a mild sharpness and beautiful color contrast.
- 2 bell peppers (any color), diced: Brings a crisp texture and vibrant hues to the filling.
- 2 cups shredded cooked chicken: The hearty protein base that soaks up all the flavorful seasonings.
- 1 tbsp fajita seasoning: Provides a warm, smoky kick that ties everything together.
- 1/2 cup salsa: Adds juicy freshness and subtle spice.
- 4 large flour tortilla wraps: The essential vessel, perfect for shaping into cones and holding the filling.
- 1 1/2 cups shredded cheddar cheese: Melts beautifully to create that irresistible gooey texture inside.
- Oil spray: Ensures the cones come out crispy and golden without excess grease.
- Sour cream: A cool, creamy finish for serving.
- Fresh coriander (cilantro), chopped: Adds a fresh, herbal brightness that complements the spices.
How to Make Quesadilla Cones Recipe
Step 1: Preheat Your Oven or Air Fryer
Start by warming up your oven to 180°C (350°F) or preparing your air fryer at the same temperature. This heat level is perfect for cooking the cones until they’re deliciously crisp without drying out the filling inside.
Step 2: Cook the Vegetables
Heat the olive oil in a large pan over medium heat. Toss in the diced red onion and bell peppers, cooking them until they’re nicely softened and pick up a little char, roughly 5 to 7 minutes. This step builds a sweet and smoky flavor base that’s essential for your filling.
Step 3: Mix the Filling
In a big bowl, combine your shredded chicken with the fajita seasoning and salsa. Then fold in the cooked peppers and onions to create a juicy, spiced filling. This mixture is the heart of the Quesadilla Cones Recipe, delivering all those vibrant Mexican-inspired flavors in every bite.
Step 4: Prepare and Fill the Tortilla Cones
Cut each large flour tortilla in half. Carefully fold each half into a cone shape and secure the edges with toothpicks so they hold during cooking. Start by spooning a layer of shredded cheddar cheese into the bottom of each cone—this helps keep the filling from leaking out. Follow with a generous scoop of the chicken and veggie filling, then top with even more cheese. The cheese on both ends melts as a glue to hold everything in place and create that gooey, heavenly bite.
Step 5: Cook the Cones
For the air fryer method, place baking paper in the basket, space out the cones, and lightly spray them with oil. Cook for about 8 minutes at 180°C (350°F). If you’re using an oven, line a baking tray with parchment paper, arrange the cones evenly, spray them with oil, and bake for 12 minutes. Either way, you’ll get crisp, golden cones with melty filling inside—a perfect contrast of textures.
Step 6: Serve and Enjoy
Once cooked, carefully remove the toothpicks and get ready to dive in! Serve these beauties immediately with dollops of cool sour cream and a sprinkle of fresh coriander to brighten every bite. The Quesadilla Cones Recipe is a hands-on, fun dish that’s ideal for parties, quick meals, or anytime you want something both comforting and creative.
How to Serve Quesadilla Cones Recipe
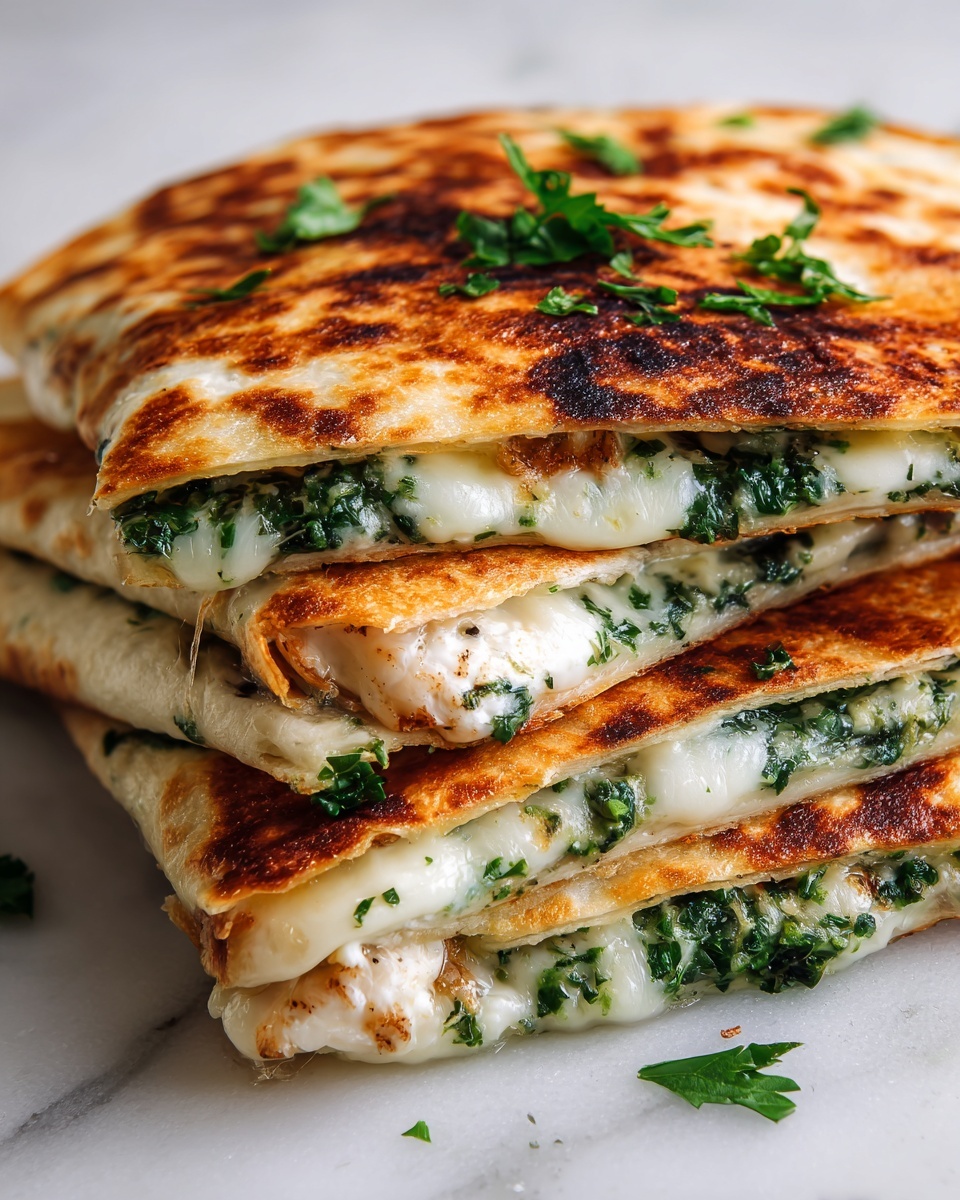
Garnishes
Fresh garnishes elevate the Quesadilla Cones Recipe by adding layers of flavor and texture. Bright cilantro leaves and tangy sour cream cut through the richness of melted cheese and seasoned chicken, creating a harmonious bite. If you want to kick it up a notch, sprinkle some chopped green onions or add a squeeze of lime for a zesty punch.
Side Dishes
Pair these quesadilla cones with simple sides like a crisp green salad, Mexican street corn, or a bowl of refried beans to round out your meal. These dishes add freshness and flavors that balance the cones’ richness while keeping the overall vibe casual and festive.
Creative Ways to Present
For the ultimate crowd-pleaser, set up a DIY quesadilla cone bar. Arrange all the toppings and extras so everyone can customize their cones. You can also serve them in a stand or mason jars to keep them upright and easy to grab. Adding colorful plates and fun napkins will make your table look inviting and festive—perfect for a family night or party.
Make Ahead and Storage
Storing Leftovers
If you happen to have leftovers, simply place the cooled quesadilla cones in an airtight container and refrigerate. They can stay fresh for up to 2 days. Keep in mind that the tortilla may lose some crispness, but the flavors will still be delicious the next day.
Freezing
To freeze, wrap each quesadilla cone tightly in plastic wrap and then foil to prevent freezer burn. Place them in a freezer-safe bag or container. They’ll maintain their quality for up to 1 month, making it easy to enjoy this tasty treat anytime you want.
Reheating
When you’re ready to eat your stored quesadilla cones, reheat them in a preheated oven at 180°C (350°F) for about 10 minutes. This method helps revive their crispiness while melting the cheese inside perfectly. Avoid microwaving, as it tends to make the cones soggy and less enjoyable.
FAQs
Can I use other proteins instead of chicken?
Absolutely! This Quesadilla Cones Recipe is very flexible. You can substitute chicken with ground beef, turkey, or even black beans for a vegetarian option. Just adjust the cooking time and seasoning accordingly.
What if I don’t have an air fryer or oven?
If you lack both an air fryer and oven, you can lightly pan-fry the cones in a skillet over medium heat. Use a little oil spray and cook each side carefully until golden and crispy, being mindful not to burn the tortilla.
Can I make these cones ahead of time and bake later?
Yes, you can prepare the cones and keep them wrapped in the fridge for a few hours before baking. This makes them perfect for meal prep or entertaining when you want to have everything ready in advance.
How do I keep the cones from leaking the filling?
The key trick is to layer shredded cheese at the bottom of the cones before adding the filling. The melted cheese acts like a seal to prevent leakage during cooking and helps hold everything together nicely.
What’s the best cheese to use?
Shredded cheddar cheese works beautifully here for meltability and flavor. However, you can blend cheddar with Monterey Jack or mozzarella for a creamier texture and milder taste that still complements the filling perfectly.
Final Thoughts
If you’re looking for a show-stopping snack or a fun weekday meal, you really must give the Quesadilla Cones Recipe a go. It’s a playful way to enjoy all the flavors you love from a classic quesadilla but with a crispy cone twist that makes it easy to eat and share. Once you try making these, they’ll become a regular favorite in your kitchen just like they are in mine. Happy cooking and even happier eating!
Print
Quesadilla Cones Recipe
- Total Time: 27 minutes
- Yield: 4 servings 1x
Description
Quesadilla Cones are a fun and delicious twist on the traditional quesadilla, filled with a flavorful blend of sautéed vegetables, seasoned shredded chicken, and melted cheddar cheese. Perfectly cooked in the oven or air fryer for a crispy, cheesy treat that’s easy to make and ideal for sharing.
Ingredients
Filling
- 1 tbsp olive oil
- 1 red onion, diced
- 2 bell peppers (any color), diced
- 2 cups shredded cooked chicken
- 1 tbsp fajita seasoning
- 1/2 cup salsa
Assembly
- 4 large flour tortilla wraps
- 1 1/2 cups shredded cheddar cheese
- Oil spray
- Sour cream, for serving
- Fresh coriander (cilantro), chopped, for garnish
Instructions
- Preheat Oven: Preheat your oven to 180°C (350°F) if you plan to bake the quesadilla cones.
- Cook Vegetables: In a large pan, heat the olive oil over medium heat. Add the diced onion and bell peppers. Fry until softened and slightly charred, about 5-7 minutes, to develop sweet and smoky flavors.
- Mix Filling: In a large mixing bowl, combine the shredded cooked chicken with the fajita seasoning and salsa. Add the cooked onions and peppers, then stir well to combine all ingredients evenly.
- Prepare Cones: Cut each large tortilla wrap in half. Fold each half into a cone shape and secure the edge with toothpicks to hold their shape during cooking.
- Fill Cones: Place a layer of shredded cheddar cheese at the bottom of each cone to prevent sticking. Spoon the chicken and vegetable mixture into the cones, then top with additional shredded cheese to ensure a melty cheesy topping.
- Air Fryer Method: Line the air fryer basket with baking paper for easy cleanup. Place the cones spaced apart in the basket and lightly spray the cones with oil. Air fry at 180°C (350°F) for 8 minutes or until the cheese is melted and tortillas are crispy.
- Oven Method: Line a baking tray with baking paper. Arrange the filled cones on the tray, spacing them apart. Lightly spray with oil, then bake in the preheated oven at 180°C (350°F) for about 12 minutes, or until the cheese is melted and the tortillas turn golden brown and crisp.
- Serve: Carefully remove the toothpicks from the cooked cones. Serve immediately with sour cream and a sprinkle of fresh chopped coriander on top for a fresh flavor contrast. Provide napkins as these are hands-on, tasty treats.
Notes
- To prevent the tortillas from cracking, warm them slightly before cutting and shaping.
- You can customize the filling with other proteins like beef or beans for a vegetarian option.
- If you don’t have an air fryer, the oven method works equally well.
- Be cautious when removing toothpicks after cooking, as cones will be hot and delicate.
- Leftover stuffed cones can be reheated in the oven or air fryer for a crisp finish.
- Prep Time: 10 minutes
- Cook Time: 17 minutes
- Category: Snack
- Method: Baking
- Cuisine: Mexican
