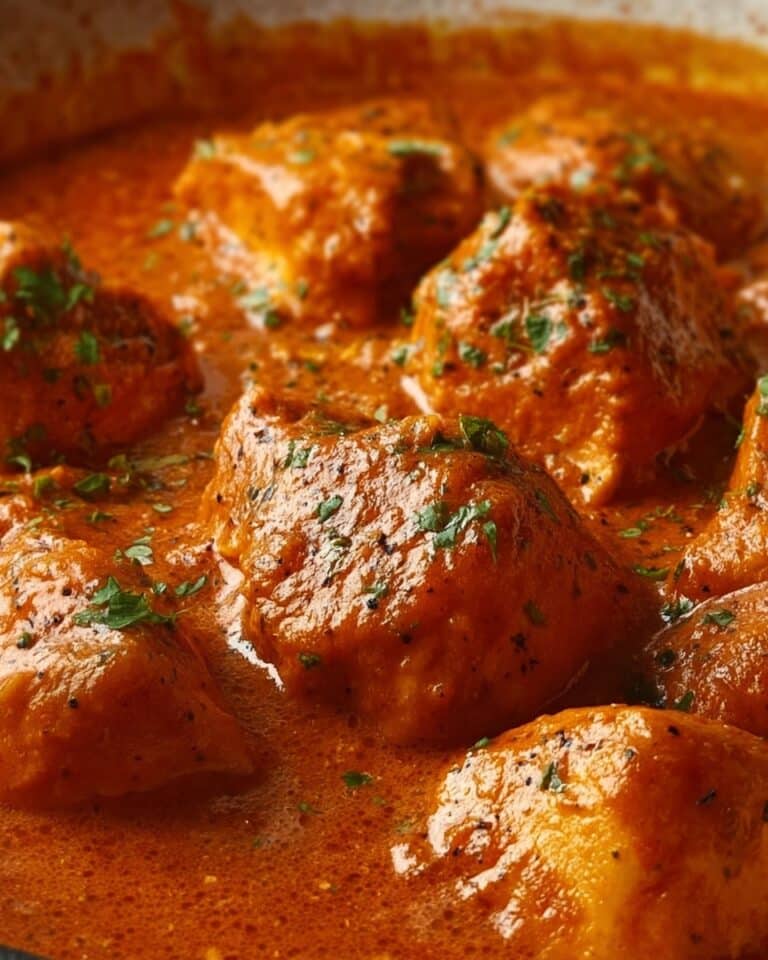
Quick King’s Hawaiian Cream Rolls Recipe
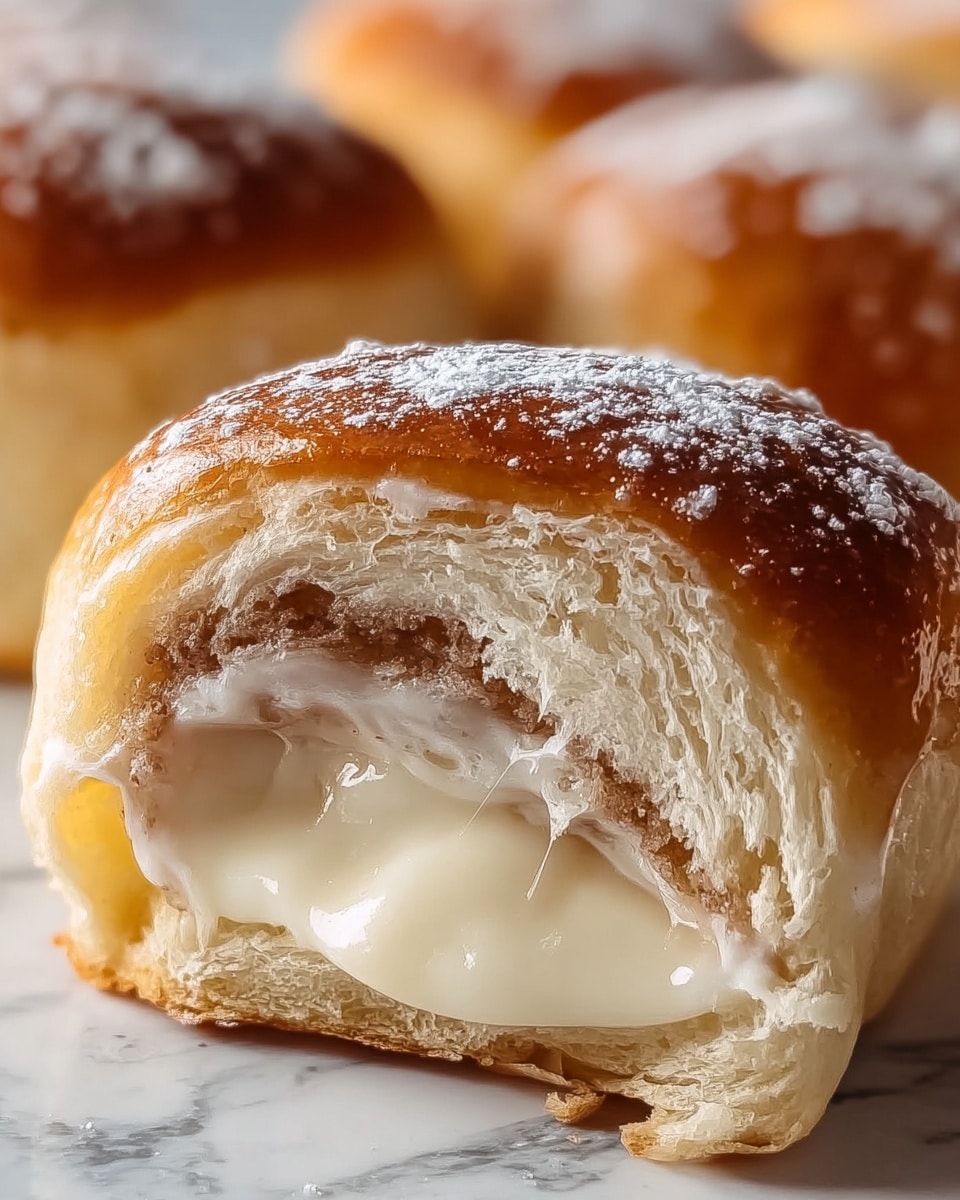
If you have a soft spot for sweet, fluffy bread that feels like a warm hug in every bite, then you are going to absolutely love this Quick King’s Hawaiian Cream Rolls Recipe. These rolls perfectly capture the light, airy texture and subtle sweetness that makes King’s Hawaiian bread so beloved, but with a creamy richness that elevates them to a whole new level. Whether you’re serving them for breakfast, alongside dinner, or as a delightful snack, these rolls promise to transform any meal into something memorable and oh-so-comforting.
Ingredients You’ll Need
The magic behind this Quick King’s Hawaiian Cream Rolls Recipe lies in its carefully chosen simple ingredients, each playing a crucial role in delivering that signature softness, delicate sweetness, and appealing golden color. Together, they work like a dream to create an irresistible treat.
- Whole milk: Adds moisture and richness, helping create a tender crumb.
- Unsalted butter: Contributes buttery flavor and a soft texture.
- Granulated sugar: Sweetens the dough and feeds the yeast for proper rising.
- Active dry yeast: The essential leavening agent that makes the rolls fluffy.
- Warm water (110°F/43°C): Activates the yeast gently without killing it.
- All-purpose flour: The foundation for structure and chewiness.
- Salt: Balances sweetness and enhances flavor overall.
- Large eggs: Add richness, color, and a hint of tenderness.
- Vanilla extract: Brings a subtle fragrant sweetness that complements the rolls beautifully.
How to Make Quick King’s Hawaiian Cream Rolls Recipe
Step 1: Activate the Yeast
Start by combining warm water and sugar in a small bowl. Stir until the sugar dissolves, then sprinkle the yeast over the surface. Let it rest for 5 to 10 minutes until it gets foamy and alive—that’s your green light that the yeast is ready to work its magic.
Step 2: Warm Milk and Butter
In a small saucepan, gently heat the milk and butter together until the butter fully melts and the milk reaches a cozy warm temperature (about 110°F). This creates the silky liquid base that will blend beautifully with your other ingredients.
Step 3: Mix Wet Ingredients
Whisk eggs and vanilla extract in a large mixing bowl. Slowly pour in your warm milk and butter mixture, stirring carefully to avoid cooking the eggs but ensuring everything becomes smooth and combined.
Step 4: Combine with Activated Yeast
Once your yeast is nice and foamy, add it to the wet mixture and stir to unify all the flavors and textures symbiotically.
Step 5: Add Dry Ingredients
Gradually incorporate the flour and salt, adding half a cup at a time. Mix until the dough starts pulling together into a soft, slightly sticky ball. Feel free to add a bit more flour if the dough feels too wet, but aim to keep it tender.
Step 6: Knead the Dough
Transfer the dough onto a floured surface and knead for around 5 to 7 minutes. The dough should become smooth and elastic, signaling it’s ready for its rise. Alternatively, a stand mixer with a dough hook can make this step easier and faster.
Step 7: First Rise
Place your dough into a greased bowl, cover with a clean kitchen towel or plastic wrap, and leave it to rise in a warm spot until it doubles in size—usually about 1 to 1.5 hours. This rise is crucial for that light, airy texture.
Step 8: Shape the Rolls
After the initial rise, gently punch down the dough, divide it into 12 equal pieces, and roll each piece into a smooth ball. Arrange these snugly in a greased 9×13-inch baking dish to encourage soft sides and perfect pull-apart rolls.
Step 9: Second Rise
Cover the baking dish and allow the rolls to puff up for another 30 minutes. This shorter rise ensures your rolls will be ultra-fluffy and soft once baked.
Step 10: Bake
Preheat your oven to 350°F (175°C). Bake the rolls for 20 to 25 minutes until they turn a beautiful golden brown and sound hollow when you tap the top—a sure sign that they are perfectly baked.
Step 11: Optional Butter Brush
If you want to take the rolls to the next level, brush melted butter over their tops right after baking. This not only adds delicious flavor but also keeps the crust soft and inviting.
Step 12: Cool and Serve
Let your rolls cool for a few minutes directly in the pan before serving. The aroma and texture will make it almost impossible not to dive in immediately and savor every bite of your homemade King’s Hawaiian-inspired delight.
How to Serve Quick King’s Hawaiian Cream Rolls Recipe
Garnishes
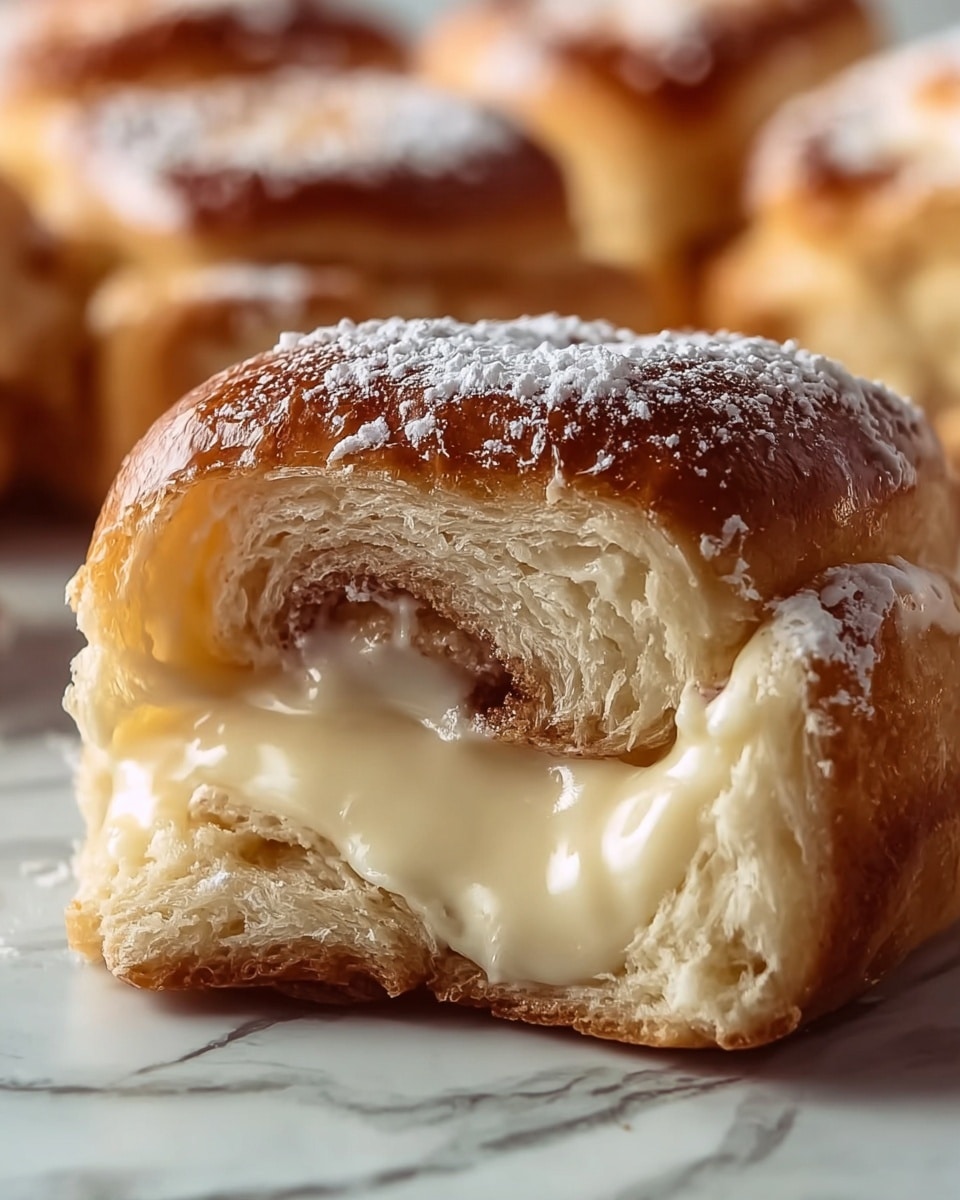
The classic way to enjoy these rolls is warm and simple—maybe with a pat of butter that melts into all those tender layers. For a festive touch, sprinkle a little cinnamon sugar on top or serve with a drizzle of honey.
Side Dishes
These rolls are incredibly versatile. They pair beautifully with savory dishes like pulled pork, roasted chicken, or a hearty stew. Their subtle sweetness also complements spicy or tangy barbecue sauces perfectly.
Creative Ways to Present
Looking to impress guests? Serve the rolls as sliders filled with ham and cheese or mashed avocado and tomato. You can also slice them open and transform them into mini sweet sandwiches perfect for brunch or afternoon tea.
Make Ahead and Storage
Storing Leftovers
Wrap leftover rolls tightly in plastic wrap or keep them in an airtight container at room temperature. They stay soft and fresh for up to two days. Reheating gently helps restore that just-baked feel.
Freezing
To enjoy your Quick King’s Hawaiian Cream Rolls Recipe later, freeze the baked rolls in a sealed freezer bag. They keep well for up to three months. Thaw at room temperature or warm straight from the freezer.
Reheating
Reheat your rolls in a low oven (about 300°F) for 10-15 minutes or microwave them wrapped in a damp paper towel for 15 seconds to restore softness and warmth.
FAQs
Can I substitute milk with a dairy-free alternative in this recipe?
Absolutely! Almond milk, oat milk, or coconut milk can be used in place of whole milk, but choose unsweetened versions to control the sweetness. The texture might vary slightly but will still be delicious.
Is it necessary to let the dough rise twice?
Yes, the two rises are essential. The first rise develops flavor and texture, while the second rise after shaping ensures your rolls stay soft and fluffy with that classic pull-apart quality.
Can I make this recipe vegan?
To make this recipe vegan, replace the milk and butter with plant-based alternatives, and swap eggs for flax or chia seeds mixed with water. The result might be a bit different but still tasty and satisfying.
Why are my rolls dense instead of soft and fluffy?
Dense rolls usually mean the dough didn’t rise enough or was over-floured. Make sure to proof your yeast properly and knead the dough until smooth and elastic. Avoid adding too much flour to retain softness.
Can I add flavors or mix-ins to the dough?
Definitely! Feel free to add things like coconut flakes, pineapple bits, or even a swirl of cinnamon sugar before baking to personalize your Quick King’s Hawaiian Cream Rolls Recipe to your taste buds.
Final Thoughts
There is something truly special about making your own soft, sweet rolls at home, and this Quick King’s Hawaiian Cream Rolls Recipe is the perfect blend of ease and indulgence. With its irresistible texture and wholesome ingredients, these rolls will become a beloved staple in your kitchen. I can’t wait for you to try them and see how they bring a little extra joy to your table!
Print
Quick King’s Hawaiian Cream Rolls Recipe
- Total Time: 4 hours 31 minutes
- Yield: 12 rolls 1x
- Diet: Vegetarian
Description
These Quick King’s Hawaiian Cream Rolls are soft, sweet, and fluffy, perfect for any meal or special occasion. Featuring a slightly sweet dough enriched with butter, eggs, and vanilla, and a quick rise method, these rolls deliver classic Hawaiian-style flavor in less than 5 hours, making them a convenient homemade treat.
Ingredients
Wet Ingredients
- 1 cup whole milk
- 1/2 cup (1 stick) unsalted butter
- 2 large eggs
- 1 teaspoon vanilla extract
Yeast Mixture
- 1/2 cup granulated sugar
- 1 tablespoon active dry yeast
- 1/4 cup warm water (110°F/43°C)
Dry Ingredients
- 3 1/2 cups all-purpose flour
- 1/2 teaspoon salt
Instructions
- Prepare the yeast: In a small bowl, combine the warm water and sugar, stirring until dissolved. Sprinkle the yeast over the mixture and let it stand for 5-10 minutes until foamy and active.
- Heat the milk and butter: In a small saucepan over medium heat, melt the butter into the milk until warm but not hot (about 110°F/43°C). Remove from heat.
- Combine wet ingredients: In a large bowl, whisk the eggs and vanilla extract together. Slowly add the warm milk and butter mixture, stirring gently to combine.
- Add yeast mixture: Once the yeast is activated and foamy, mix it into the wet ingredients.
- Add the dry ingredients: Gradually incorporate the flour and salt, adding about 1/2 cup at a time while stirring until the dough forms. The dough should be soft and slightly sticky. Add more flour if necessary.
- Knead the dough: Turn the dough onto a floured surface and knead for 5-7 minutes until smooth and elastic. Alternatively, use a stand mixer with a dough hook to knead.
- Let the dough rise: Place the dough in a greased bowl, cover with a towel or plastic wrap, and let it rise in a warm spot for 1 to 1.5 hours until doubled in size.
- Shape the rolls: Punch down the risen dough and divide it into 12 equal pieces. Roll each piece into a ball and arrange closely in a greased 9×13-inch baking dish.
- Second rise: Cover the pan and allow the rolls to rise for another 30 minutes until puffed up.
- Bake: Preheat oven to 350°F (175°C). Bake the rolls for 20-25 minutes until golden brown on top and hollow sounding when tapped.
- Optional – Brush with butter: Right after baking, brush the warm rolls with melted butter for a soft, flavorful finish.
- Cool and serve: Let the rolls cool slightly in the pan, then serve warm and enjoy their soft and sweet texture.
Notes
- Ensure the water and milk temperatures are around 110°F (43°C) to properly activate the yeast without killing it.
- You can store leftover rolls in an airtight container at room temperature for up to 2 days or freeze for longer storage.
- For added flavor, consider sprinkling a little coarse sugar on top before baking.
- If the dough is too sticky to handle, add flour gradually but avoid making it too dense.
- Prep Time: 20 minutes
- Cook Time: 25 minutes
- Category: Bread/Rolls
- Method: Baking
- Cuisine: Hawaiian/American
