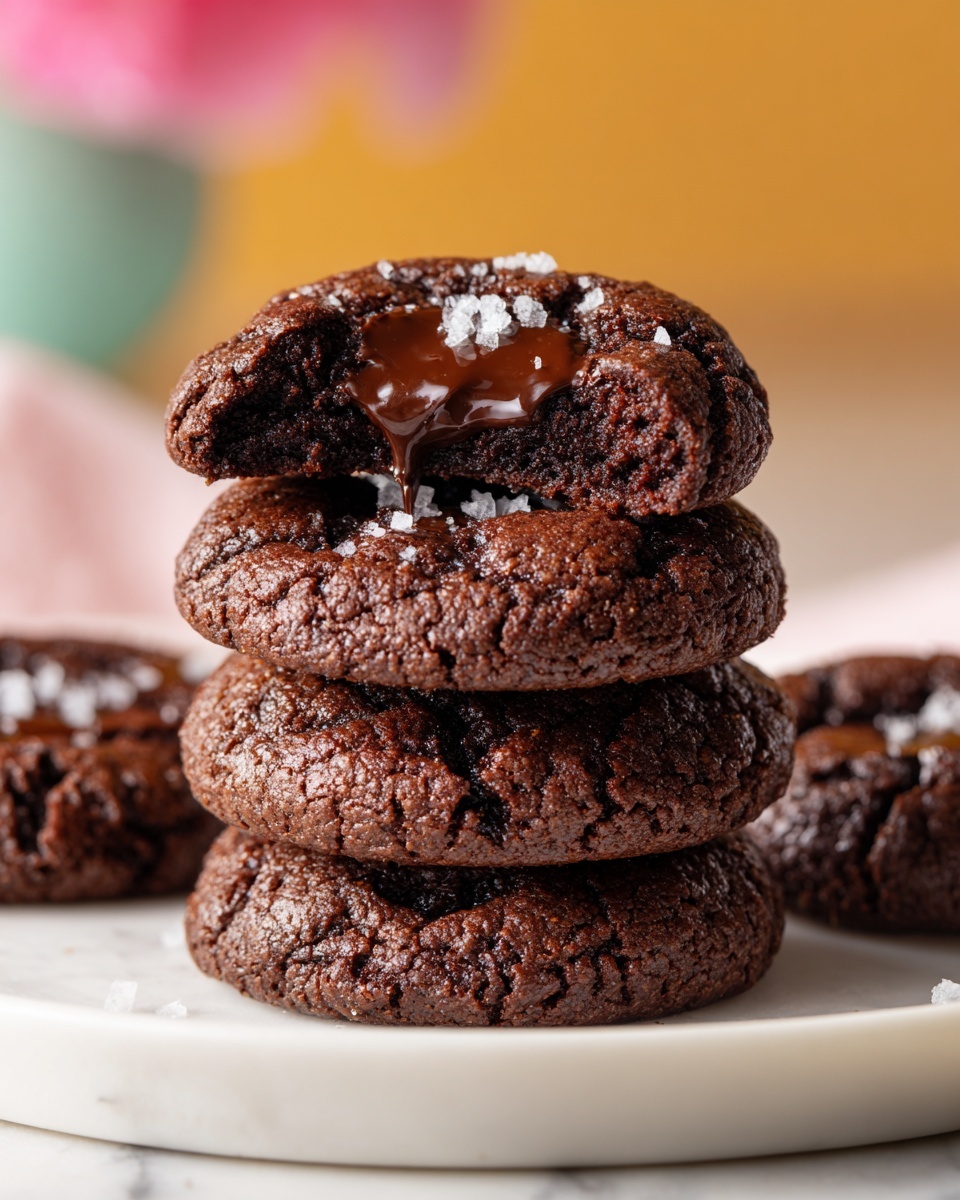
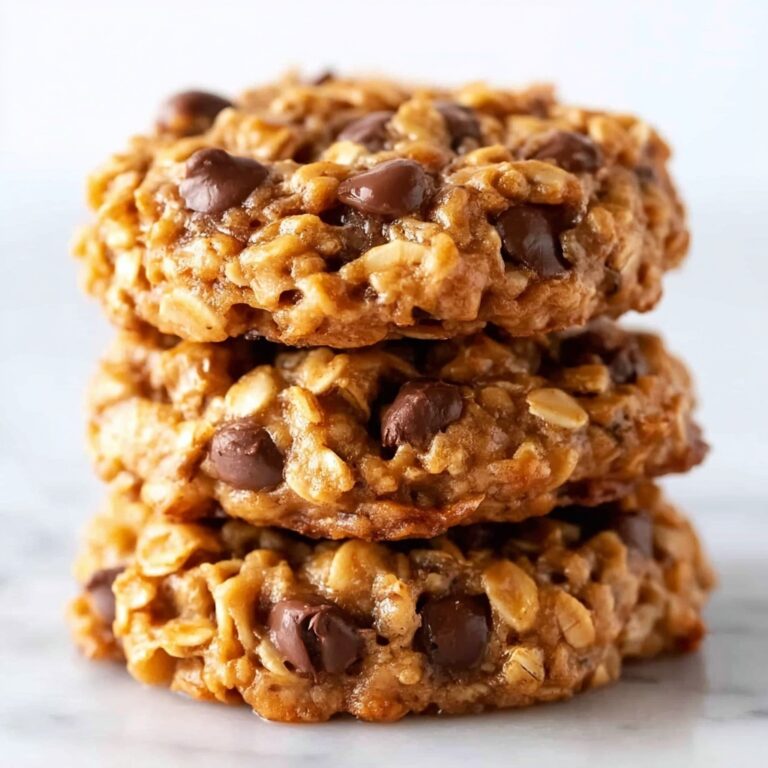
If you are a chocolate lover who adores indulgent, melt-in-your-mouth treats, the Rich Chocolate Cookies with Glossy Ganache Glaze Recipe is the perfect way to satisfy your sweet tooth. These cookies blend a deep, cocoa-rich base with a silky, shiny ganache that adds a decadent finish you won’t be able to resist. Whether you want a cozy dessert for a family gathering or a show-stopping gift for friends, this recipe promises an unforgettable cookie experience loaded with intense chocolate flavor and a stunning glossy glaze.
Ingredients You’ll Need
Gathering the right ingredients is half the magic behind these Rich Chocolate Cookies with Glossy Ganache Glaze Recipe. Each item is both simple and crucial, working in harmony to bring texture, richness, and that classic chocolate hue you crave.
- All-purpose flour: The sturdy base of the cookies, creating the perfect cakey but tender crumb.
- Unsweetened cocoa powder: Brings deep chocolate richness and gives the cookies their signature dark color.
- Baking soda: Helps the cookies rise just enough for a soft, chewy texture.
- Salt: Enhances flavor by balancing sweetness and intensifying chocolate notes.
- Unsalted butter: Adds creamy richness and ensures wonderful moistness.
- Brown sugar: Offers subtle caramel undertones and keeps the cookies tender.
- Granulated sugar: Adds sweetness and helps create that slightly crisp cookie edge.
- Large egg: Binds the dough while lending structure and softness.
- Vanilla extract: Provides a warm, aromatic depth to complement the chocolate.
- Milk: Moistens the dough, ensuring a soft, chewy bite.
- Semisweet chocolate chips (optional): Adds bursts of gooey melted chocolate within the cookies.
- Heavy cream: The luxurious base for the glossy ganache glaze.
- Chopped semisweet or dark chocolate: The star element of the ganache, it melts into a silky glaze that crowns each cookie.
- Butter (for shine): Gives the glaze a beautiful, mirror-like finish and extra smoothness.
How to Make Rich Chocolate Cookies with Glossy Ganache Glaze Recipe
Step 1: Prepare the Cookie Dough
Start by preheating your oven to 350°F and lining a baking sheet with parchment paper — this keeps your cookies from sticking and helps them bake evenly. In a medium bowl, whisk together your flour, cocoa powder, baking soda, and salt. This dry mixture provides the chocolatey structure and ensures even rising. In a separate large bowl, cream the softened butter with brown and granulated sugars until the mixture is light and fluffy; this step is key to getting that soft yet slightly crisp texture. Beat in the egg, vanilla, and milk until everything is smoothly combined. Then, gradually add the dry ingredients and fold until a thick dough forms. If you’re feeling extra decadent, fold in semisweet chocolate chips for melty pockets of chocolate.
Step 2: Bake the Cookies
Scoop tablespoon-sized balls of dough onto your prepared baking sheet, leaving about two inches between each so they have room to spread. Bake for 9 to 11 minutes until the edges are set but the center still looks soft—this ensures the cookies stay tender once cooled. Let them rest on the baking sheet for five minutes to firm up before transferring them to a wire rack to cool completely.
Step 3: Make the Glossy Ganache Glaze
While your cookies cool, make that stunning ganache glaze that makes this recipe so unforgettable. Heat the heavy cream gently over medium heat until it just begins to simmer—no boiling needed to keep the texture silky. Remove from heat and add your chopped chocolate and butter, letting them sit undisturbed for a minute. Stir until the mixture is perfectly smooth and glossy. This ganache is luscious, shiny, and rich, making those cookies feel like a fancy treat with minimal effort.
Step 4: Glaze the Cookies
Once the cookies are completely cool, spoon or drizzle the ganache over each one, letting it pool and form a beautiful shiny glaze. For an elegant touch, you can let the glaze set briefly at room temperature or pop them in the fridge for a few minutes. This step transforms the humble chocolate cookie into a show-stopping dessert.
How to Serve Rich Chocolate Cookies with Glossy Ganache Glaze Recipe
Garnishes
Add a sprinkle of flaky sea salt or crushed freeze-dried raspberries on top of the ganache before it sets for a pop of flavor and color. These little details make the cookies feel extra special and elevate the rich chocolate with contrasting notes.
Side Dishes
Serve these cookies with a scoop of creamy vanilla ice cream or a cup of freshly brewed coffee or milk for a classic pairing. The warm bitterness of coffee or the cool creaminess of ice cream perfectly balances the dense chocolate flavor of the cookies.
Creative Ways to Present
For a party or gift, stack the cookies with parchment paper between layers inside a pretty tin or box. Drizzle some extra ganache on top just before serving or sprinkle edible gold dust for added glamour. Whether casually plated or elegantly arranged, these cookies steal the show every time.
Make Ahead and Storage
Storing Leftovers
Place your Rich Chocolate Cookies with Glossy Ganache Glaze Recipe in an airtight container at room temperature. They stay soft and flavorful for several days, making them an excellent make-ahead treat for busy weeks or entertaining.
Freezing
If you want to extend their shelf life, freeze the baked cookies (before glazing) in a single layer on a baking sheet then transfer to a resealable bag or container. Freeze for up to three months. When ready to enjoy, thaw at room temperature and add ganache glaze fresh.
Reheating
To bring back the freshly baked warmth, give your cookies a quick zap in the microwave for 10-15 seconds or warm gently in the oven at low heat. This refreshes the softness and makes the ganache melt slightly for that freshly glazed allure.
FAQs
Can I use milk chocolate instead of semisweet for the ganache glaze?
Yes! Milk chocolate will make the ganache sweeter and creamier. Just keep in mind the glaze may be lighter in color and less intense compared to semisweet or dark chocolate versions.
Are these cookies gluten-free?
This recipe uses all-purpose flour, so it is not gluten-free as written. However, you can try substituting a gluten-free baking flour blend suitable for cookies, though texture may vary slightly.
How can I make the cookies more chewy?
For chewier results, try slightly underbaking the cookies by a minute or two and make sure to use brown sugar, which adds moisture. Also, chilling the dough before baking can help retain chewiness.
Can I prepare the ganache glaze in advance?
You can make the ganache up to a day in advance and store it covered in the fridge. Warm gently before glazing the cookies to restore its smooth, pourable consistency.
What’s the best way to get a shiny ganache glaze?
The key is to add a bit of butter to the warm cream and chocolate mixture—it creates that beautiful glossy finish. Stir gently and avoid overheating so the fats bind perfectly for shine.
Final Thoughts
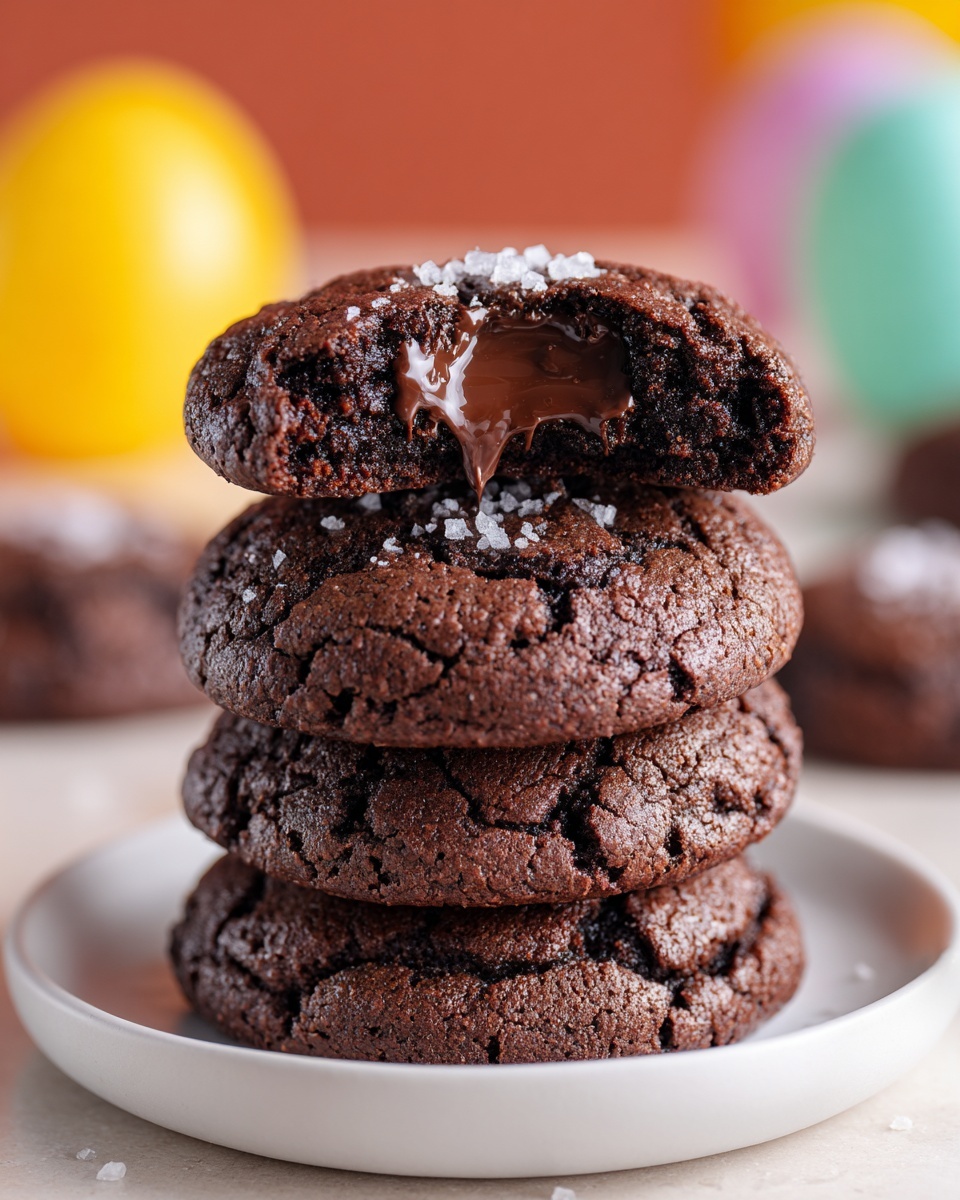
There’s truly nothing like the joy that comes from biting into Rich Chocolate Cookies with Glossy Ganache Glaze Recipe. This wonderful combination of tender, chocolate-packed cookies topped with a luscious, shiny ganache glaze brings elegance and pure comfort to your kitchen. I encourage you to try making this recipe for your next baking session—you’ll end up with a batch of crowd-pleasers that feel special yet are surprisingly simple to make. Happy baking and savor every chocolatey moment!
Print
Rich Chocolate Cookies with Glossy Ganache Glaze Recipe
- Prep Time: 20 minutes
- Cook Time: 10 minutes
- Total Time: 30 minutes plus cooling and glazing time
- Yield: 18 cookies
- Category: Dessert
- Method: Baking
- Cuisine: American
- Diet: Vegetarian
Description
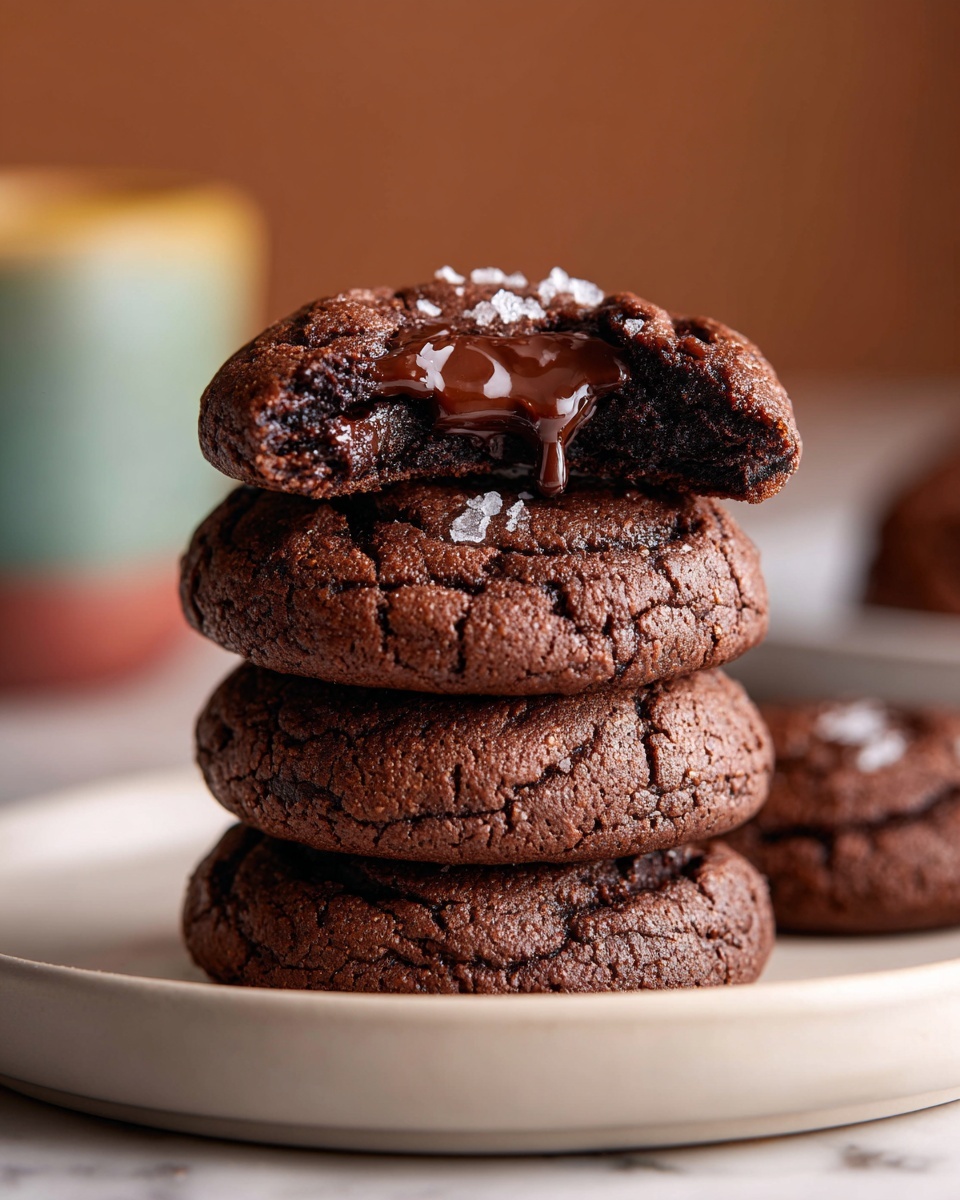
These Rich Chocolate Cookies with a Glossy Ganache Glaze are soft, decadent, and perfect for any chocolate lover. Featuring a double chocolate base with optional chocolate chips, the cookies are topped with a smooth, shiny ganache that takes them to the next level of indulgence. Easy to make and irresistibly delicious, they are ideal for dessert or special occasions.
Ingredients
For the Cookies
- 1 cup all-purpose flour
- 1/2 cup unsweetened cocoa powder
- 1/2 teaspoon baking soda
- 1/4 teaspoon salt
- 1/2 cup unsalted butter, softened
- 1/2 cup brown sugar
- 1/4 cup granulated sugar
- 1 large egg
- 1 teaspoon vanilla extract
- 2 tablespoons milk
- 1/2 cup semisweet chocolate chips (optional)
For the Ganache Glaze
- 1/2 cup heavy cream
- 4 ounces semisweet or dark chocolate, chopped
- 1 teaspoon butter (for shine)
Instructions
- Preheat and Prepare Baking Sheet: Preheat your oven to 350°F (175°C) and line a baking sheet with parchment paper to prevent sticking and ensure even baking.
- Mix Dry Ingredients: In a medium bowl, whisk together the all-purpose flour, unsweetened cocoa powder, baking soda, and salt. This ensures the leavening and chocolate flavor are evenly distributed.
- Cream Butter and Sugars: In a large bowl, beat the softened unsalted butter with the brown sugar and granulated sugar until the mixture becomes light and fluffy, creating a smooth base for the dough.
- Add Wet Ingredients: Incorporate the egg, vanilla extract, and milk into the creamed mixture, beating until fully combined for moist and flavorful dough.
- Combine Wet and Dry Ingredients: Gradually add the dry ingredients to the wet mixture, mixing until a thick cookie dough forms. Be careful not to overmix to keep the cookies tender.
- Fold in Chocolate Chips: If using, gently fold the semisweet chocolate chips into the dough for added texture and bursts of chocolate.
- Shape and Bake: Scoop tablespoon-sized balls of dough onto the prepared baking sheet, spacing them about 2 inches apart to allow for spreading. Bake in the preheated oven for 9 to 11 minutes until the edges are set but the centers remain soft.
- Cool Cookies: Remove the cookies from the oven and let them cool on the baking sheet for 5 minutes before transferring them to a wire rack to cool completely. This helps them firm up without losing softness.
- Prepare Ganache: While cookies cool, heat the heavy cream in a small saucepan over medium heat until it just begins to simmer. Remove from heat and add the chopped chocolate and butter. Let the mixture sit for 1 minute, then stir until smooth, shiny, and fully blended.
- Glaze Cookies: Once the cookies are completely cooled, spoon or drizzle the ganache over each cookie. Allow the glaze to set at room temperature or refrigerate briefly to firm up the shine.
Notes
- For an extra-decadent finish, sprinkle sea salt or crushed freeze-dried raspberries on top of the ganache before it sets.
- Cookies stay soft for several days and are best stored in an airtight container at room temperature.


