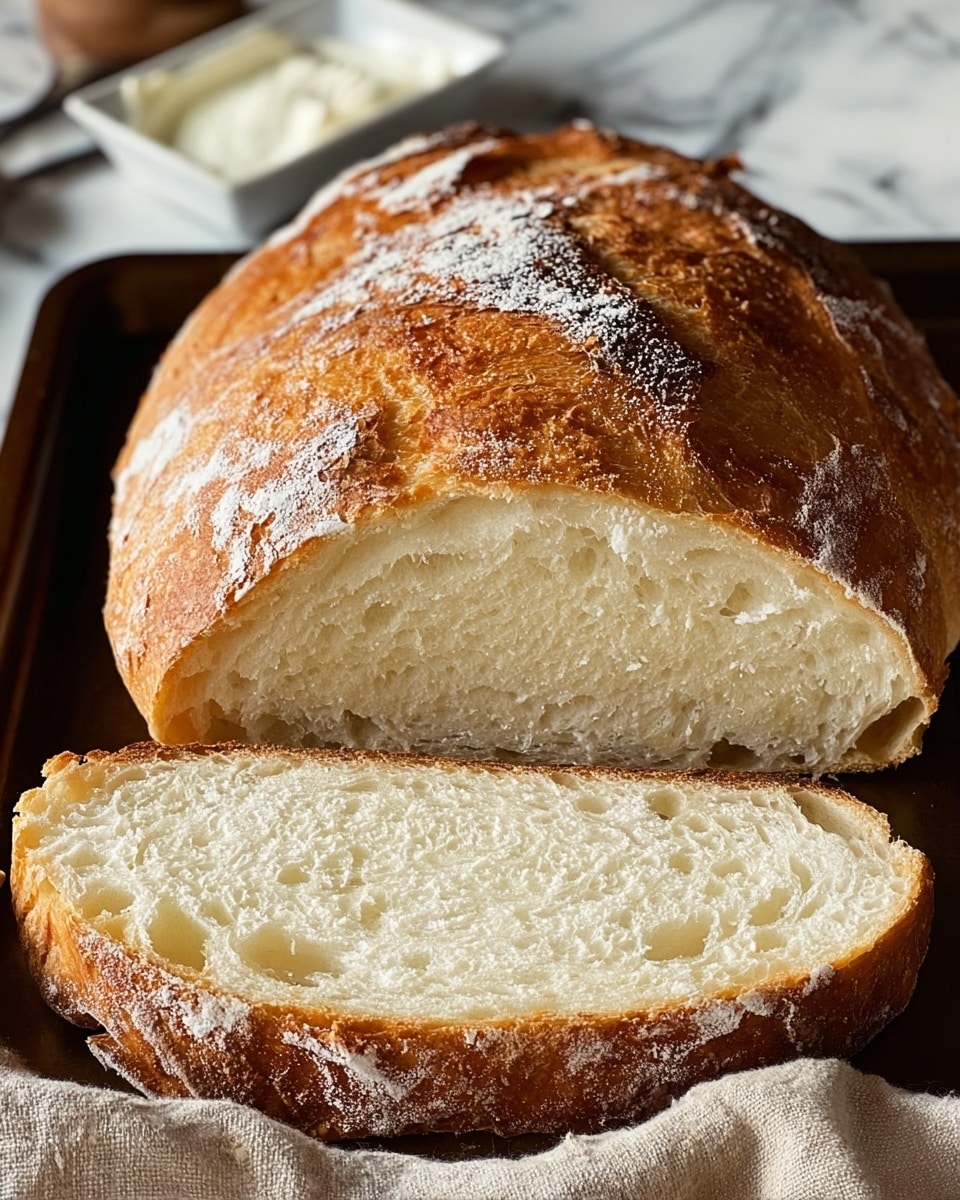
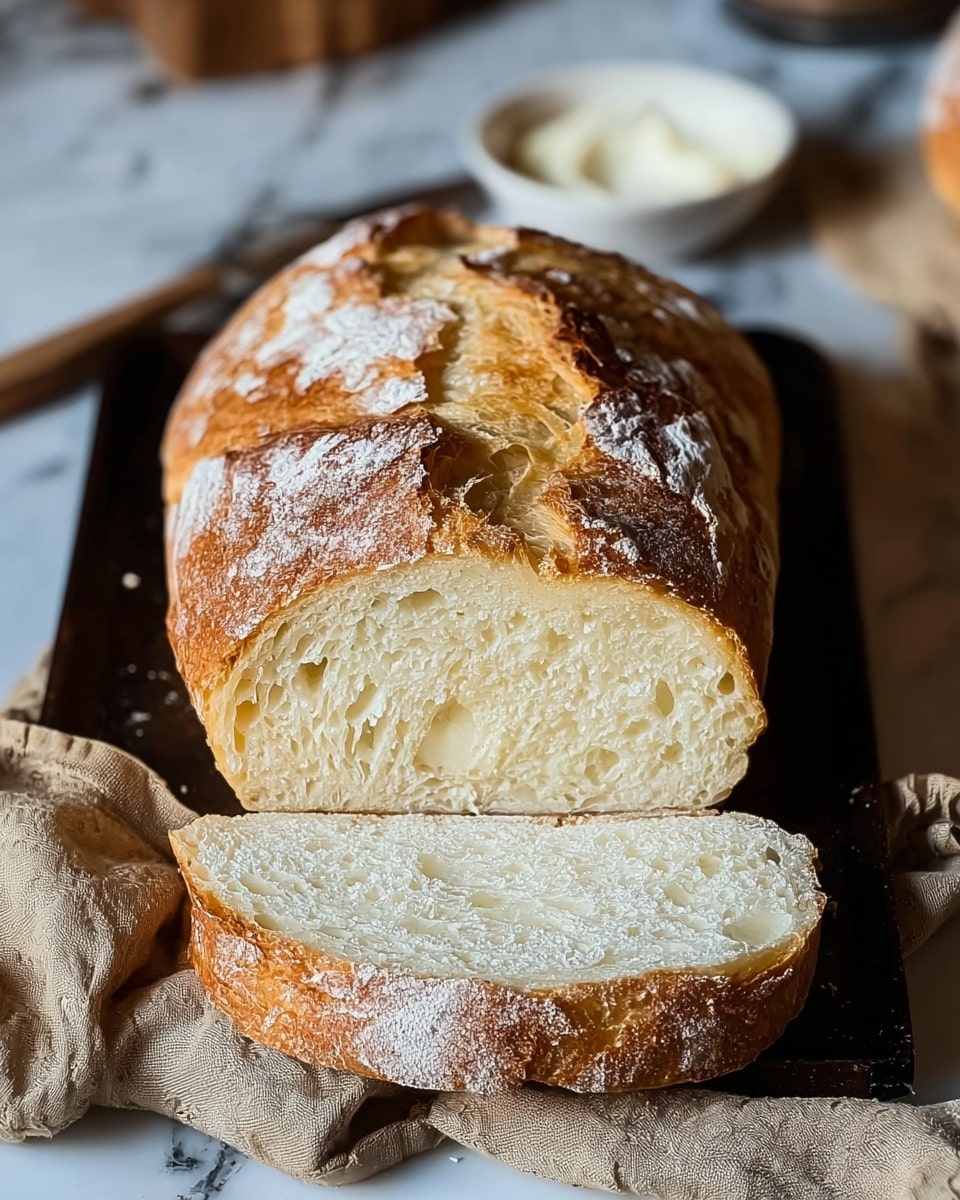
Soft Sourdough Sandwich Bread Recipe
If you’ve been searching for that perfect homemade bread that’s soft, flavorful, and masterfully textured, your search ends here. This Soft Sourdough Sandwich Bread Recipe is a game-changer, blending the rustic tang of sourdough with a tender, pillowy crumb that’s ideal for sandwiches, toast, and so much more. Whether you’re a seasoned baker or a curious kitchen explorer, this recipe invites you to experience the comforting joy of baking bread that feels like it came straight from your favorite bakery. It’s simple, rewarding, and absolutely delicious.

Ingredients You’ll Need
Making this Soft Sourdough Sandwich Bread Recipe only calls for straightforward ingredients, each playing a key role in building its rich flavor and soft texture. These essentials come together beautifully, creating a loaf that’s as aromatic as it is inviting.
- 1 cup sourdough starter (fed or unfed): This is the star of the recipe, giving the bread that signature tang and natural leavening power.
- 1 cup warm water: Hydrates the dough and activates the yeast and starter for a perfect rise.
- 2 tablespoons olive oil or melted butter: Adds richness and contributes to the bread’s tender crumb.
- 1 tablespoon honey or maple syrup: Provides subtle sweetness and helps with browning for a beautiful crust.
- 3 cups all-purpose flour (or bread flour): The backbone of the bread, flour structure defines its chew and shape.
- 1 teaspoon salt: Balances flavor and strengthens gluten for better dough development.
- 1 teaspoon active dry yeast (optional for quicker rise): Speeds up rising time if you’re in a bit of a hurry.
- 1 tablespoon milk (for brushing the top): Helps create a golden, glossy crust during baking.
How to Make Soft Sourdough Sandwich Bread Recipe
Step 1: Mix the Starter and Liquids
Start by combining the warm water, honey (or maple syrup), and your sourdough starter in a large bowl. Stir these ingredients well to wake up your sourdough culture and distribute the sweetness evenly—this mixture lays the foundation for flavor and kickstarts fermentation.
Step 2: Incorporate Fat and Salt
Next, add olive oil or melted butter and salt to the bowl. The fat adds tenderness and richness, while the salt works its magic on the dough’s structure and taste. Stir everything together gently to form a cohesive base.
Step 3: Add the Flour Gradually
Now comes the fun part: the flour. Gradually add it one cup at a time, stirring after each addition until the dough begins to come together. This slow integration helps prevent lumps and ensures the dough achieves just the right consistency for kneading.
Step 4: Optional Yeast for a Speedy Rise
If you’re aiming for a quicker bread-making process, sprinkle in the active dry yeast at this stage. It’s optional, but it can cut down your rising time beautifully without compromising that lovely sourdough flavor.
Step 5: Knead Until Smooth and Elastic
Turn your dough onto a lightly floured surface and knead for about 8 minutes. The kneading develops gluten, making your bread chewy yet soft—keep going until the dough is smooth, elastic, and a joy to work with.
Step 6: Let the Dough Rise
Place your kneaded dough in a greased bowl and cover it with a damp cloth. Let it rise at room temperature for 4-6 hours, or for a deeper flavor profile, refrigerate overnight. This slow fermentation encourages complex flavors and a light texture.
Step 7: Prepare Your Oven and Pan
When you’re ready to bake, preheat your oven to 375°F (190°C) and grease a loaf pan. This step ensures your bread bakes evenly and pops right out of the pan with a gorgeous crust.
Step 8: Shape and Second Rise
Punch down the dough gently, then shape it into a loaf and place it in your prepared pan. Allow it another rise for 30-60 minutes until it puffs up above the pan’s rim—this final rise is key to that soft, airy crumb.
Step 9: Milk Brush for Golden Crust
Before popping your bread in the oven, brush the top with milk. This simple technique gives your loaf a stunning golden sheen that looks as good as it tastes.
Step 10: Bake to Perfection
Bake your loaf for 30-35 minutes until it’s deeply golden brown and passes the toothpick test. The aroma filling your kitchen at this moment is nothing short of magical.
Step 11: Cool and Enjoy
After baking, let your bread cool for about 10 minutes in the pan before transferring it to a wire rack. This cooling period allows the crumb to set perfectly, making slicing easier and preserving that dreamy softness.
How to Serve Soft Sourdough Sandwich Bread Recipe

Garnishes
This soft sourdough sandwich bread shines with just a simple spread of butter or your favorite jam. For a savory touch, try topping slices with creamy avocado and a sprinkle of sea salt or fresh herbs—these little extras bring each bite to life.
Side Dishes
This bread pairs beautifully with a wide variety of sides. Think crisp salads, warm soups, or rich stews—its soft texture and slight tang cut through hearty dishes, making every bite balanced and satisfying.
Creative Ways to Present
Get creative by turning your sourdough into open-faced sandwiches loaded with colorful veggies, or use thick slices to create gourmet grilled cheese sandwiches. Breakfast lovers can toast it lightly and top with eggs or nut butter, making each meal feel special.
Make Ahead and Storage
Storing Leftovers
Keep your leftover bread fresh by storing it in an airtight container or paper bag at room temperature for up to 3 days. This helps maintain its soft texture without getting soggy or stale too quickly.
Freezing
For longer storage, slice the bread and freeze it in a sealed freezer bag. Frozen slices can last up to 3 months and are convenient for popping directly into toasters or ovens whenever you need a fresh, quick bite.
Reheating
Bring back that just-baked warmth by reheating slices in a toaster or a hot skillet. For larger pieces, wrap them in foil and warm in the oven to preserve moisture and softness without drying out.
FAQs
Can I use unfed sourdough starter for this Soft Sourdough Sandwich Bread Recipe?
Absolutely! Both fed and unfed starters work well. Just be mindful that an unfed starter might give a slightly milder tang and could affect rising time a bit.
Is the active dry yeast mandatory in this recipe?
Not at all. The yeast is optional and helps speed up the rising process. Without it, expect a longer fermentation which actually enhances the sourdough flavor.
What type of flour is best for this bread?
All-purpose flour works just fine, but bread flour can give a chewier texture due to higher protein content. Feel free to experiment and see which you prefer for your Soft Sourdough Sandwich Bread Recipe.
Can I substitute olive oil with another fat?
Yes, melted butter is a great alternative that adds a lovely richness. You can even try neutral oils, but butter or olive oil tends to bring the best flavor.
How do I know when the bread is fully baked?
Look for a golden-brown crust and test with a toothpick or skewer inserted in the center—it should come out clean. A hollow sound when tapping the bottom of the loaf also indicates it’s done.
Final Thoughts
Trying this Soft Sourdough Sandwich Bread Recipe could quickly become a new favorite ritual in your kitchen. It’s satisfying to watch simple ingredients transform into a loaf that’s soft, flavorful, and endlessly versatile. So turn on your oven, roll up your sleeves, and treat yourself to the wonderful aroma and taste of homemade sourdough bread—you won’t regret it!
Print
Soft Sourdough Sandwich Bread Recipe
- Total Time: 5 hours 55 minutes
- Yield: 12 servings 1x
Description
This Soft Sourdough Sandwich Bread recipe yields a tender, flavorful loaf with a slight tang from the sourdough starter. Perfect for sandwiches or toasting, this bread balances traditional sourdough flavors with a soft crumb, enhanced by a slow rise and an optional yeast addition for a quicker rise.
Ingredients
Main Ingredients
- 1 cup sourdough starter (fed or unfed)
- 1 cup warm water
- 2 tablespoons olive oil or melted butter
- 1 tablespoon honey or maple syrup
- 3 cups all-purpose flour (or bread flour)
- 1 teaspoon salt
- 1 teaspoon active dry yeast (optional for quicker rise)
- 1 tablespoon milk (for brushing the top)
Instructions
- Mix Wet Ingredients: In a large bowl, combine warm water, honey or maple syrup, and sourdough starter. Stir well to activate the yeast and integrate the sweetener evenly.
- Add Oil and Salt: Add olive oil or melted butter and salt to the mixture, stirring until well combined to form the base of the dough.
- Incorporate Flour: Gradually mix in the flour, one cup at a time, stirring after each addition until a rough dough forms to ensure even hydration and gluten development.
- Add Yeast (Optional): If using yeast to speed the rise, add it now and mix thoroughly so it dissolves and activates.
- Knead the Dough: Turn the dough onto a lightly floured surface and knead for about 8 minutes until smooth and elastic, which develops the gluten necessary for structure and texture.
- First Rise: Place the dough in a greased bowl, cover with a damp cloth, and let rise at room temperature for 4-6 hours, or refrigerate overnight for a slower fermentation and enhanced flavor.
- Preheat Oven and Prepare Pan: Preheat your oven to 375°F (190°C) and grease a loaf pan to prevent sticking and support even baking.
- Shape and Second Rise: Punch down the dough to release excess air, shape it into a loaf, and place it in the prepared pan. Let it rise again for 30-60 minutes until it exceeds the rim of the pan, ensuring a good oven spring.
- Brush with Milk: Brush the top of the loaf with milk to promote a golden, slightly shiny crust upon baking.
- Bake: Bake for 30-35 minutes until the bread is golden brown and a toothpick inserted into the center comes out clean, indicating it’s fully cooked.
- Cool: Let the loaf cool in the pan for 10 minutes, then transfer it to a wire rack to cool completely before slicing to maintain the crumb structure.
Notes
- Using active dry yeast is optional but helps speed up the rising process.
- Allowing a slow rise in the refrigerator overnight develops deeper sourdough flavor.
- Substituting bread flour will yield a chewier, more elastic crumb compared to all-purpose flour.
- Brushing with milk before baking gives the crust a softer, golden appearance.
- Ensure all ingredients are at room temperature unless otherwise specified for optimal yeast activity.
- Storage: Wrap cooled bread in a cloth or bread bag to maintain softness; refrigerate if storing longer than 2 days.
- Prep Time: 20 minutes
- Cook Time: 35 minutes
- Category: Baking
- Method: Baking
- Cuisine: American


