The Best Carmelitas Recipe
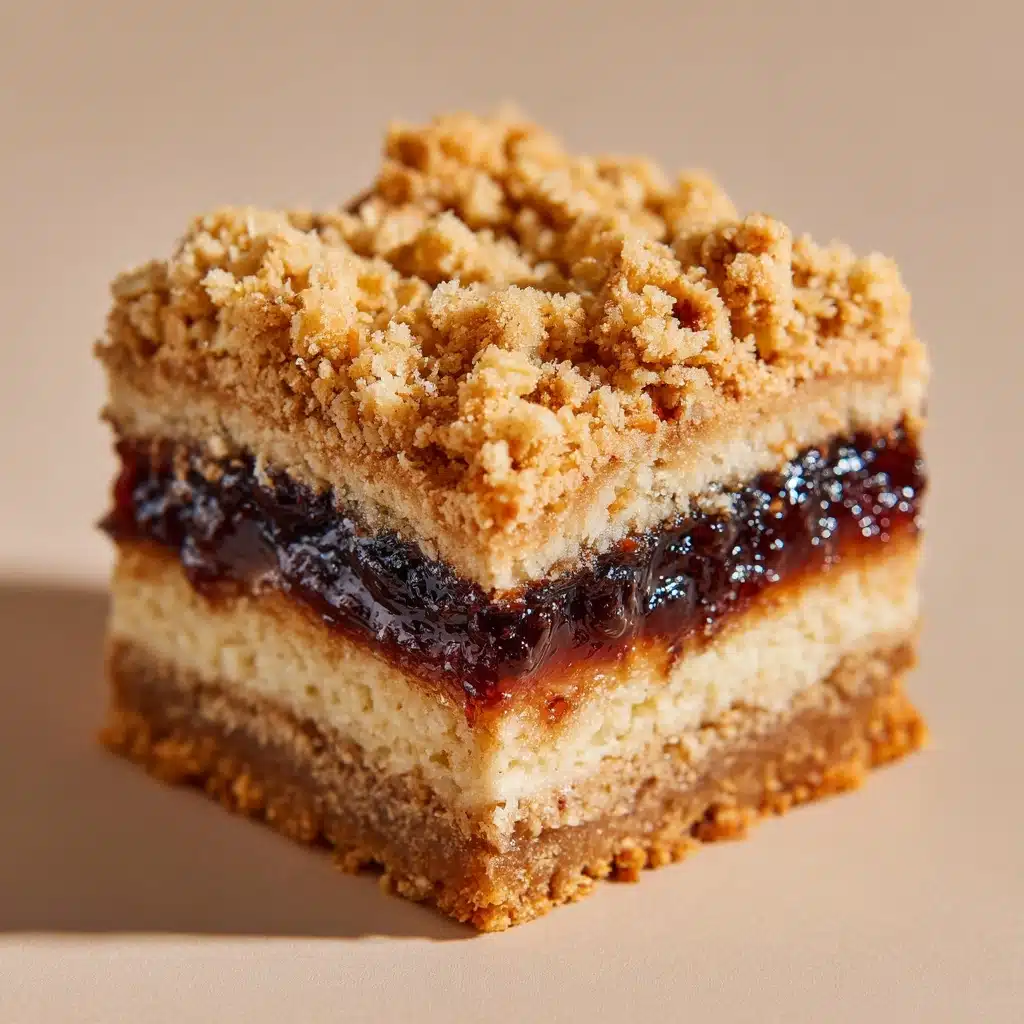
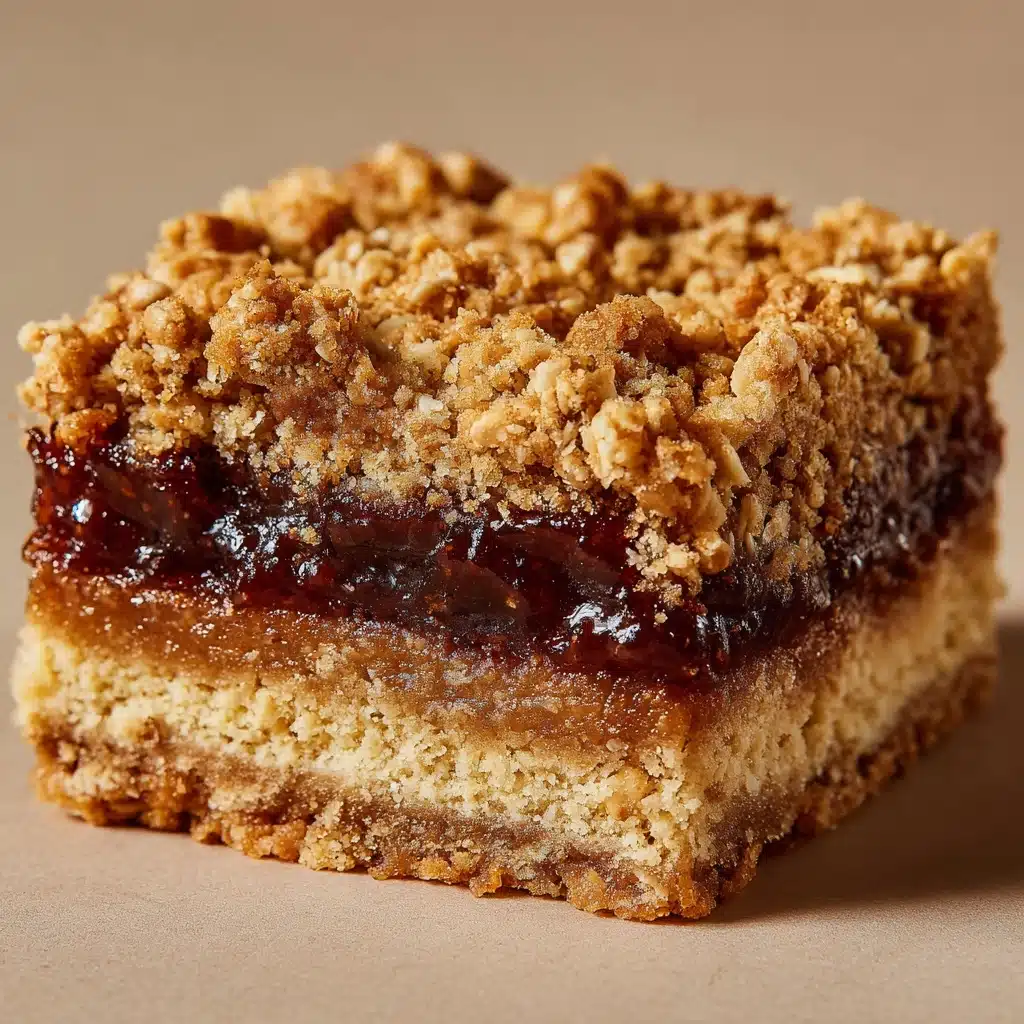
If you’ve never tried The Best Carmelitas, you’re truly in for a treat! Imagine warm, gooey caramel sandwiched between chewy oat layers and studded with melted chocolate chips and crunchy pecans — these bars deliver everything you crave in a dessert. Each bite melds sweet, salty, buttery, and chocolatey notes for an utterly irresistible treat. Whether you’re baking for a potluck, a family game night, or just need a cozy pick-me-up, The Best Carmelitas guarantee rave reviews and repeat requests!
Ingredients You’ll Need
The beauty of The Best Carmelitas lies in their simplicity: a handful of baking staples blend to create layers of delectable flavor and perfect texture. Each ingredient shines, from the hearty oats to the silky caramel, and together they become more than the sum of their parts.
- Unsalted butter (1 cup, melted): Adds richness and helps bind the crumbly dough layers for that signature chewy bite.
- Packed brown sugar (1 cup): Infuses a deep, caramel flavor and a hint of molasses sweetness that echoes the gooey center.
- All-purpose flour (1½ cups): Gives the bars structure and creates a sturdy base for all that chocolate and caramel goodness.
- Old-fashioned rolled oats (1½ cups): Offer chew and texture, making each bite satisfying and slightly rustic.
- Baking soda (1 teaspoon): Lightens the bars just enough so they’re not too dense, which is key for their irresistible softness.
- Salt (¼ teaspoon): Balances sweetness and sharpens all the other flavors — don’t skip it!
- Semi-sweet chocolate chips (1 cup): Bring gooey, melty pockets of chocolate to every bite.
- Chopped pecans or walnuts (¾ cup, optional): Add delightful crunch and a nutty depth that pairs perfectly with caramel.
- Caramel sauce or soft caramels (1 cup or 35 caramels melted with 2 tbsp heavy cream): The heart of The Best Carmelitas — glossy, rich caramel ties everything together into pure decadence.
How to Make The Best Carmelitas
Step 1: Prep Your Pan
Start by setting your oven to 350°F (175°C), and line an 8×8-inch or 9×9-inch baking pan with parchment paper. This step is small, but it’s essential — the parchment ensures effortless removal and beautiful, intact bars every single time.
Step 2: Make the Oat Crumble
In a large mixing bowl, stir together the melted butter and brown sugar until the mixture is smooth and shiny. Add in the flour, oats, baking soda, and salt, mixing until a crumbly dough takes shape. The aroma at this stage is pure nostalgia and sets the foundation for The Best Carmelitas.
Step 3: Form and Bake the Base
Press half the oat mixture firmly into the bottom of your prepared pan, spreading it into an even layer. Bake this for 10 minutes — this quick pre-bake gives your bars a crisp foundation and keeps the caramel from disappearing into the base.
Step 4: Layer on the Chocolate and Nuts
When your base emerges, scatter the chocolate chips (and optional nuts) evenly over the warm crust. The heat melts the chocolate a bit, setting you up for those dreamy, fudgy pockets throughout The Best Carmelitas.
Step 5: Drizzle with Caramel
Gently pour your caramel sauce (or melted caramels and cream) over the chocolate and nuts, using the back of a spoon to spread it into all the corners. Don’t skimp here — the gooey caramel is the absolute star, and you want every inch covered.
Step 6: Top and Bake Again
Crumble the remaining oat mixture evenly over the caramel layer, letting little bits of caramel peek through for a rustic look. Return the pan to the oven and bake for another 15 to 20 minutes, until the top is golden brown and set at the edges.
Step 7: Cool and Slice
This part is all about patience! Let the bars cool completely to room temperature, then chill them in the fridge for at least an hour before slicing. Trust me, this is the secret to slicing tidy, picture-perfect bars without a gooey mess. Now, you’re ready to enjoy The Best Carmelitas!
How to Serve The Best Carmelitas
Garnishes
The Best Carmelitas are gorgeous on their own, but a special flourish makes them irresistible. Try a light dusting of powdered sugar, a drizzle of extra caramel, or even a sprinkle of flaky sea salt just after baking to highlight those caramel notes. If you’re feeling festive, a touch of shaved chocolate takes them over the top!
Side Dishes
Pair your Carmelitas with something cool and creamy for the ultimate dessert plate. A scoop of vanilla ice cream or a dollop of whipped cream balances the richness beautifully. For beverages, strong coffee or an espresso is lovely, or try chai for a warming spice complement.
Creative Ways to Present
Think beyond the basic bar! Cut The Best Carmelitas into tiny squares and layer them in parfait glasses with ice cream and more caramel for a show-stopping dessert. Wrap individual bars in parchment and twine for a rustic gift, or make minis for a dessert platter at parties — the possibilities are endless!
Make Ahead and Storage
Storing Leftovers
Once cooled and sliced, store your Carmelitas in an airtight container at room temperature for up to 5 days. Their chewy texture and gooey caramel actually improve as they sit, making them just as delicious on day three as they are fresh from the oven!
Freezing
The Best Carmelitas are freezer-friendly, which means you can always have a stash for sudden cravings. Wrap cooled, cut bars tightly in plastic wrap, then seal in a freezer bag or container. They’ll keep happily for up to three months. Thaw at room temperature or in the fridge before serving.
Reheating
If you want that just-baked warmth, pop a bar into the microwave for about 10–15 seconds. This softens the caramel and brings out all the amazing aromas. Served warm with ice cream, they taste like pure comfort on a plate!
FAQs
Can I use store-bought caramel sauce?
Absolutely! Store-bought caramel sauce is perfect for The Best Carmelitas, especially if you’re short on time. If you’re up for it, melting soft caramels with cream gives a slightly thicker, more decadent caramel layer, but both options are delicious.
What’s the secret to clean, neat slices?
Chill the bars thoroughly after baking and before cutting. Cold bars hold their shape, letting you slice perfect squares without the caramel oozing everywhere. A sharp knife (rinsed between cuts) works wonders, too!
Can I substitute quick oats for old-fashioned oats?
Old-fashioned rolled oats are best for texture and structure, but quick oats will work in a pinch. The bars may be a little softer, but you’ll still have all that amazing chewy goodness.
Are the nuts in The Best Carmelitas necessary?
Nope — the nuts are totally optional! They do add a wonderful crunch and toasty depth, but go nut-free if you prefer, or swap in your favorite nut to suit your taste or allergies.
Can I double the recipe for a crowd?
Definitely! Simply double all ingredients and use a 9×13-inch pan. Watch the baking times, as a bigger pan may need a few extra minutes to ensure the center sets. The result? More of The Best Carmelitas for everyone!
Final Thoughts
I can’t wait for you to taste The Best Carmelitas — they have that magical mix of comfort and indulgence, with every bite as satisfying as the last. Whether you’re making them for loved ones or savoring them solo, these bars bring a little extra joy to any day. Give them a try, and get ready for them to disappear fast!
Print
The Best Carmelitas Recipe
- Total Time: 2 hours (including cooling)
- Yield: 16 bars 1x
- Diet: Vegetarian
Description
Indulge in the decadent goodness of these caramel-filled oatmeal chocolate bars known as Carmelitas. A perfect combination of sweet, salty, and crunchy layers that create a heavenly dessert experience.
Ingredients
For the Crust:
- 1 cup unsalted butter, melted
- 1 cup packed brown sugar
- 1½ cups all-purpose flour
- 1½ cups old-fashioned rolled oats
- 1 teaspoon baking soda
- ¼ teaspoon salt
For the Filling:
- 1 cup semi-sweet chocolate chips
- ¾ cup chopped pecans or walnuts (optional)
- 1 cup caramel sauce or 35 soft caramels melted with 2 tablespoons heavy cream
Instructions
- Preheat the Oven: Preheat the oven to 350°F (175°C) and line an 8×8-inch or 9×9-inch baking pan with parchment paper.
- Prepare the Crust: In a large mixing bowl, combine melted butter and brown sugar. Stir in flour, oats, baking soda, and salt to form a crumbly dough. Press half into the pan and bake for 10 minutes.
- Add Fillings: Sprinkle chocolate chips and nuts over the crust. Pour caramel sauce on top. Crumble the remaining oat mixture over the caramel layer.
- Bake: Bake for 15-20 minutes until golden brown. Cool, then chill for at least 1 hour before slicing into bars.
Notes
- Chilling ensures clean slices.
- Use store-bought or homemade caramel sauce.
- For a twist, sprinkle sea salt on top.
- Store in an airtight container for up to 5 days or freeze for longer storage.
- Prep Time: 15 minutes
- Cook Time: 30 minutes
- Category: Dessert
- Method: Baking
- Cuisine: American
Nutrition
- Serving Size: 1 bar
- Calories: 330
- Sugar: 24g
- Sodium: 160mg
- Fat: 19g
- Saturated Fat: 10g
- Unsaturated Fat: 7g
- Trans Fat: 0g
- Carbohydrates: 36g
- Fiber: 2g
- Protein: 3g
- Cholesterol: 30mg


