The Ultimate Dairy-Free Banana Ice Cream Recipe
If you are craving a luscious, creamy dessert that feels indulgent yet is completely free from dairy, then look no further than The Ultimate Dairy-Free Banana Ice Cream Recipe. This delightful treat transforms simple ripe bananas into a velvety, satisfying ice cream that’s naturally sweet and bursting with flavor. Without any complicated ingredients or long preparation times, this recipe delivers a wholesome, refreshing dessert perfect for warm days or whenever you need a healthy sweet fix. Trust me, once you try this dreamy banana ice cream, you’ll wonder how you ever lived without it!

Ingredients You’ll Need
With just a handful of ingredients, this recipe shows how simplicity can be strikingly delicious. Each component plays a crucial role in achieving the perfect creamy texture, natural sweetness, and inviting flavor that makes the dessert so irresistible.
- 4 ripe bananas: The star of the show, these provide natural sweetness, creaminess, and that unmistakable banana flavor.
- 1/2 teaspoon vanilla extract (optional): Adds a lovely depth and warmth of flavor without overpowering the bananas.
- 2 tablespoons plant-based milk (optional): Helps create an even smoother texture, especially if your blender struggles with frozen fruit.
- Optional toppings: Chocolate chips, chopped nuts, caramel, or peanut butter are fantastic for adding contrasting textures and extra indulgence.
How to Make The Ultimate Dairy-Free Banana Ice Cream Recipe
Step 1: Prep and Freeze the Bananas
Begin by peeling and slicing your ripe bananas into roughly equal pieces. Lay them out in a single layer on a parchment-lined tray to prevent sticking, then pop them into the freezer. Freezing for at least two hours ensures the bananas become solid and ready to transform into ice cream.
Step 2: Blend Until Creamy
Transfer the frozen banana slices into a food processor or high-speed blender. This is where the magic happens—blend continuously until the bananas start to break down into a thick, creamy consistency. Be patient here; scraping down the sides helps everything blend evenly without overheating your machine.
Step 3: Add Flavor and Texture Enhancers
Once creamy, consider stirring in the optional vanilla extract and a splash of plant-based milk if you want to elevate the flavor or ease the blending process. These extras are subtle but can make your ice cream taste even more luxuriant and smooth.
Step 4: Serve or Freeze Further
You can enjoy your creation immediately as a soft-serve treat or transfer it to a container and freeze for an extra 1 to 2 hours to firm it up for easier scooping. Both ways are delicious—the soft serve is dreamy and light, while the firmer option is perfect for classic ice cream texture cravings.
How to Serve The Ultimate Dairy-Free Banana Ice Cream Recipe

Garnishes
Adding garnishes takes this simple recipe from everyday to special occasion-worthy. Try sprinkling some crunchy chopped nuts or chocolate chips on top for an exciting textural contrast. A drizzle of peanut butter or caramel can amp up the indulgence and perfectly complement the natural sweetness of the bananas.
Side Dishes
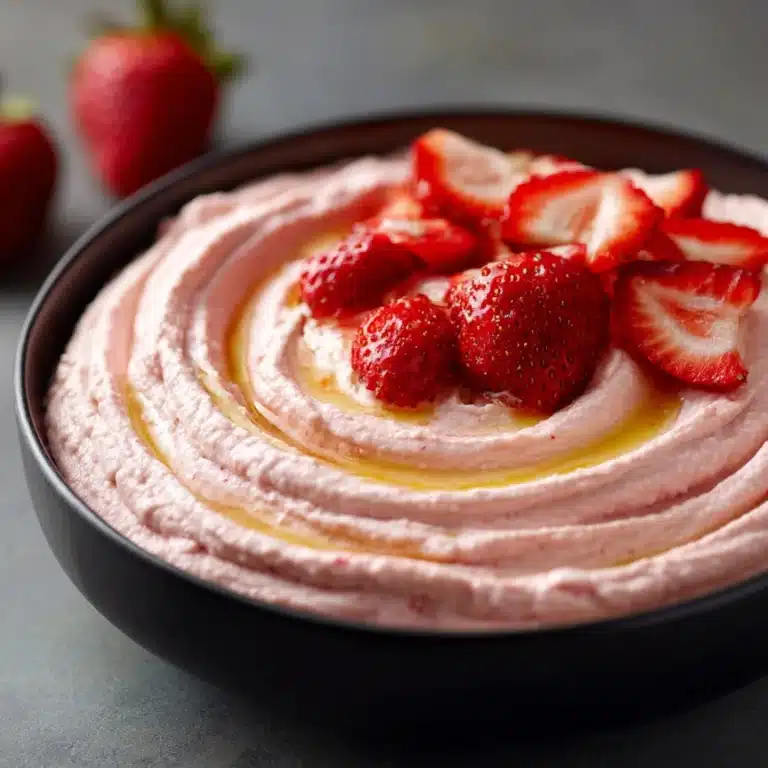
Pair your banana ice cream with fresh fruit slices, like strawberries or mango, for a refreshing combo that keeps things light but satisfying. It also goes brilliantly alongside vegan brownies or gluten-free cookies, creating a lovely balance of warm and cold sensations in every bite.
Creative Ways to Present
Why not get playful and serve this creamy treat in waffle cones, mason jars, or even inside hollowed-out fruit bowls like pineapple halves? Presentation matters, and these fun ideas not only look beautiful but heighten the enjoyment of your homemade ice cream experience.
Make Ahead and Storage
Storing Leftovers
If you find yourself with extra banana ice cream (though that’s rare!), keep it in an airtight container in the freezer. This will preserve freshness and prevent flavor absorption from other frozen foods.
Freezing
For best results, freeze the ice cream for 1 to 2 hours after blending if you prefer a firmer texture. It freezes well without any ice crystals, thanks to the banana’s natural creaminess, so you can enjoy it anytime you like.
Reheating
Since this is an ice cream, reheating isn’t necessary—simply let it sit at room temperature for 5 minutes if it’s too firm to scoop. This short wait softens it up perfectly without losing any of the luscious texture.
FAQs
Can I use frozen bananas straight from the freezer without thawing?
Absolutely! In fact, using fully frozen bananas is essential for achieving the creamy ice cream texture in The Ultimate Dairy-Free Banana Ice Cream Recipe. Just be sure your blender or food processor is powerful enough to handle frozen fruit.
Can I add other fruits or flavors?
Yes! While bananas are the base, you can easily blend in other fruits like strawberries or mangoes to create your own twists. Just keep in mind that the banana helps provide the creamy texture, so balance it accordingly.
Is this recipe suitable for kids?
Totally! It’s naturally sweet and free of additives, making it a nutritious and delicious dessert option for children. Plus, getting kids involved in blending the bananas can be a fun kitchen activity.
Do I need a special blender for this recipe?
A high-speed blender or food processor works best to get the perfectly smooth and creamy texture of The Ultimate Dairy-Free Banana Ice Cream Recipe. Cheaper blenders may take longer or struggle, but freezing bananas in smaller pieces helps.
How long does this ice cream keep in the freezer?
When stored properly in an airtight container, the banana ice cream maintains its best quality for up to one week. Beyond that, you might notice some texture changes, but it’s usually still delicious.
Final Thoughts
There is something truly magical about turning simple, ripe bananas into a creamy, dreamy frozen treat. The Ultimate Dairy-Free Banana Ice Cream Recipe offers a joyous way to indulge in dessert without any dairy or guilt, and it truly feels like a little scoop of happiness every time. I can’t encourage you enough to give this recipe a try and make it your own with your favorite additions. Once you do, your freezer will always hold a special place for this naturally sweet, irresistibly smooth ice cream.
Print
The Ultimate Dairy-Free Banana Ice Cream Recipe
- Total Time: 2 hours 10 minutes
- Yield: 2 servings 1x
- Diet: Vegan
Description
This ultimate banana ice cream recipe offers a creamy, dairy-free dessert that’s easy to make with just ripe bananas and optional flavor enhancements. It’s perfect for a healthy treat with a smooth, soft-serve texture or a firmer scoop if frozen longer.
Ingredients
Main Ingredients
- 4 ripe bananas, peeled and sliced
Optional Ingredients
- 1/2 teaspoon vanilla extract
- 2 tablespoons plant-based milk (for smoother texture)
- Optional toppings: chocolate chips, chopped nuts, caramel, or peanut butter
Instructions
- Freeze Bananas: Slice the bananas and arrange them in a single layer on a parchment-lined tray. Freeze for at least 2 hours or until completely solid to ensure the best texture for blending.
- Prepare for Blending: Transfer the frozen banana slices to a food processor or high-speed blender. This equipment is essential for achieving a creamy consistency.
- Blend to Creamy Texture: Blend the bananas until they become creamy, stopping occasionally to scrape down the sides of the processor or blender. This process may take a few minutes depending on your machine’s power.
- Add Flavor and Texture Enhancements: If desired, add vanilla extract and a splash of plant-based milk to enhance the flavor and create a smoother texture. Blend briefly to incorporate.
- Serve or Freeze Further: Serve the banana ice cream immediately as a soft-serve dessert. For a firmer texture suitable for scooping, transfer to a container and freeze for an additional 1 to 2 hours.
Notes
- Use ripe bananas with brown spots for maximum sweetness and creaminess.
- If you don’t have plant-based milk, water or any milk alternative can be used.
- Adjust sweetness by adding a small amount of natural sweetener if desired.
- Experiment with toppings like chocolate chips, nuts, caramel, or peanut butter for added texture and flavor.
- For best results, let the banana slices freeze thoroughly before blending to avoid a mushy texture.
- Prep Time: 10 minutes
- Cook Time: 2 hours (freezing time)
- Category: Dessert
- Method: Blending
- Cuisine: American


