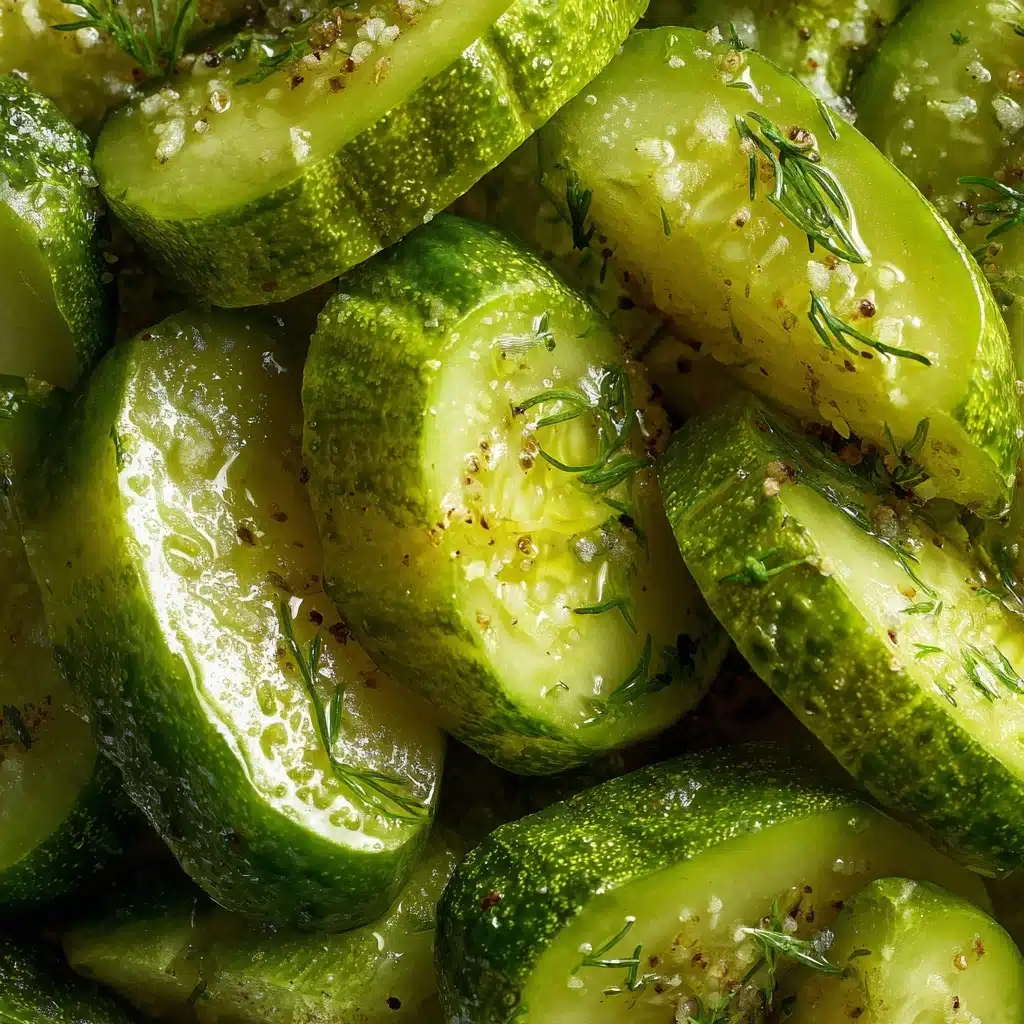
Traditional Kosher Dill Pickles Recipe
If you’ve ever bitten into a crisp, tangy pickle and wondered how to capture that classic deli experience at home, you’re in for a treat! Traditional Kosher Dill Pickles are incredibly simple to make, yet each bite bursts with nostalgic flavor, crunchy texture, and that signature garlicky punch. Whether you crave them as a zesty snack, piled high on sandwiches, or nestled beside your favorite comfort foods, this tried-and-true approach brings the incredible flavor of old-fashioned pickling right to your own kitchen—with just a handful of pantry staples and a little patience.
Ingredients You’ll Need
One of the joys of making Traditional Kosher Dill Pickles is how a short list of humble ingredients transforms into something remarkable. Each component plays a starring role in creating that familiar savory, spicy, and herbaceous character you love.
- Pickling Cucumbers: Choose firm, crisp cucumbers about 4–5 inches long for the crunchiest pickles and classic deli shape.
- Water: Acts as the base for your brine; use filtered water if your tap water is heavily chlorinated for purer flavors.
- Kosher Salt: Essential for authentic taste and fermentation, kosher salt helps draw out moisture and keep your pickles snappy.
- Pickling Spice (optional): Lends extra complexity—think notes of warm coriander, allspice, and bay leaf, but skip it if you prefer a simple, clean dill flavor.
- Garlic Cloves: Smashed garlic brings that bold, zesty undertone that’s a hallmark of Traditional Kosher Dill Pickles.
- Black Peppercorns: Add subtle heat and a pop of peppery aroma to each jar.
- Mustard Seeds: Contribute sunny color, crunch, and an extra peppery zing.
- Fresh Dill Sprigs: Nothing says “kosher dill” more than flooding each jar with feathery, aromatic dill.
- Bay Leaf: Just one leaf per jar boosts earthiness and savory notes.
- Red Pepper Flakes (optional): Sprinkle in a touch for a mild, lingering heat that doesn’t overpower.
- Sterilized Pint Jars with Lids: Wide-mouth jars make packing cucumbers a breeze and safeguard your pickles’ freshness and safety.
How to Make Traditional Kosher Dill Pickles
Step 1: Prep Your Cucumbers
Start by giving your cucumbers a good scrub under cool water, making sure to remove any prickly bits or lingering garden soil. Carefully trim about 1/16 inch off the blossom end (the end opposite the stem), which helps keep your pickles extra crunchy by removing enzymes that can cause softening.
Step 2: Make the Brine
Combine the water and kosher salt in a saucepan over medium heat, stirring until the salt is fully dissolved—no need to bring it to a boil. The brine should be crystal clear and salty to the taste. Set it aside and let it cool to room temperature before pouring it over your cucumbers. This ensures your pickles stay crisp and bright green.
Step 3: Load Up Your Jars
Divide the smashed garlic cloves, black peppercorns, mustard seeds, sprigs of fresh dill, bay leaves, and, if you’re feeling adventurous, a generous pinch of pickling spice and red pepper flakes among your sterilized jars. Nestle the flavorings at the bottom so they infuse every inch of pickle with bold, aromatic goodness.
Step 4: Pack the Cucumbers
Arrange the cucumbers upright in each jar, packing them snugly so they don’t float once the brine goes in. Filling the jars tightly ensures every pickle gets a thorough, even soak. If you like, tuck in a grape leaf or a pinch of black tea to further enhance crispness naturally.
Step 5: Add the Brine and Seal
Once the brine has cooled, pour it into the jars, fully covering the cucumbers and leaving a bit of headspace at the top. Gently tap the jars on the counter to coax out any trapped air bubbles—more bubbles mean better fermentation! Secure the lids without overtightening.
Step 6: Ferment or Refrigerate
If you want that authentic tang, leave the sealed jars at cool room temperature for 5–7 days, giving the pickles time to develop a deep, sour snap. Check daily for little bubbles and doneness—your Traditional Kosher Dill Pickles are ready when you love the taste. For a speedy version, pop the jars straight into the fridge and let them rest for at least 48 hours before digging in for a milder, crunchier bite.
How to Serve Traditional Kosher Dill Pickles
Garnishes
Dress up your Traditional Kosher Dill Pickles with a sprinkle of fresh chopped dill or a dusting of cracked black pepper just before serving. A sliver of raw garlic or a thin slice of red chili also brings a pretty pop of flavor and color to the table.
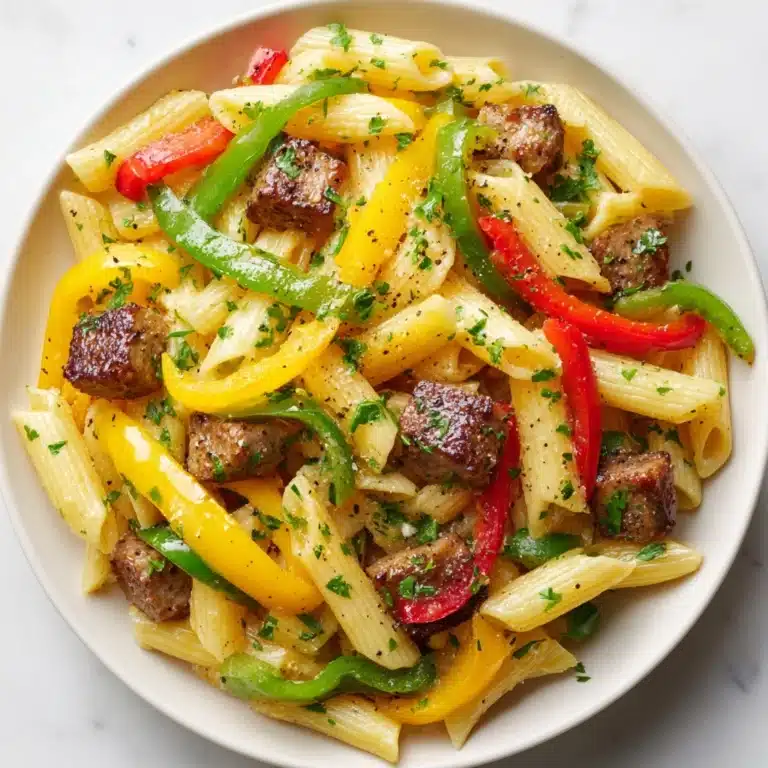
Side Dishes
No deli plate is complete without a pile of tangy pickles alongside corned beef or pastrami sandwiches, bagels and lox, potato salad, or even a simple grilled cheese. Their zesty crunch cuts through rich or creamy dishes, providing the perfect counterbalance on any plate.
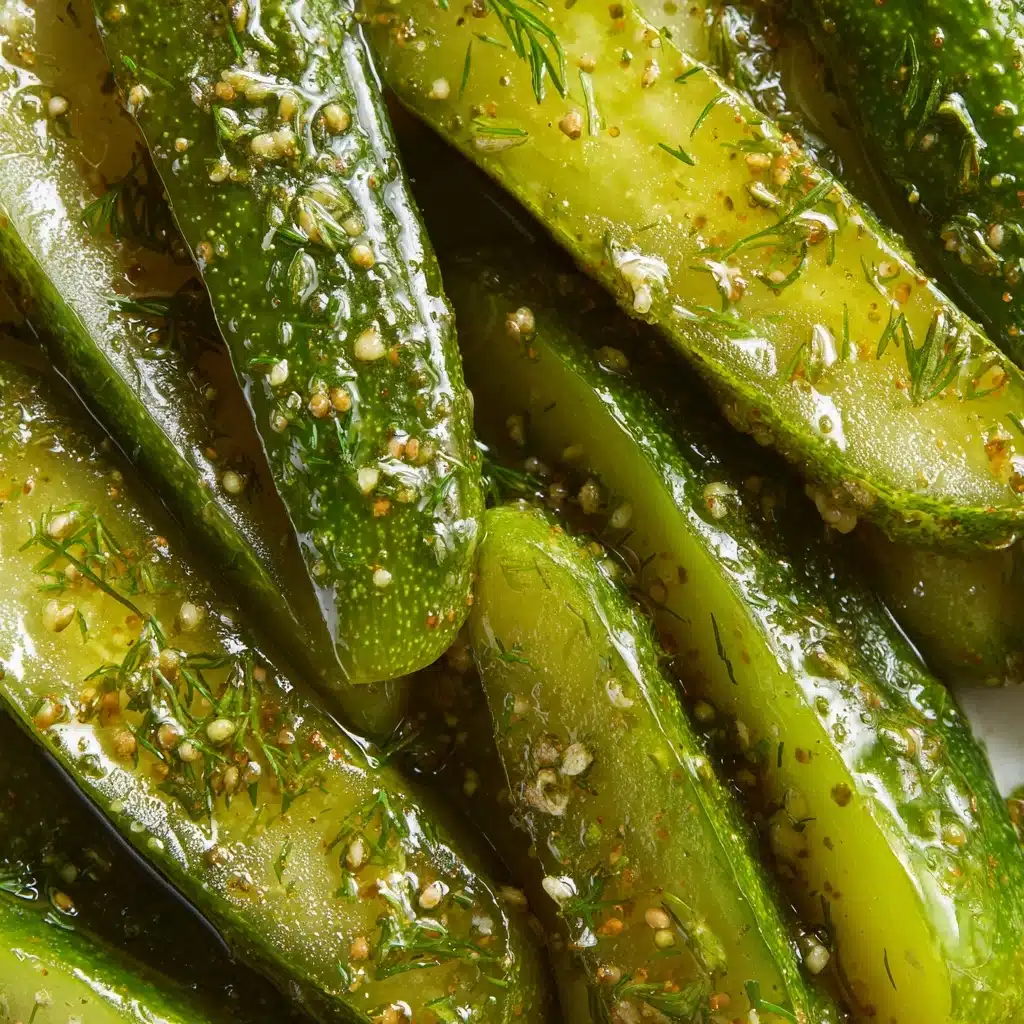
Creative Ways to Present
Try serving them spear-style as a crunchy snack staple, slicing thick rounds to crown burgers, or chopping into chunky relish for tuna salad and egg salad. Arrange them on charcuterie boards, or surprise guests by tucking whole pickles into lunch boxes and picnic baskets for a cheery, nostalgic bite.
Make Ahead and Storage
Storing Leftovers
Once your Traditional Kosher Dill Pickles reach the perfect level of sourness, transfer the jars to the fridge, where they’ll stay lively and delicious for up to 2 months. Always use a clean utensil to retrieve pickles, and be sure the brine always covers them completely to maintain maximum crunch and flavor.
Freezing
While freezing cucumbers themselves is a no-go (they turn watery and limp), there’s really no need—these pickles will last beautifully in the fridge. Their brined, preserved state is all about long shelf life and bold taste, just as tradition intended!
Reheating
Traditional Kosher Dill Pickles are always enjoyed cold or at room temperature. Heating changes their iconic crunch and flavor, so simply serve straight from the fridge for the best bite, or let them sit out for a few minutes to take the chill off before enjoying.
FAQs
Can I use regular cucumbers instead of pickling cucumbers?
Pickling cucumbers are your best bet for stellar crunch and classic texture, but in a pinch, you can use small, firm regular cucumbers. Just be aware they might soften more quickly and won’t taste quite as crisp as true pickling varieties.
Do I have to ferment the pickles, or can I just eat them after chilling?
You can absolutely make quick pickles by chilling them right away, which results in a milder, less sour flavor. For that unmistakable tang and slightly fizzy bite, let them ferment at room temperature for several days first.
Why do my pickles sometimes turn cloudy?
A cloudy brine during fermentation is totally normal and a sign that probiotics are hard at work creating that signature sourness. If your pickles smell off, appear slimy, or develop mold, it’s best to discard them, but a little cloudiness is generally safe and expected.
How do I keep my pickles extra crisp?
Trimming the blossom end, using very fresh cucumbers, and adding a grape leaf or pinch of tannin-rich black tea to each jar all help keep your Traditional Kosher Dill Pickles pleasantly snappy—just like your favorite deli jar.
Can I double this recipe to make more jars at once?
Absolutely! Double or triple the quantities as needed, keeping the ratios of salt and water the same for the brine. Just be sure all cucumbers are submerged and that each jar is packed with plenty of spice and dill for full flavor in every bite.
Final Thoughts
There’s pure joy in crafting your own batch of Traditional Kosher Dill Pickles—nothing compares to their snappy texture, punchy flavor, and unmistakable homemade pride. With just a few ingredients and a little patience, you’ll enjoy the taste of tradition in every crunchy bite. Don’t hesitate to give this recipe a try; you might just find yourself making batch after batch year-round!
Print
Traditional Kosher Dill Pickles Recipe
- Total Time: 20 minutes (plus fermentation or chilling time)
- Yield: 2 pint jars 1x
- Diet: Vegan, Gluten-Free
Description
Learn how to make delicious traditional kosher dill pickles at home with this simple recipe. These pickles are full of flavor and perfect for snacking or as a side dish.
Ingredients
Pickles:
- 2 pounds pickling cucumbers (4–5 inches long)
Brine:
- 4 cups water
- 2 tablespoons kosher salt
- 1 tablespoon pickling spice (optional)
Additional Flavors:
- 4 cloves garlic (smashed)
- 1 teaspoon black peppercorns
- 1 teaspoon mustard seeds
- 1–2 sprigs fresh dill per jar
- 1 bay leaf per jar
- 1/2 teaspoon red pepper flakes (optional)
Other:
- 2 wide-mouth pint jars with lids (sterilized)
Instructions
- Prepare Cucumbers: Wash the cucumbers thoroughly and trim the blossom end (about 1/16 inch).
- Make Brine: In a saucepan, combine water and kosher salt, and heat until the salt is fully dissolved. Let the brine cool to room temperature.
- Assemble Jars: Divide the garlic, peppercorns, mustard seeds, dill, bay leaves, and red pepper flakes (if using) between the jars.
- Pack Cucumbers: Pack the cucumbers tightly into the jars vertically.
- Add Brine: Pour the cooled brine over the cucumbers, covering them completely.
- Seal Jars: Tap jars gently to remove air bubbles and seal with lids.
- Storage: Store in a cool, dark place or refrigerate. For fermented pickles, leave at room temperature for 5–7 days, checking daily for bubbles and taste. Once desired sourness is reached, move to the fridge. For quick pickles, refrigerate immediately and let sit for 48 hours before enjoying.
Notes
- Use pickling cucumbers for best texture.
- To keep pickles crisp, you can add a grape leaf or a pinch of tannin-rich black tea to each jar.
- These pickles will keep in the fridge for up to 2 months.
- Prep Time: 20 minutes
- Cook Time: 0 minutes
- Category: Side Dish, Snack
- Method: No-Cook, Fermentation
- Cuisine: Jewish, Eastern European
Nutrition
- Serving Size: 1 pickle spear
- Calories: 5
- Sugar: 0 g
- Sodium: 220 mg
- Fat: 0 g
- Saturated Fat: 0 g
- Unsaturated Fat: 0 g
- Trans Fat: 0 g
- Carbohydrates: 1 g
- Fiber: 0 g
- Protein: 0 g
- Cholesterol: 0 mg


