
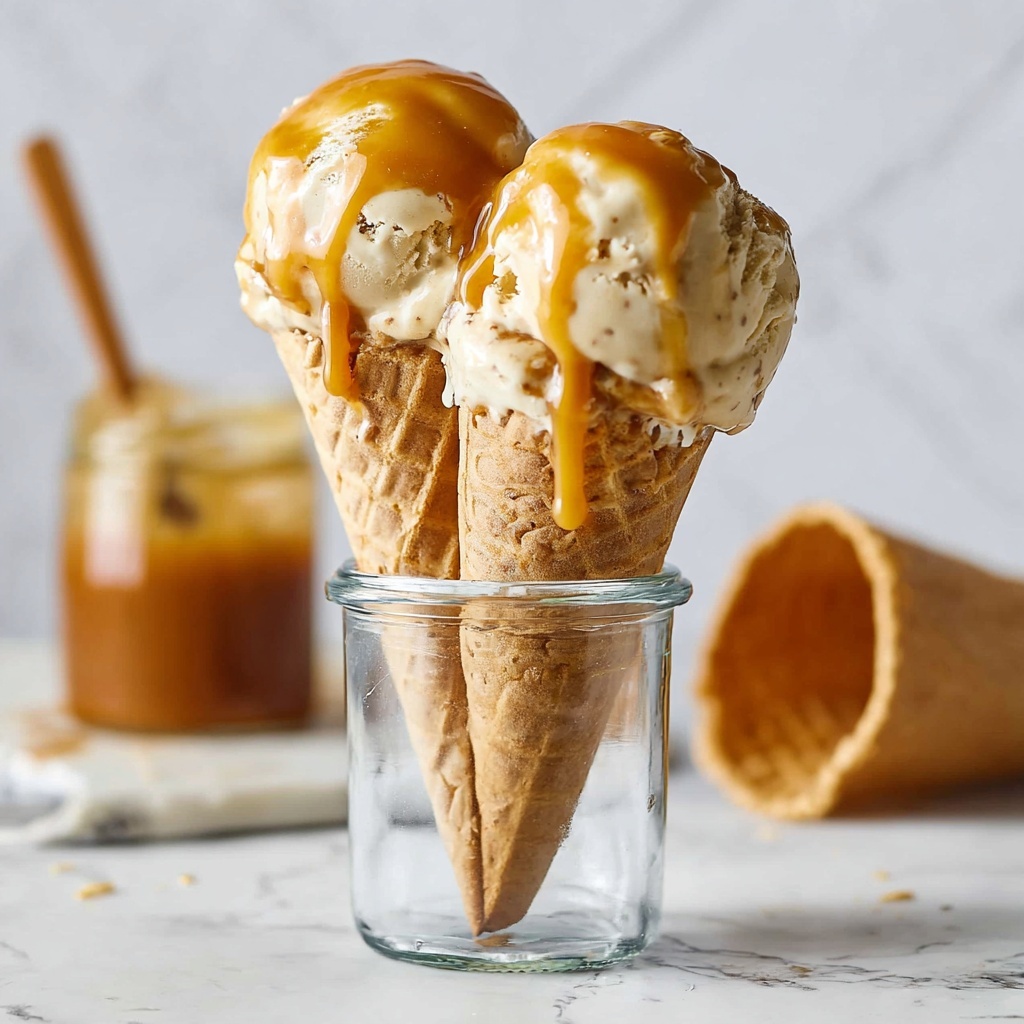
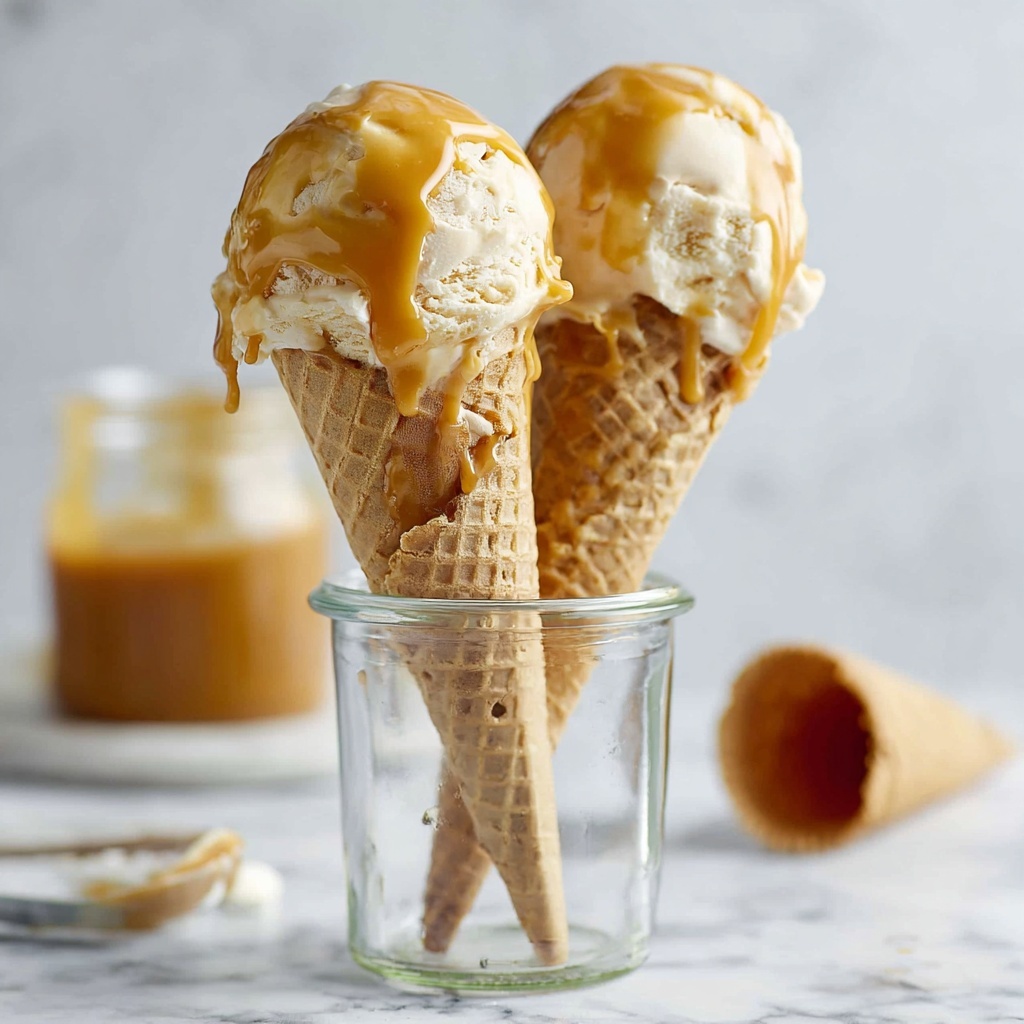
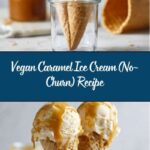
If you are looking to wow your taste buds with a creamy, dreamy dessert that’s completely plant-based and effortless to make, this Vegan Caramel Ice Cream (No-Churn) Recipe is an absolute game-changer. Swirling luscious caramel into a rich coconut cream base, this ice cream offers a silky, indulgent treat that feels like a luxury from the first bite. The best part? It requires no fancy ice cream maker, allowing you to create impressive, homemade vegan ice cream with minimal effort and maximum flavor.
Ingredients You’ll Need
Every ingredient in this recipe is simple, yet so crucial in bringing together that divine taste and texture. Each element plays a special role, whether it’s the creamy body, the sweet caramel punch, or that dreamy consistency that makes each scoop unforgettable.
- 400 g coconut whipping cream: Provides the rich, creamy base for your ice cream; chilling it overnight ensures it whips up perfectly fluffy.
- 100 g sweetened condensed coconut milk: Adds natural sweetness and helps achieve that smooth, velvety texture without any dairy.
- 200 g vegan caramel sauce: The star of the show, this sauce imparts deep, buttery caramel flavor while keeping things completely vegan and luscious.
How to Make Vegan Caramel Ice Cream (No-Churn) Recipe
Step 1: Whip the Coconut Cream
Begin by chilling your coconut whipping cream overnight — this firmness is key for whipping it into a light and fluffy texture. Using an electric whisk, beat the cream in a large bowl for a few minutes until beautifully creamy and soft peaks form. This step builds the luxurious body of your ice cream.
Step 2: Incorporate the Sweetened Condensed Coconut Milk
Next, gently add the sweetened condensed coconut milk into your whipped cream. Continue whisking for another minute to ensure everything blends seamlessly, contributing sweetness and that irresistible melting creaminess to each bite.
Step 3: Fold in the Vegan Caramel Sauce
Slowly add your 200 grams of vegan caramel sauce in small increments, whisking in between additions to fully integrate the caramel flavor throughout the mixture. For an extra indulgent touch, feel free to reserve a little caramel to fold in at the end with a spatula, creating lovely swirls within your ice cream.
Step 4: Freeze Until Set
Transfer your luscious ice cream mixture to a loaf pan or any suitable container. Cover it tightly with a lid or plastic wrap to prevent ice crystals from forming. Pop it into the freezer and let it set for at least four hours. This chill time is when magic happens, turning your mixture into creamy, scoopable goodness.
Step 5: Prepare for Serving
About 15 minutes before you’re ready to indulge, take the ice cream out of the freezer to slightly soften. This brief thaw makes scooping a breeze and allows those caramel notes to shine with each spoonful.
How to Serve Vegan Caramel Ice Cream (No-Churn) Recipe
Garnishes
Elevate every serving by drizzling a little extra vegan caramel sauce on top, alongside a sprinkle of toasted coconut flakes or chopped pecans for delightful texture and crunch. A pinch of flaky sea salt also beautifully highlights the caramel flavors and adds a gourmet touch.
Side Dishes
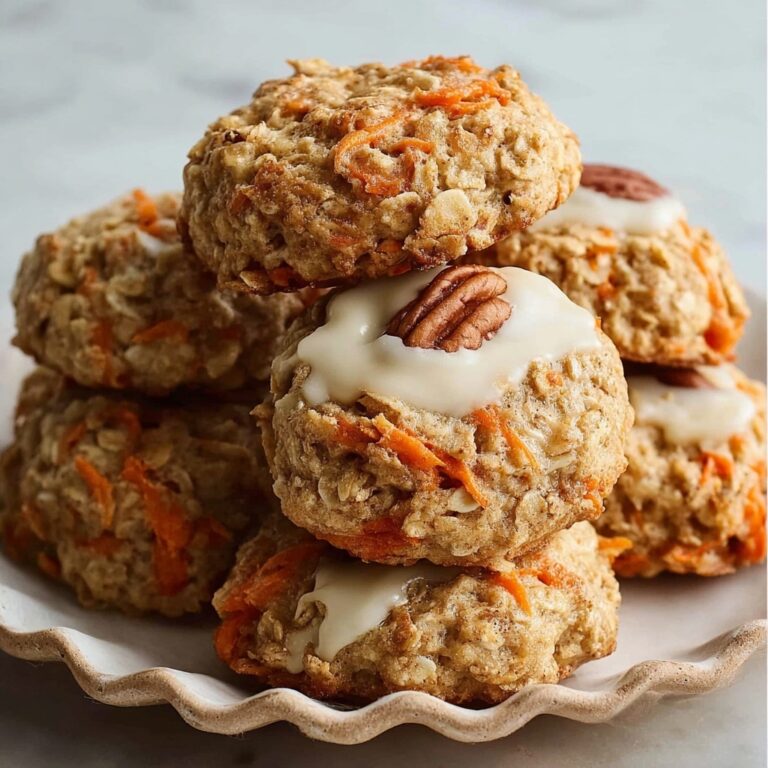
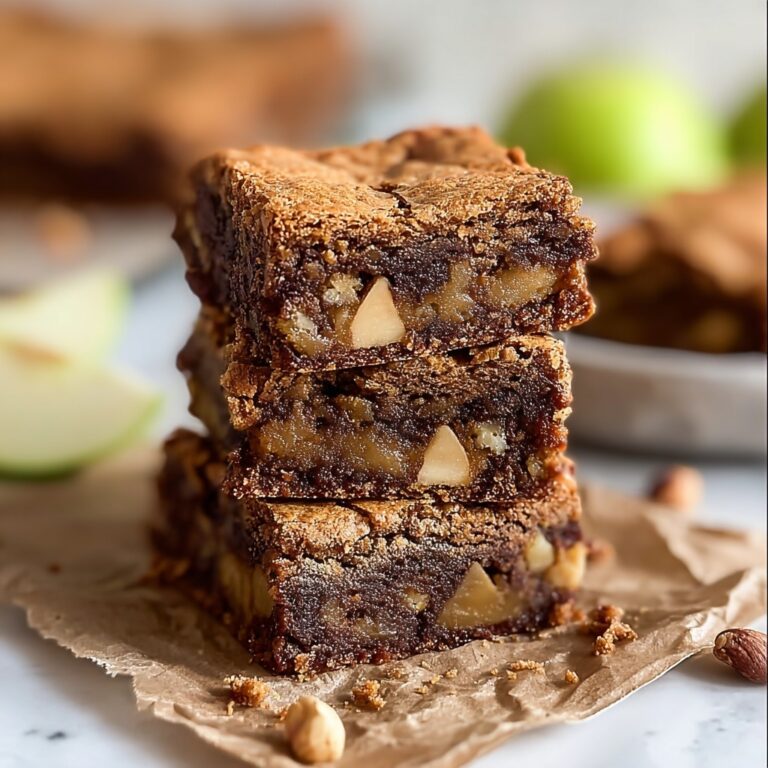
This vegan caramel ice cream pairs wonderfully with warm desserts like a simple fruit cobbler, spiced apple pie, or even vegan brownies. The contrast between hot and cold creates a sublime experience that will have everyone asking for seconds.
Creative Ways to Present
Consider serving your ice cream in mini coconut shells or clear glass cups layered with chocolate shavings and fresh berries for a stunning visual treat. For a party, create elegant ice cream sandwiches using vegan cookies, or add a scoop atop your vegan pancakes for a decadent brunch twist.
Make Ahead and Storage
Storing Leftovers
Any leftover Vegan Caramel Ice Cream (No-Churn) can be stored in an airtight container in the freezer. Ensure the container is well-sealed to prevent ice crystals and preserve that smooth texture for weeks to come.
Freezing
Freezing this recipe is straightforward. Just make sure to cover the ice cream surface with an extra layer of parchment paper or plastic wrap before sealing the container, which helps avoid freezer burn and maintains its creamy consistency.
Reheating
Since this is ice cream, reheating isn’t recommended, but if the ice cream becomes too hard to scoop, simply leave it at room temperature for 10 to 15 minutes to soften naturally before serving again.
FAQs
Can I use regular coconut milk instead of coconut whipping cream?
Regular coconut milk doesn’t have the same fat content or consistency as coconut whipping cream, so it won’t whip properly. For best results, always use chilled coconut whipping cream to achieve that perfect, airy texture.
Is the vegan caramel sauce homemade or store-bought?
You can use either! Store-bought vegan caramel sauce works great for convenience, but making your own allows you to customize the sweetness and flavor to your liking.
How long does this ice cream take to freeze?
Plan for at least 4 hours of freezing time to let the ice cream fully set. Overnight freezing can ensure the firmest texture.
Can I add mix-ins like nuts or chocolate chips?
Absolutely! Fold in your favorite vegan-friendly mix-ins during Step 3 before freezing to add delightful bursts of texture and flavor.
Is this ice cream suitable for nut allergies?
This recipe itself is nut-free if you use nut-free caramel sauce and coconut whipping cream, but always check ingredients carefully to avoid cross-contamination.
Final Thoughts
This Vegan Caramel Ice Cream (No-Churn) Recipe is such a fun and satisfying way to enjoy a creamy and indulgent dessert without any dairy or fuss. Whether you’re a longtime vegan or just searching for a fresh twist on classic caramel ice cream, this recipe promises tons of smiles, oohs, and ahhs. I hope you’ll dive in, whip it up, and savor every decadent spoonful with delight!
Print
Vegan Caramel Ice Cream (No-Churn) Recipe
- Prep Time: 15 minutes
- Cook Time: 0 minutes
- Total Time: 4 hours 15 minutes
- Yield: 8 servings
- Category: Dessert
- Method: No-Cook
- Cuisine: Vegan
- Diet: Vegan
Description
This Vegan Caramel Ice Cream is a delicious no-churn dessert that’s creamy, rich, and perfect for anyone craving a vegan-friendly sweet treat. Made with coconut whipping cream, sweetened condensed coconut milk, and decadent vegan caramel sauce, this ice cream requires minimal prep and no ice cream maker. Simply whip, mix, freeze, and enjoy a luscious homemade vegan caramel ice cream that’s perfect for summer or anytime dessert.
Ingredients
Ice Cream Base
- 400 g coconut whipping cream (refrigerated overnight)
- 100 g sweetened condensed coconut milk
Flavoring
- 200 g vegan caramel sauce (plus extra for serving and swirling)
Instructions
- Whip the Coconut Cream: Add the chilled coconut whipping cream into a large mixing bowl and use an electric whisk to beat it for a couple of minutes until thick and creamy.
- Combine Condensed Coconut Milk: Pour in the sweetened condensed coconut milk and whisk for another minute to thoroughly combine it with the whipped coconut cream, creating a smooth base.
- Incorporate the Vegan Caramel Sauce: Gradually add the vegan caramel sauce in 2 to 3 increments, whisking well after each addition. Continue whisking to fully integrate all ingredients. For a marbled texture, gently swirl some extra caramel sauce through the mixture using a spatula.
- Transfer and Freeze: Pour the ice cream mixture into a loaf pan or container and cover tightly with a lid, plastic wrap, or parchment paper to prevent freezer burn. Freeze for at least 4 hours or until firm.
- Prepare to Serve: Remove the ice cream from the freezer about 15 minutes before serving to allow it to soften slightly for easier scooping. Serve topped with extra vegan caramel sauce if desired.
- Storage: Store the ice cream in an airtight container in the freezer where it will remain fresh for up to two months.
Notes
- Refrigerate the coconut whipping cream overnight to ensure it whips up well.
- You can use store-bought vegan caramel sauce or make your own for a homemade touch.
- Allowing the ice cream to thaw slightly before serving makes scooping easier and enhances the texture.
- Covering the ice cream tightly while freezing helps prevent ice crystals and freezer burn.

